City of Elkhart: Art Walk Event
Dear Neighbor, Thank You!
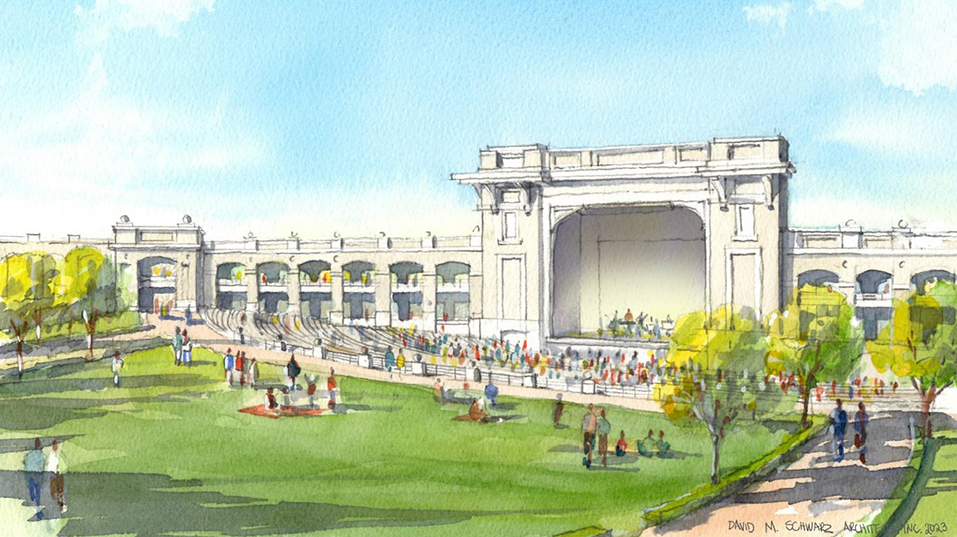
Tolson Center will participate in the City of Elkhart’s Art Walk event to engage with local families and foster a spirit of community and appreciation. Through a hands-on art activity, children will create postcards to thank neighbors and local community helpers, encouraging kindness, reflection, and artistic expression.
Activity Purpose
This activity is designed to encourage children to reflect on their community and express gratitude, while promoting creativity and artistic self-expression. It also aims to strengthen the relationship between the Tolson Center and local residents through meaningful engagement.
Activity Description
Children will design and decorate postcards with drawings and messages of appreciation for local neighbors, helpers, and community members. Finished postcards will be placed into a special “Thank-You Mailbox” and later delivered to community organizations or displayed.
Materials
Cardstocks
Pencils
Erasers
Coloring Materials (Markers, Colored Pencils, Crayons)
Stickers
Lesson Outline
Introduction: Who are you thankful for in your neighborhood?
Hands-On Activity: Creating a Card
1. Drawing a picture on the front of the postcard
2. Writing a thank-you message inside of the card
3. Decorating the card they created
4. Dropping the finished postcard into the mailbox
5. (Optional) Photo opportunity or small prize
Expected Outcome:
1. Meaningful, creative engagement with local families
2. A collection of heartfelt cards to deliver to real community helpers
3. Positive visibility for Tolson Center
Operations
Safety Measures:
1. Parents/guardians will be encouraged to remain with their children and assist during the activity, especially for children under 6
2. Only child-safe, non-toxic art supplies will be used
3. Staff and volunteers will closely supervise children at all times
Staffing & Roles:
1. Greeting participants and guiding them
2. Managing materials
3. Assisting with clean-up
4. (optional) Photo-taking
Jelly Cones in the Spotlight
Exploring Light, Color, and Form
Inspired by Wayne Thiebaud
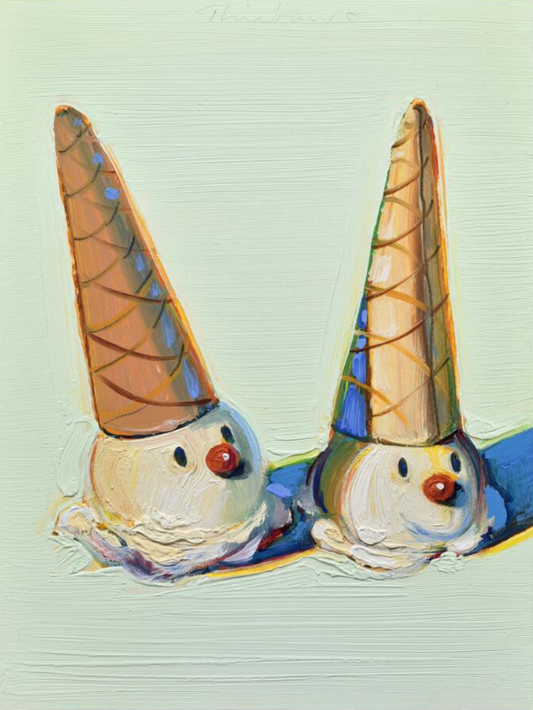
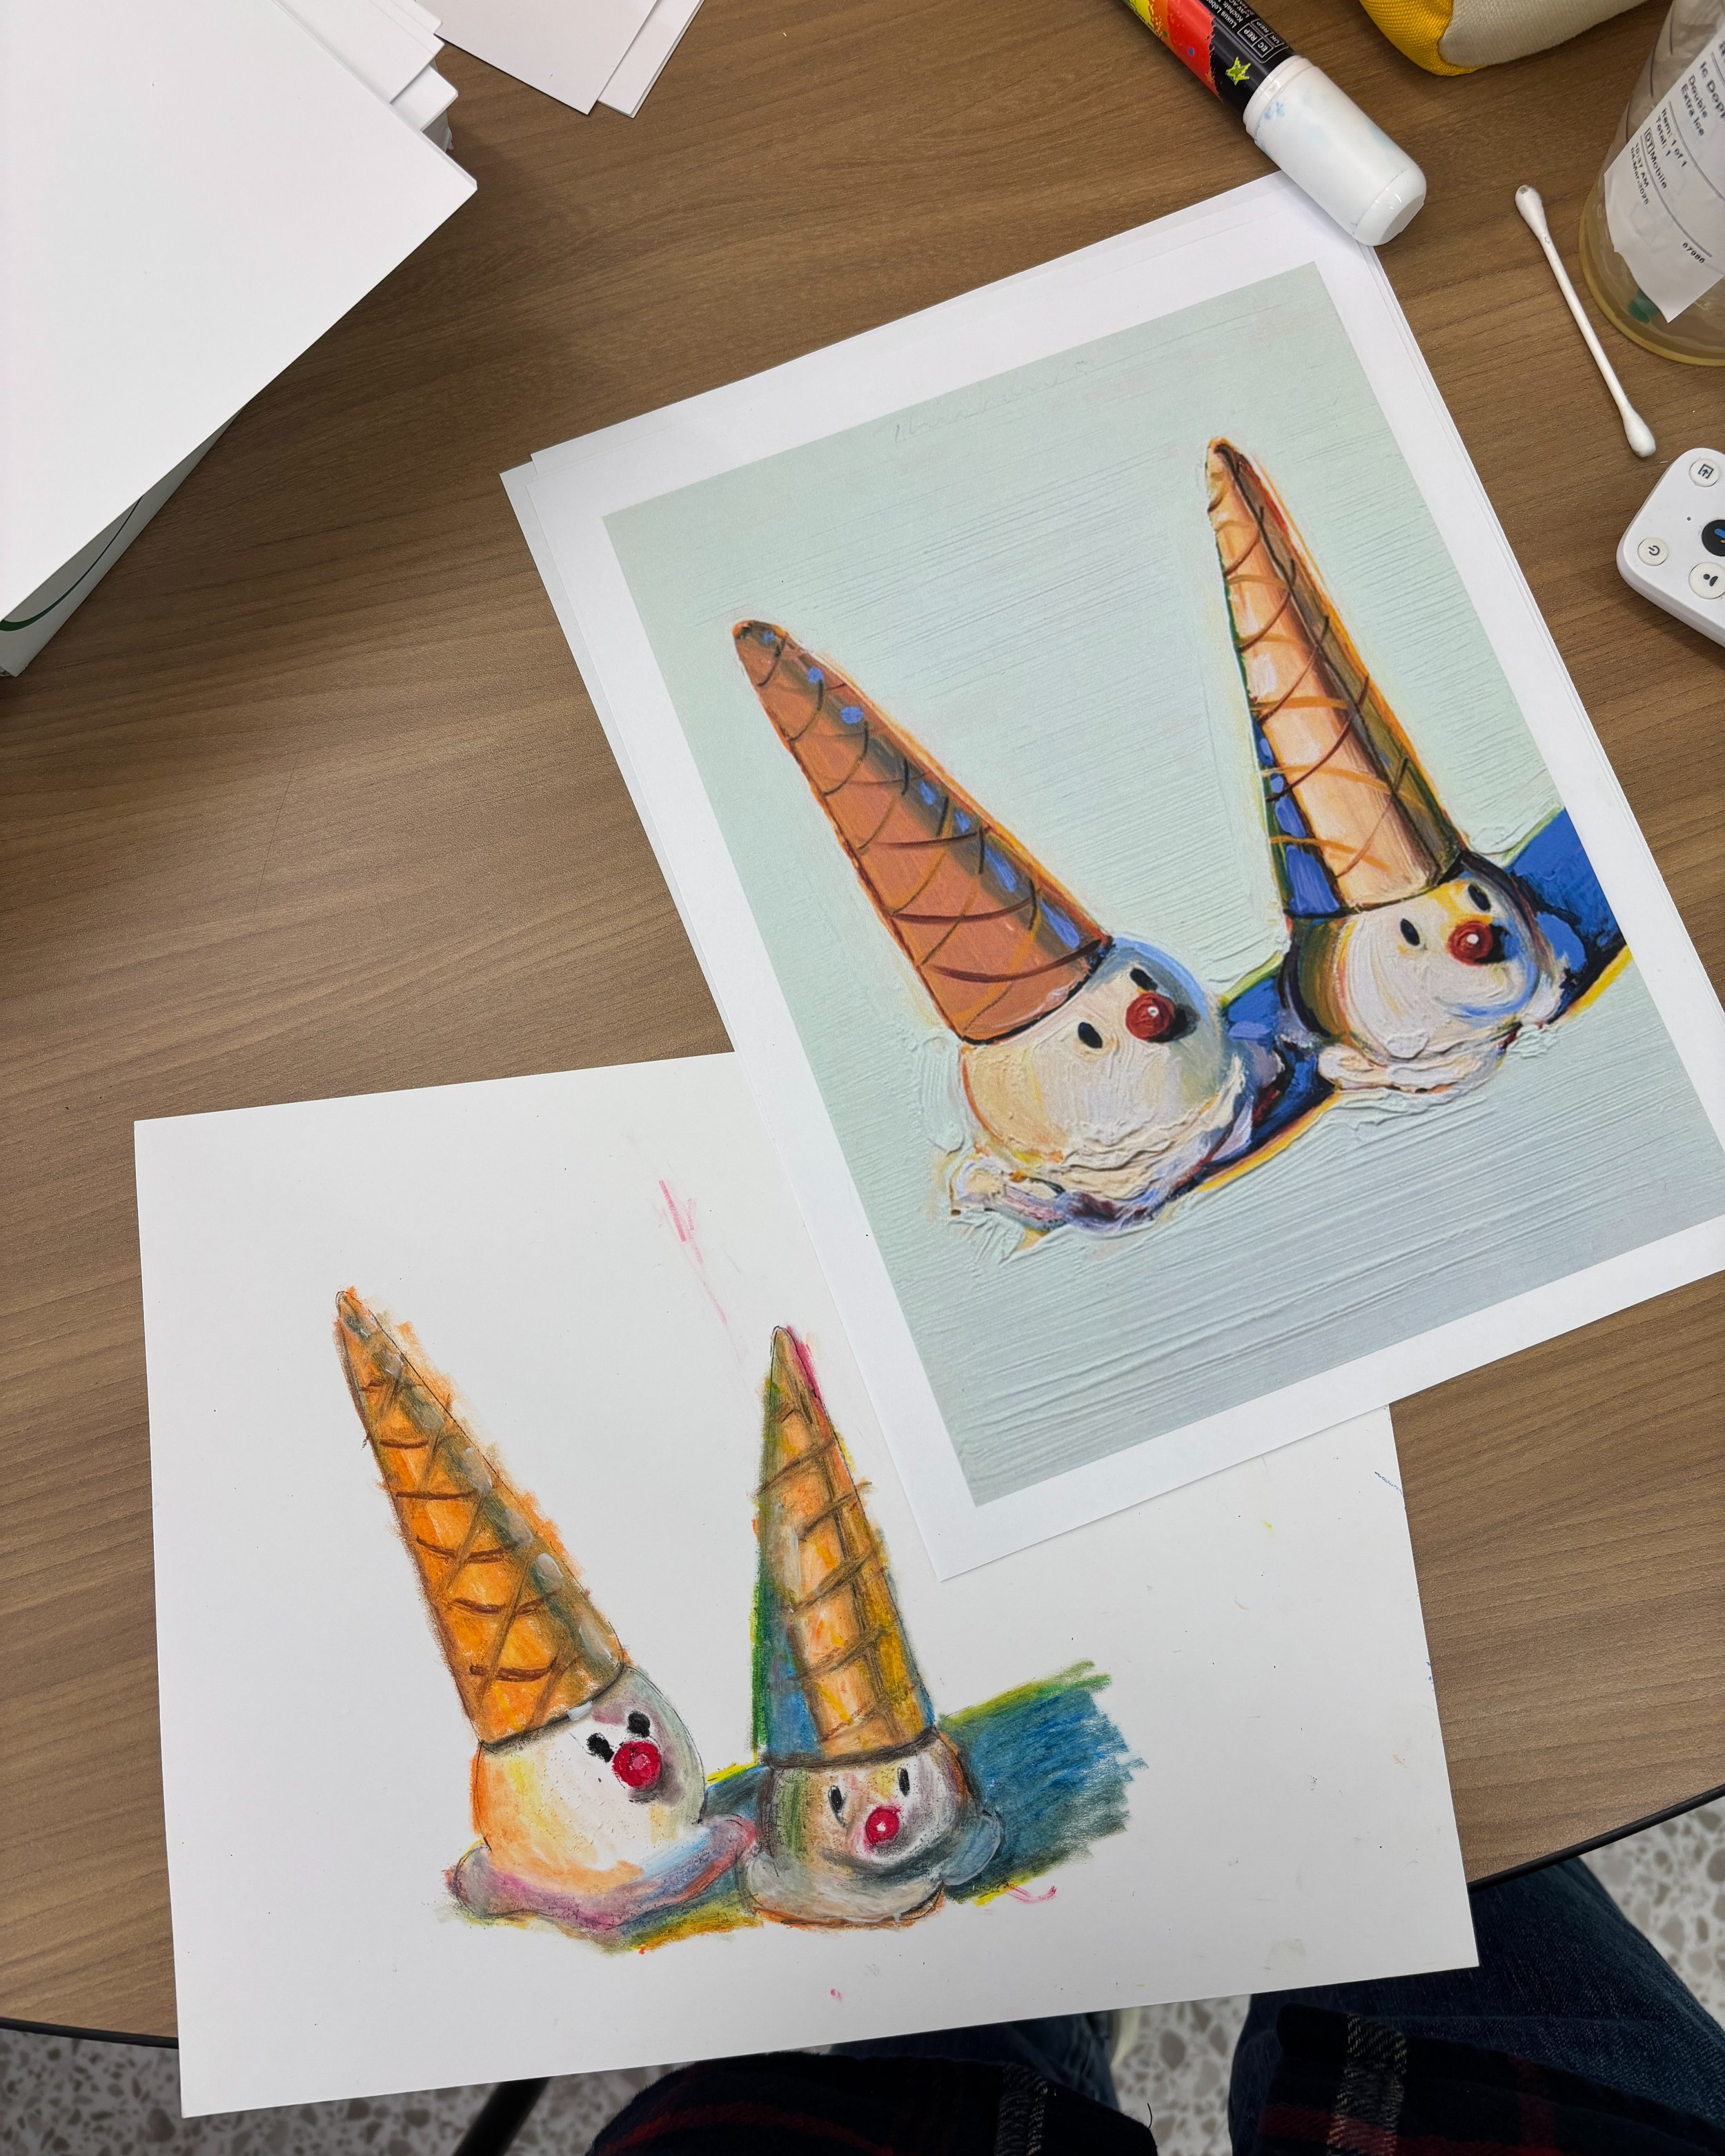
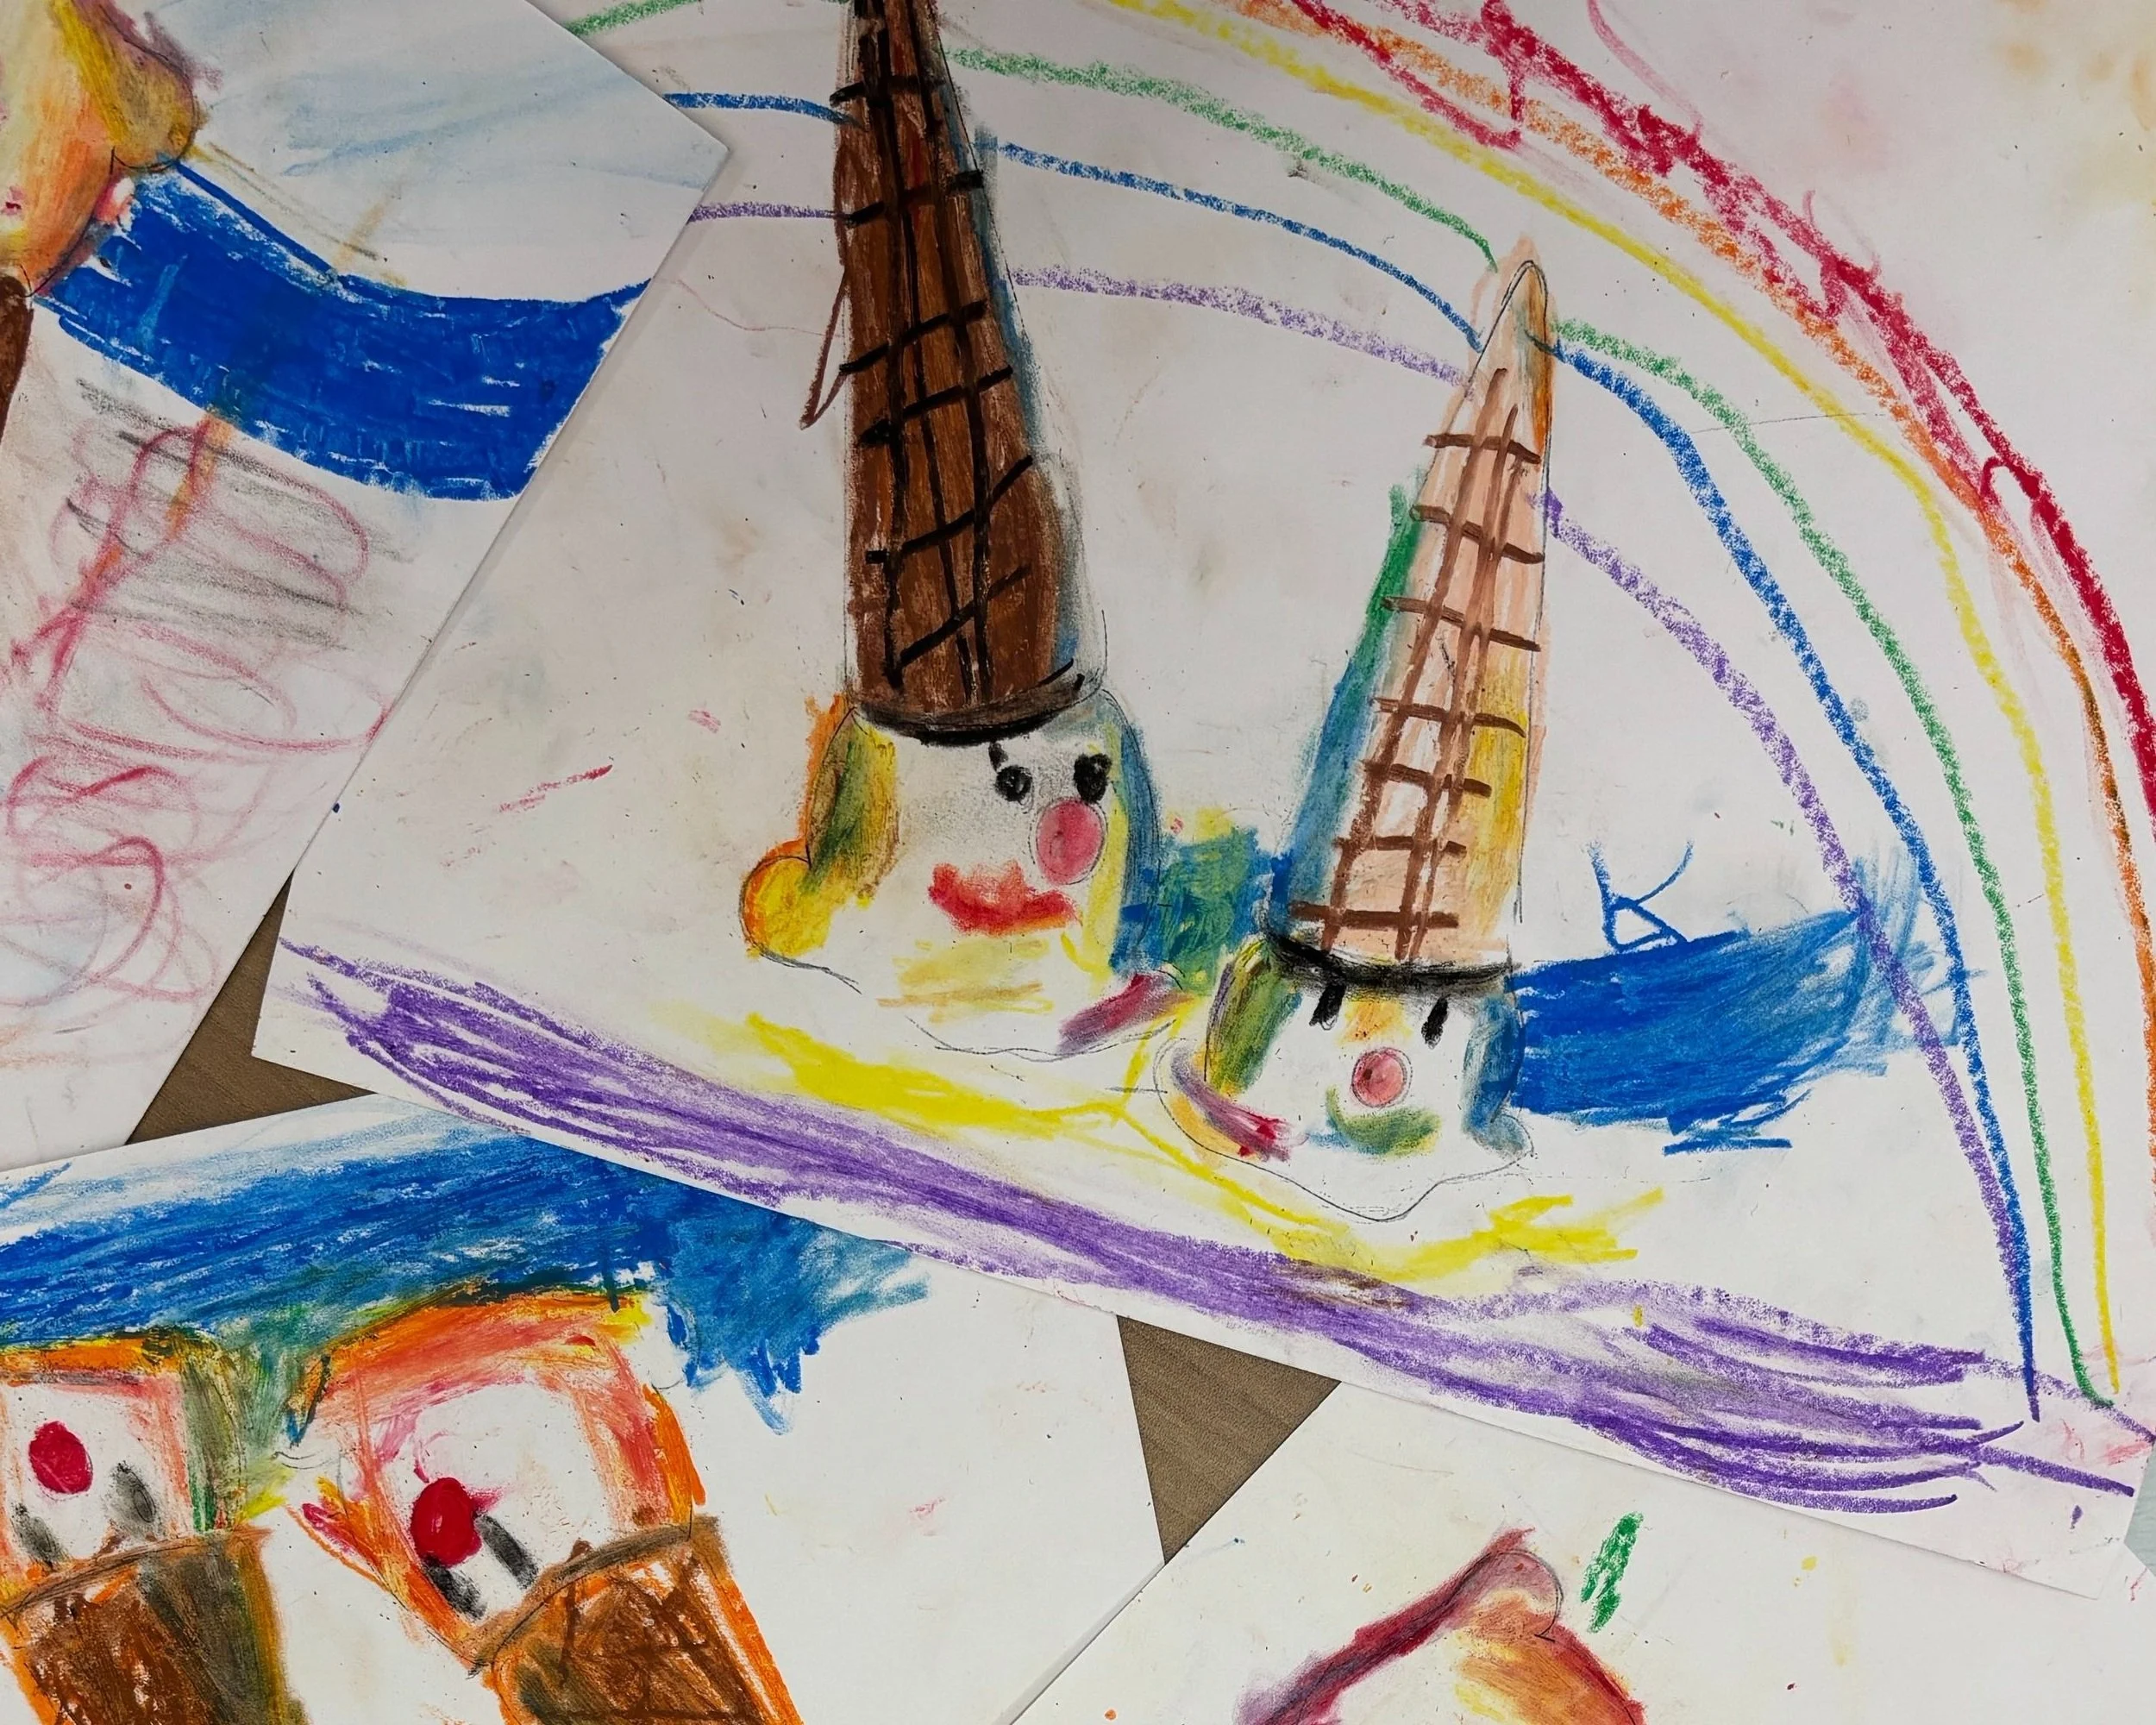
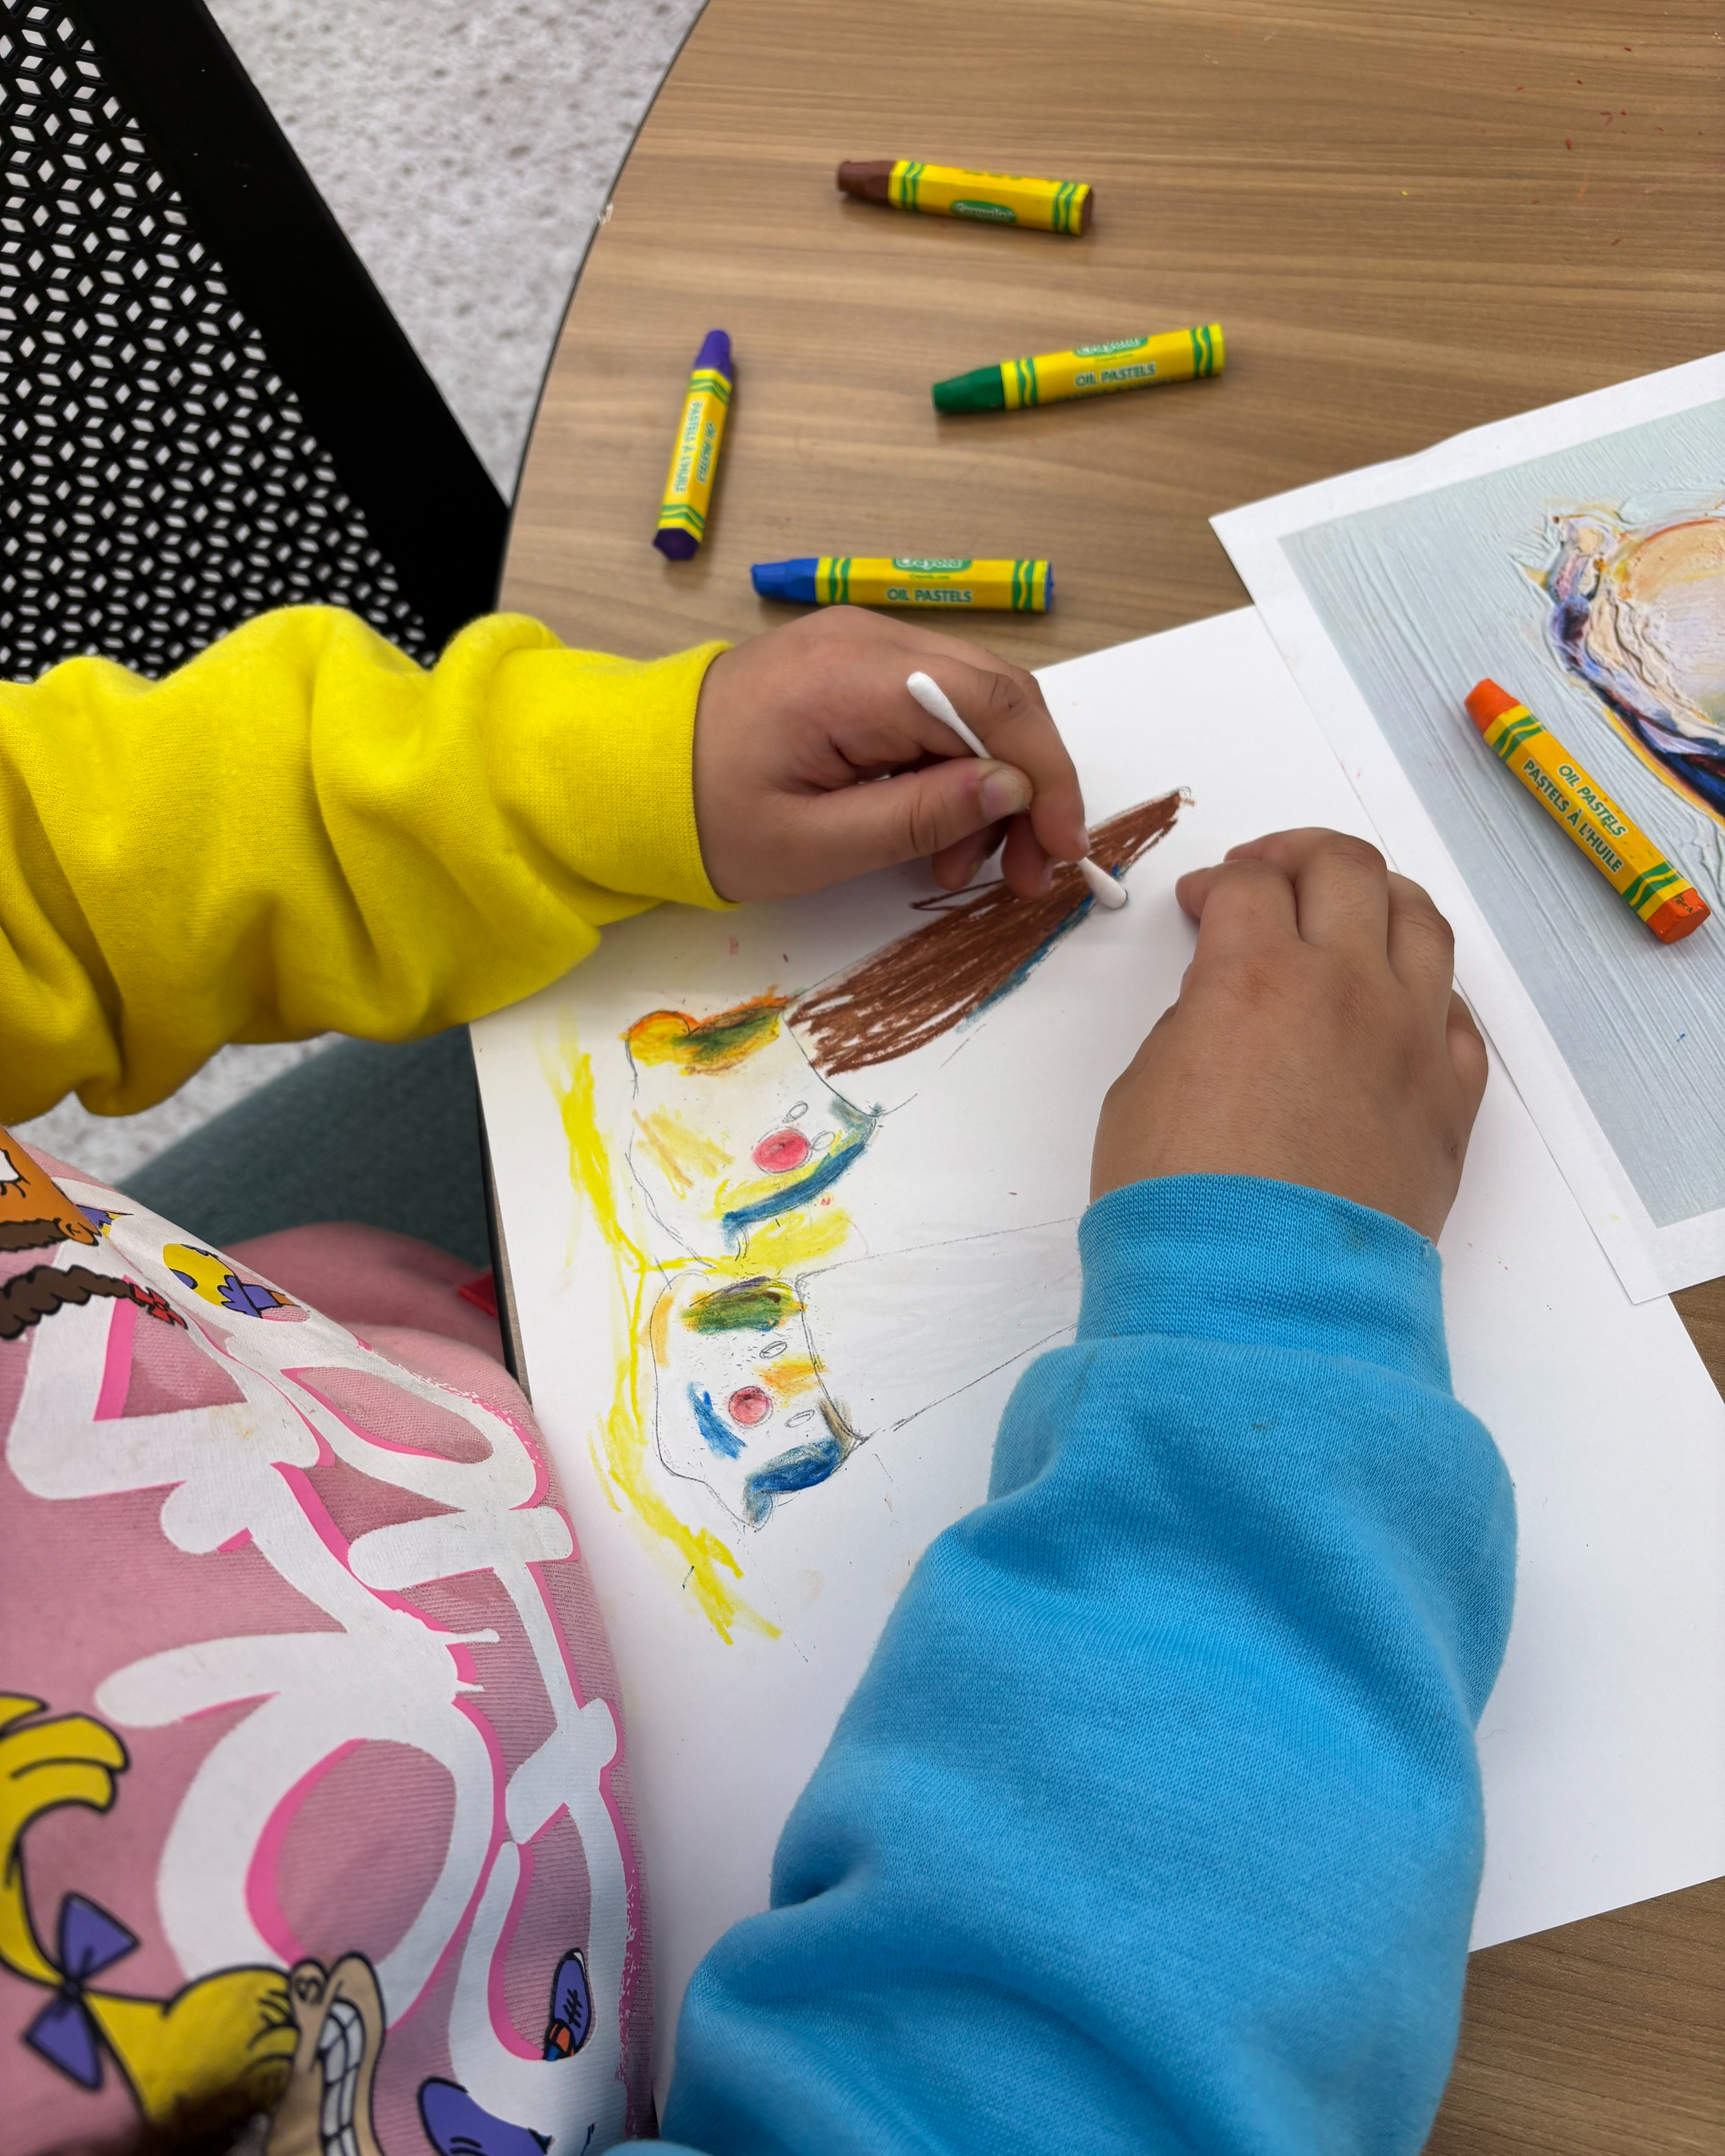
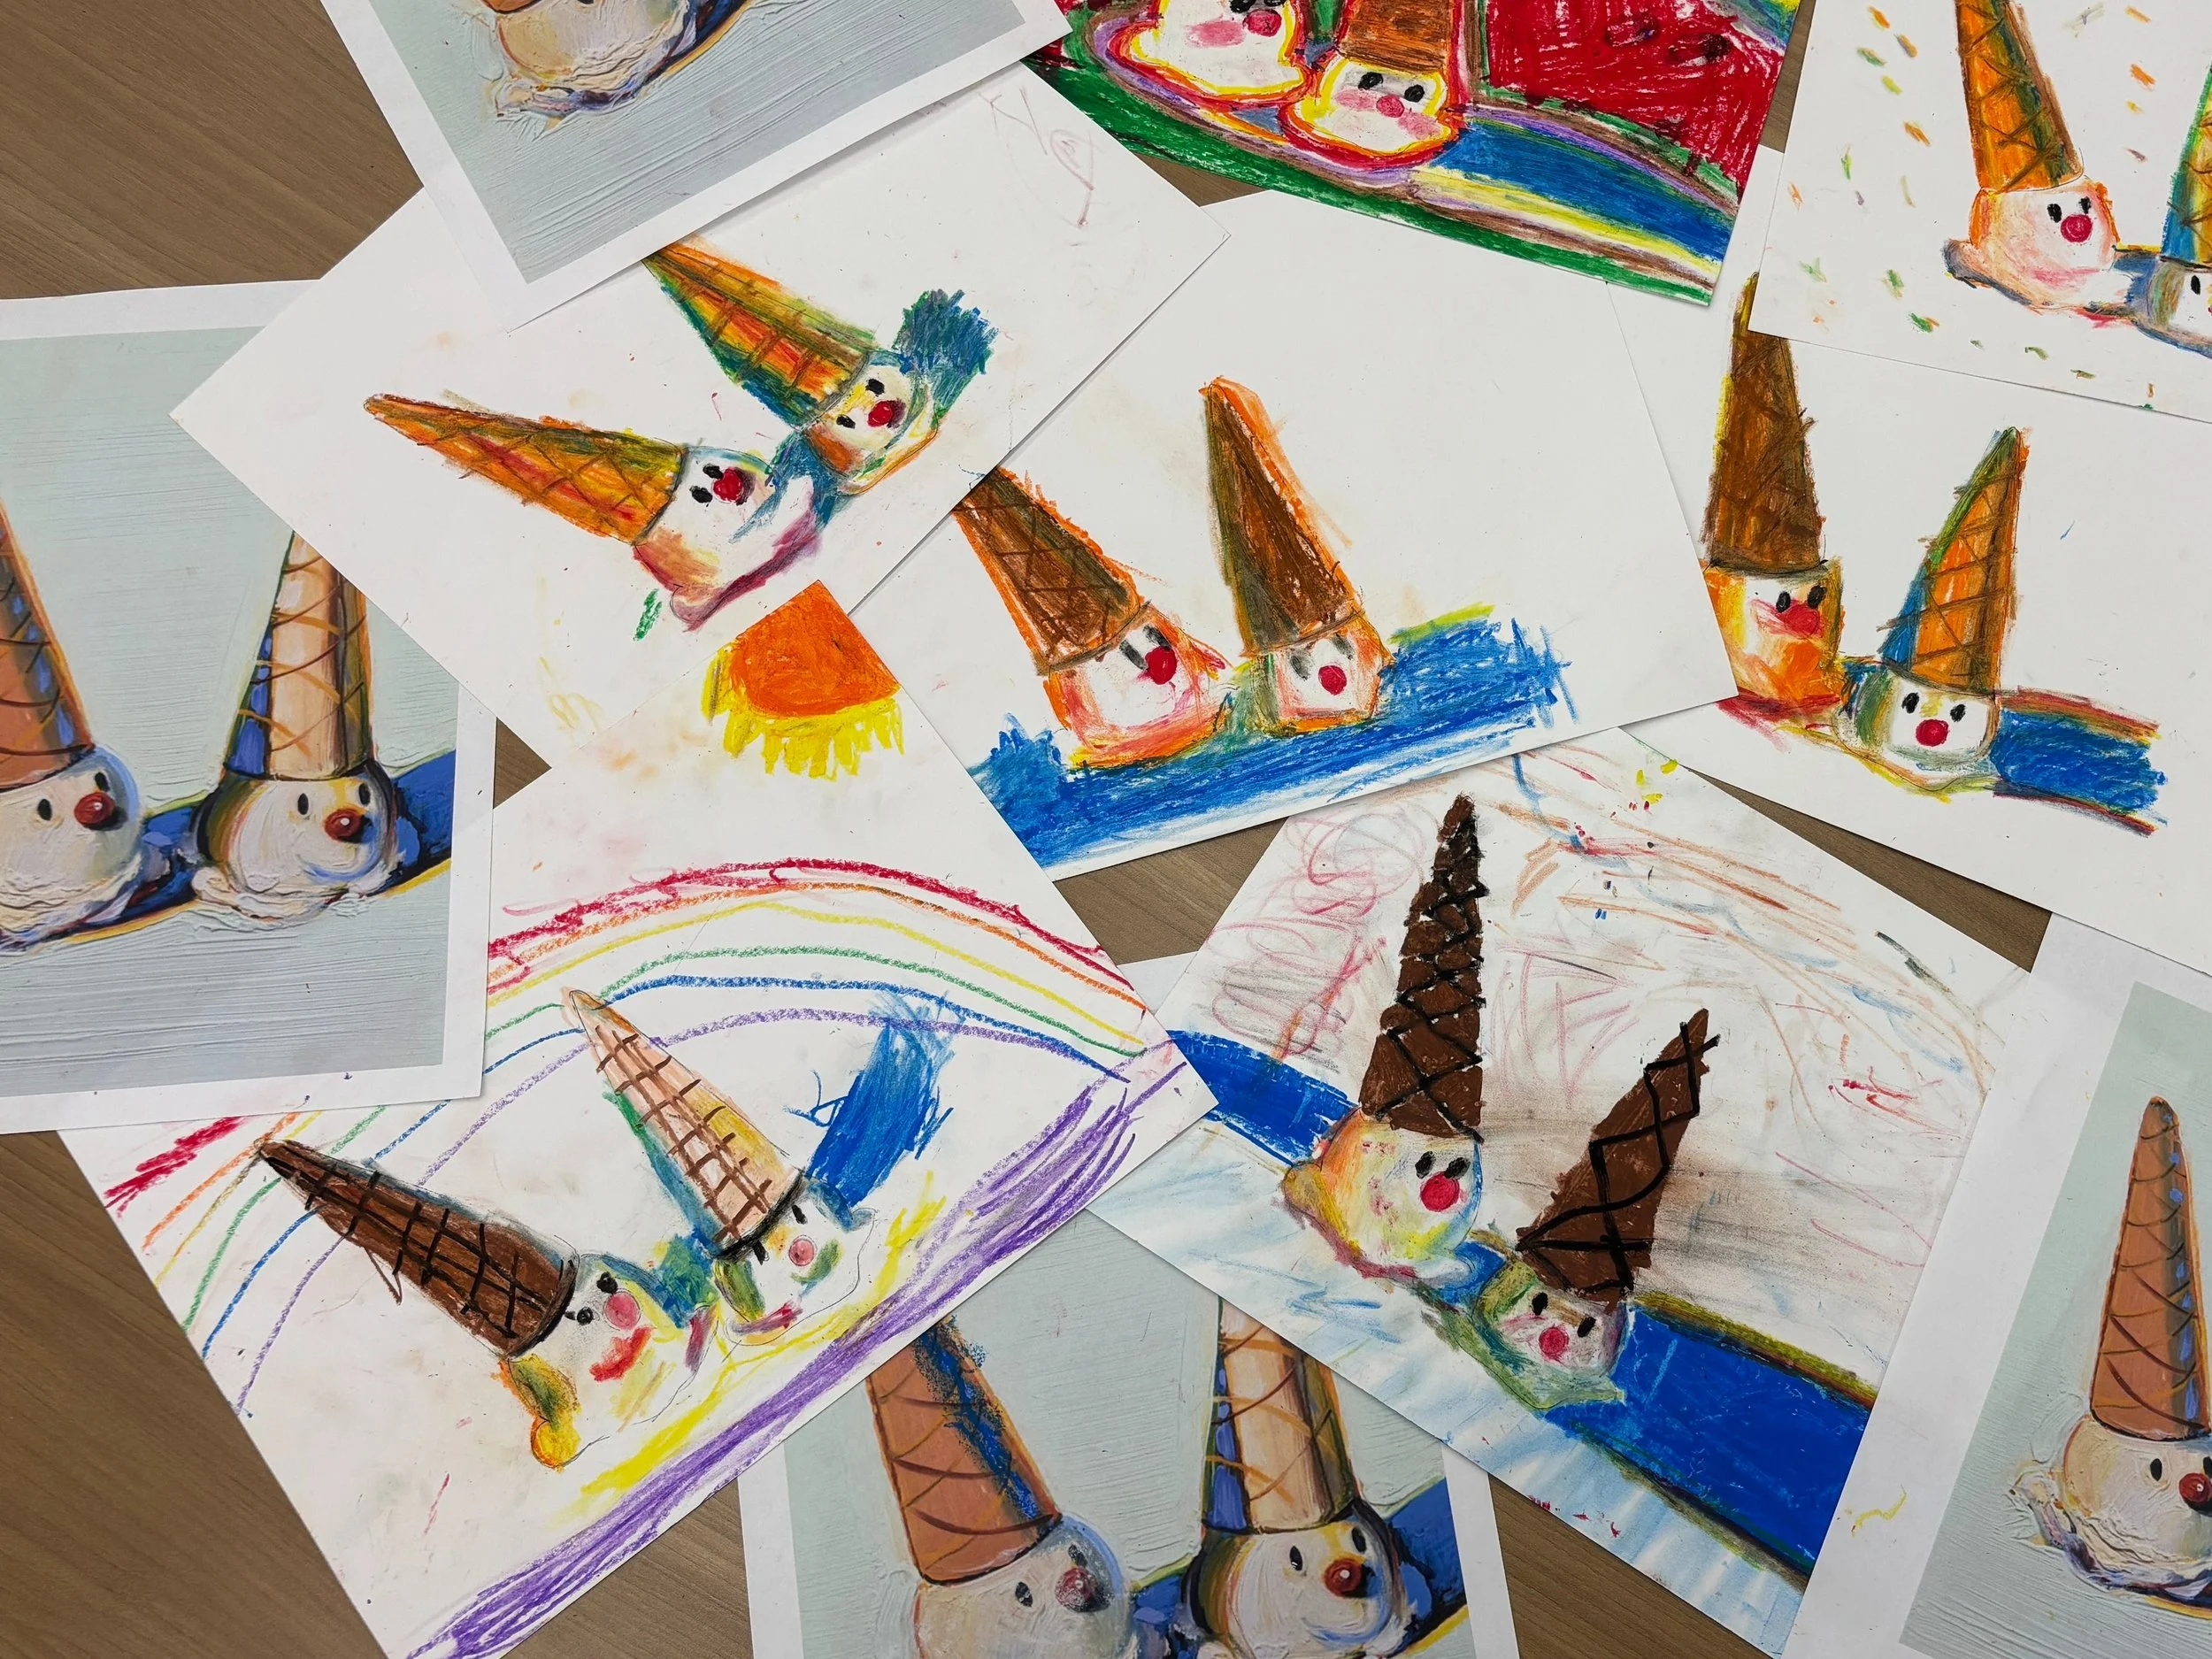
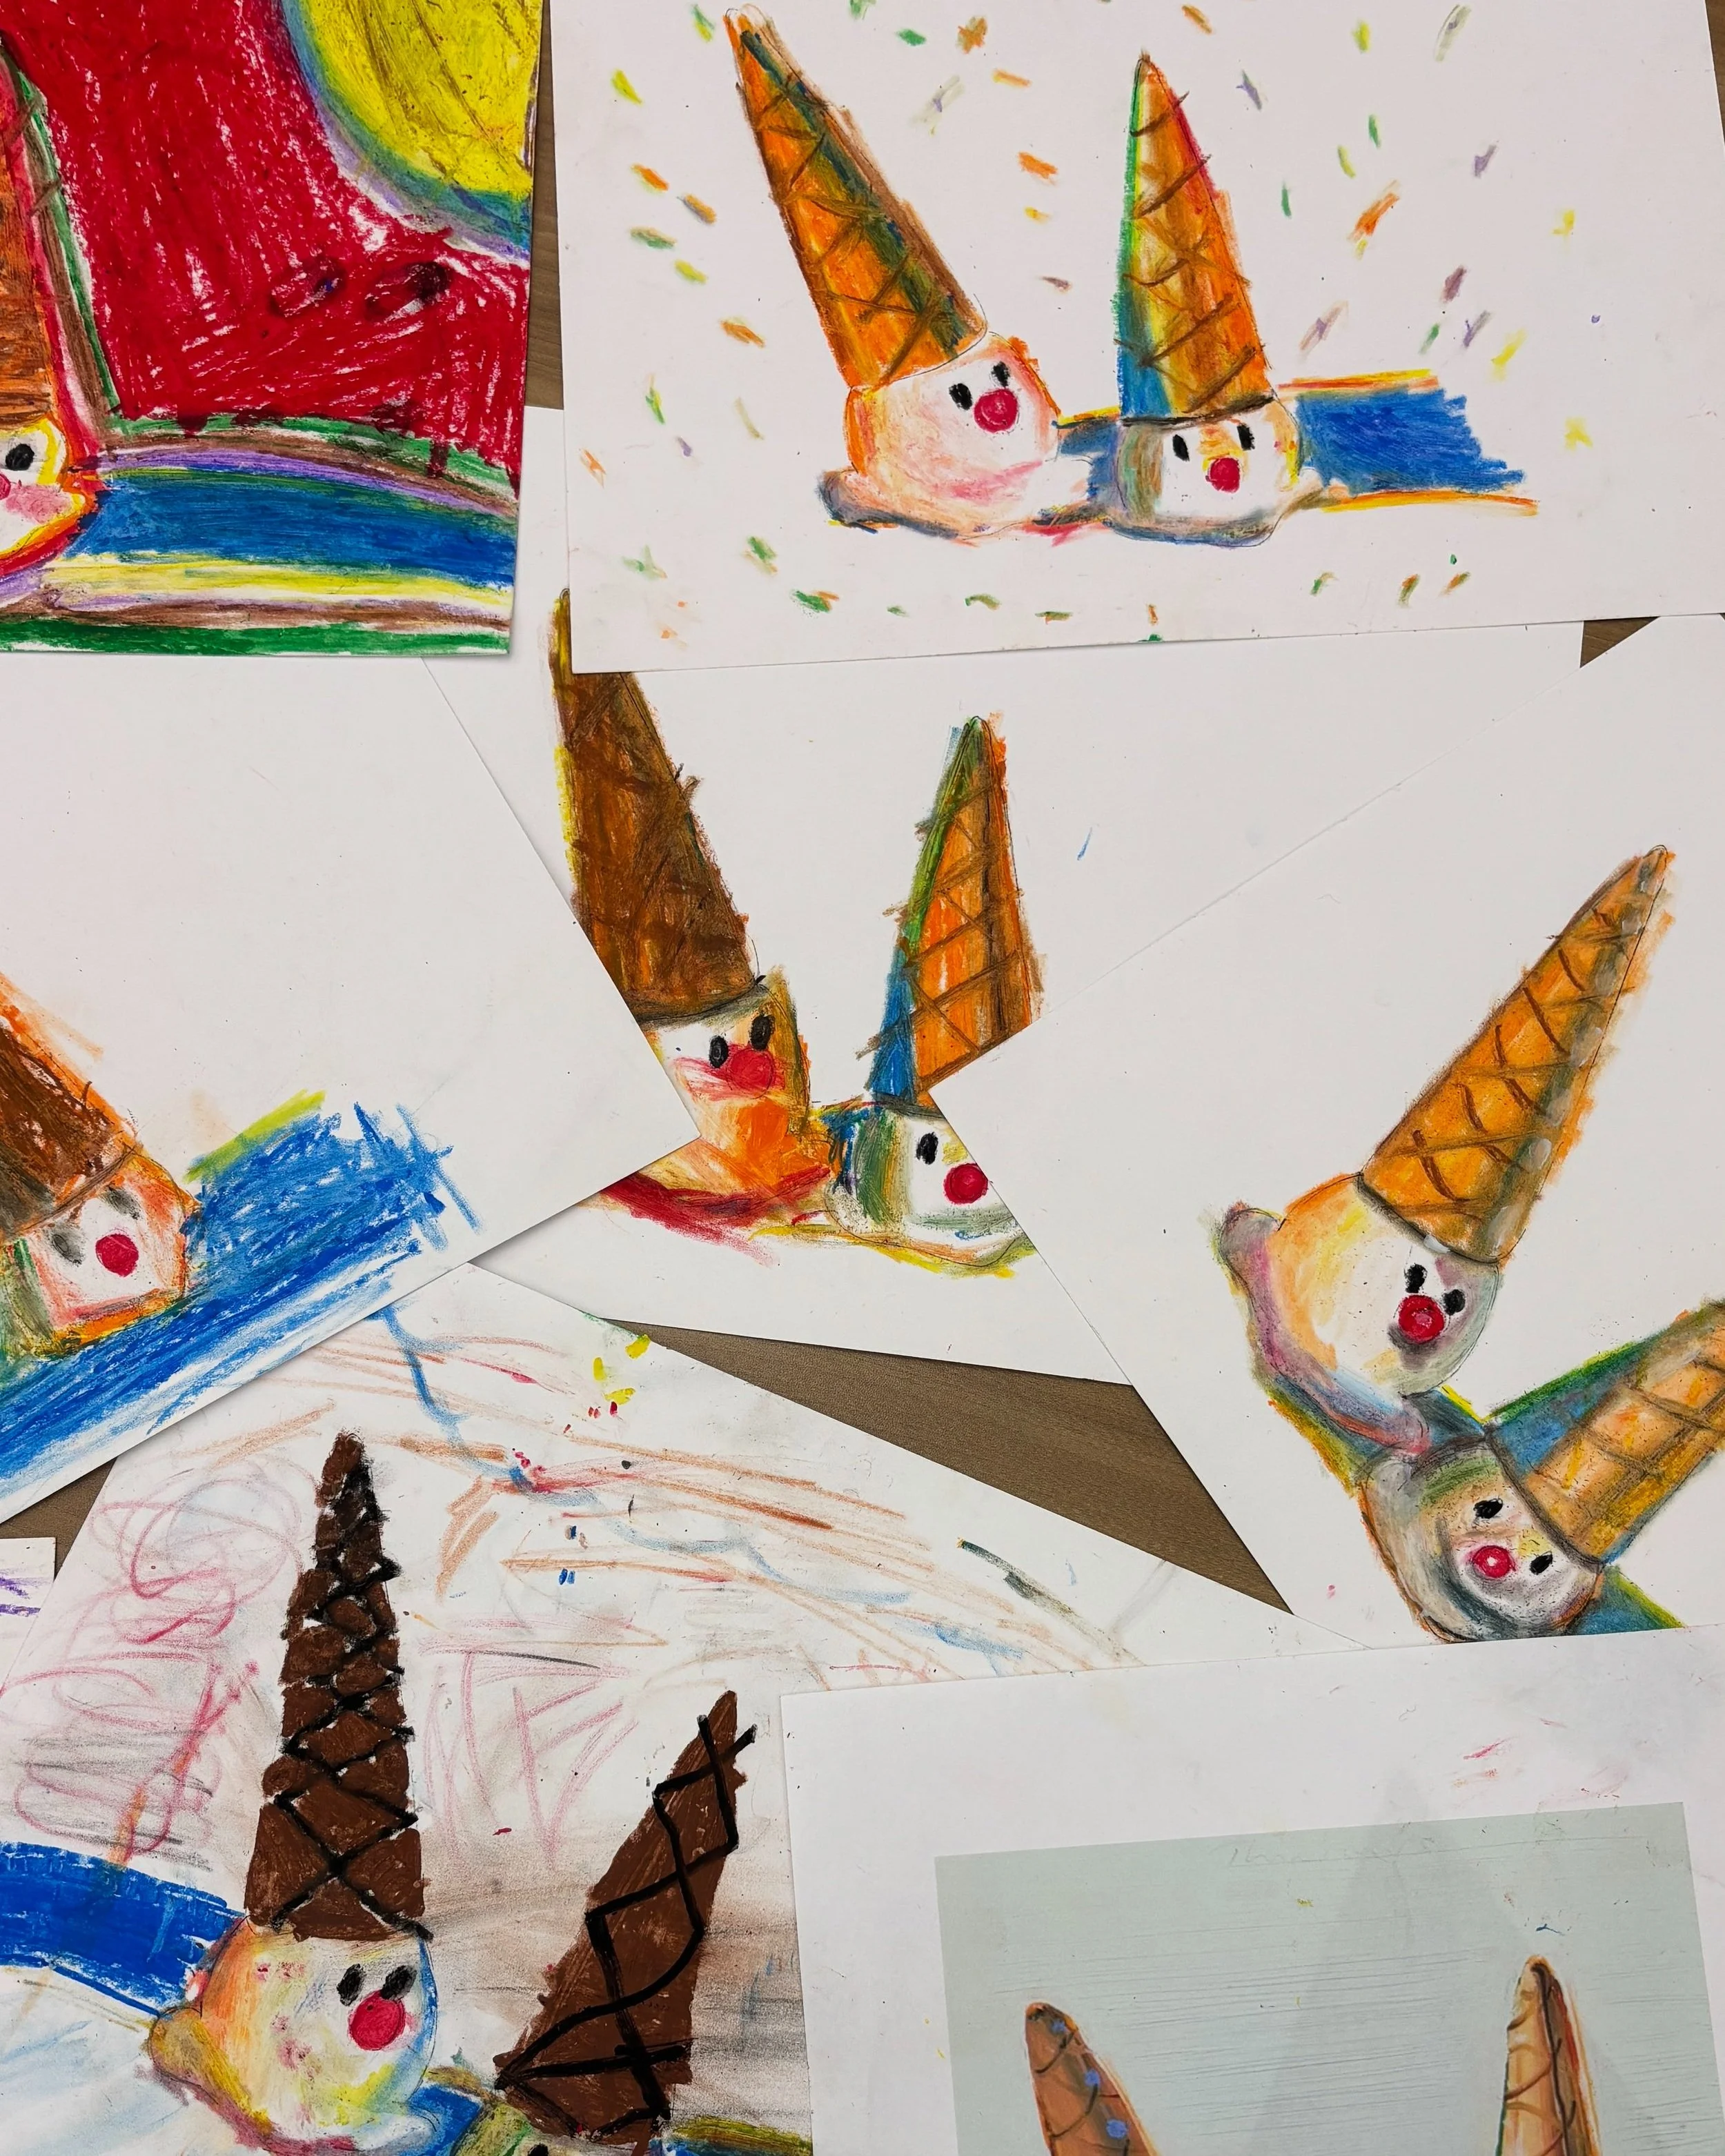
In this lesson, students will learn about the artist Wayne Thiebaud and how he painted colorful desserts using light and shadow. They will explore how to show shiny, round shapes—like jelly cones—by blending colors and adding highlights. Then, students will use oil pastels to create their own bright and fun jelly cone drawings.
Materials
Oil pastels
Paper
Pencils and erasers
Cotton swabs, tissues, or fingers for blending
Wet wipes or paper towels
Preparation:
Prepare a demonstration piece showing a jelly cone with shadows and highlights.
Lightly pre-sketch jelly cone outlines on student papers to help them focus on coloring, blending, and shadow placement.
Lesson Outline
Introduction (10minutes):
1. Introduce Thiebaud as an artist known for painting desserts in bold colors and playful compositions.
2. Discuss Question:
- “How do you think he made the dessert look 3D?”
- “What colors did he use for shadows?
- “How is this different from using black or gray?”Demonstration (10minutes):
1. Use the artwork as an example to show how to identify the light source
2. Show how to blend oil pastels to create gradient
3. Identify unusual colors for shadows (purple, blue, greens, not black)
Hands-On Activity (30 minutes): Marching Footsteps
1. Students color their pre-sketched jelly cones
2. Blend using fingers or tools, refine shapes, and decorate background if time allows
Sharing and Appreciation (10 minutes):
1. Students appreciate the completed path together, allowing them to feel that their individual pieces are part of a greater whole.
2.Reflection Questions:
- "What was your favorite part about drawing your jelly cone?”
- “What colors did you use for your shadow? Why did you pick them?”
- “What’s the name of your jelly cone and what flavor is it?”
MLK: Marching Footsteps
MLK:
Marching Footsteps
Equality, Unity, and Collective Action
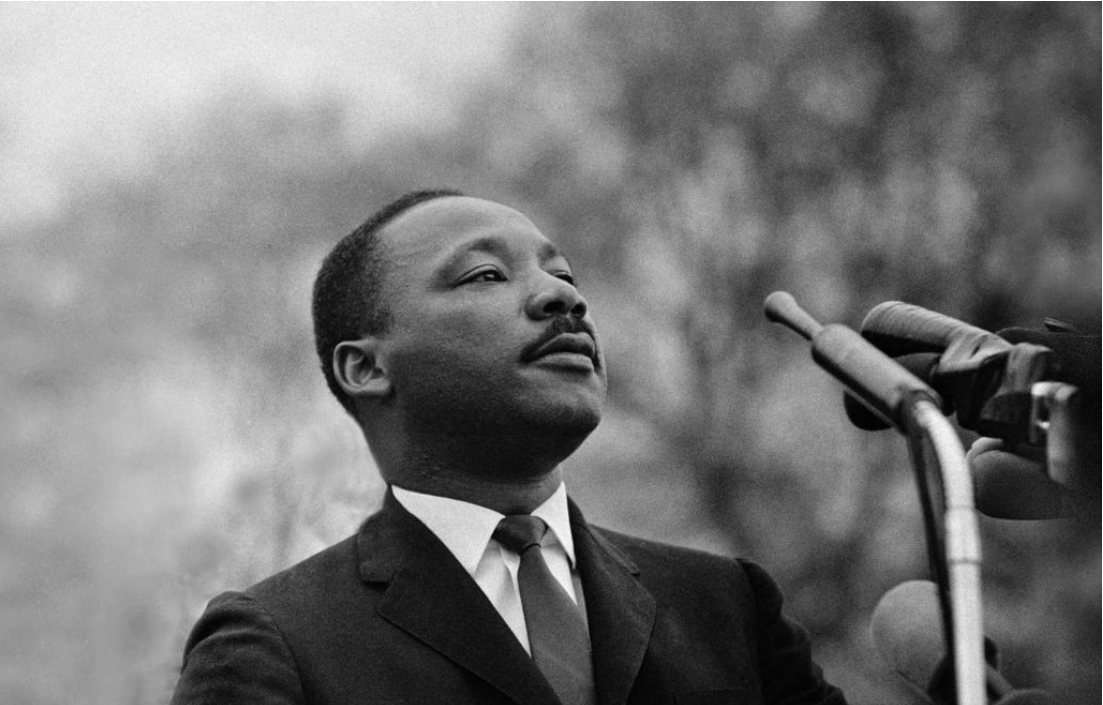
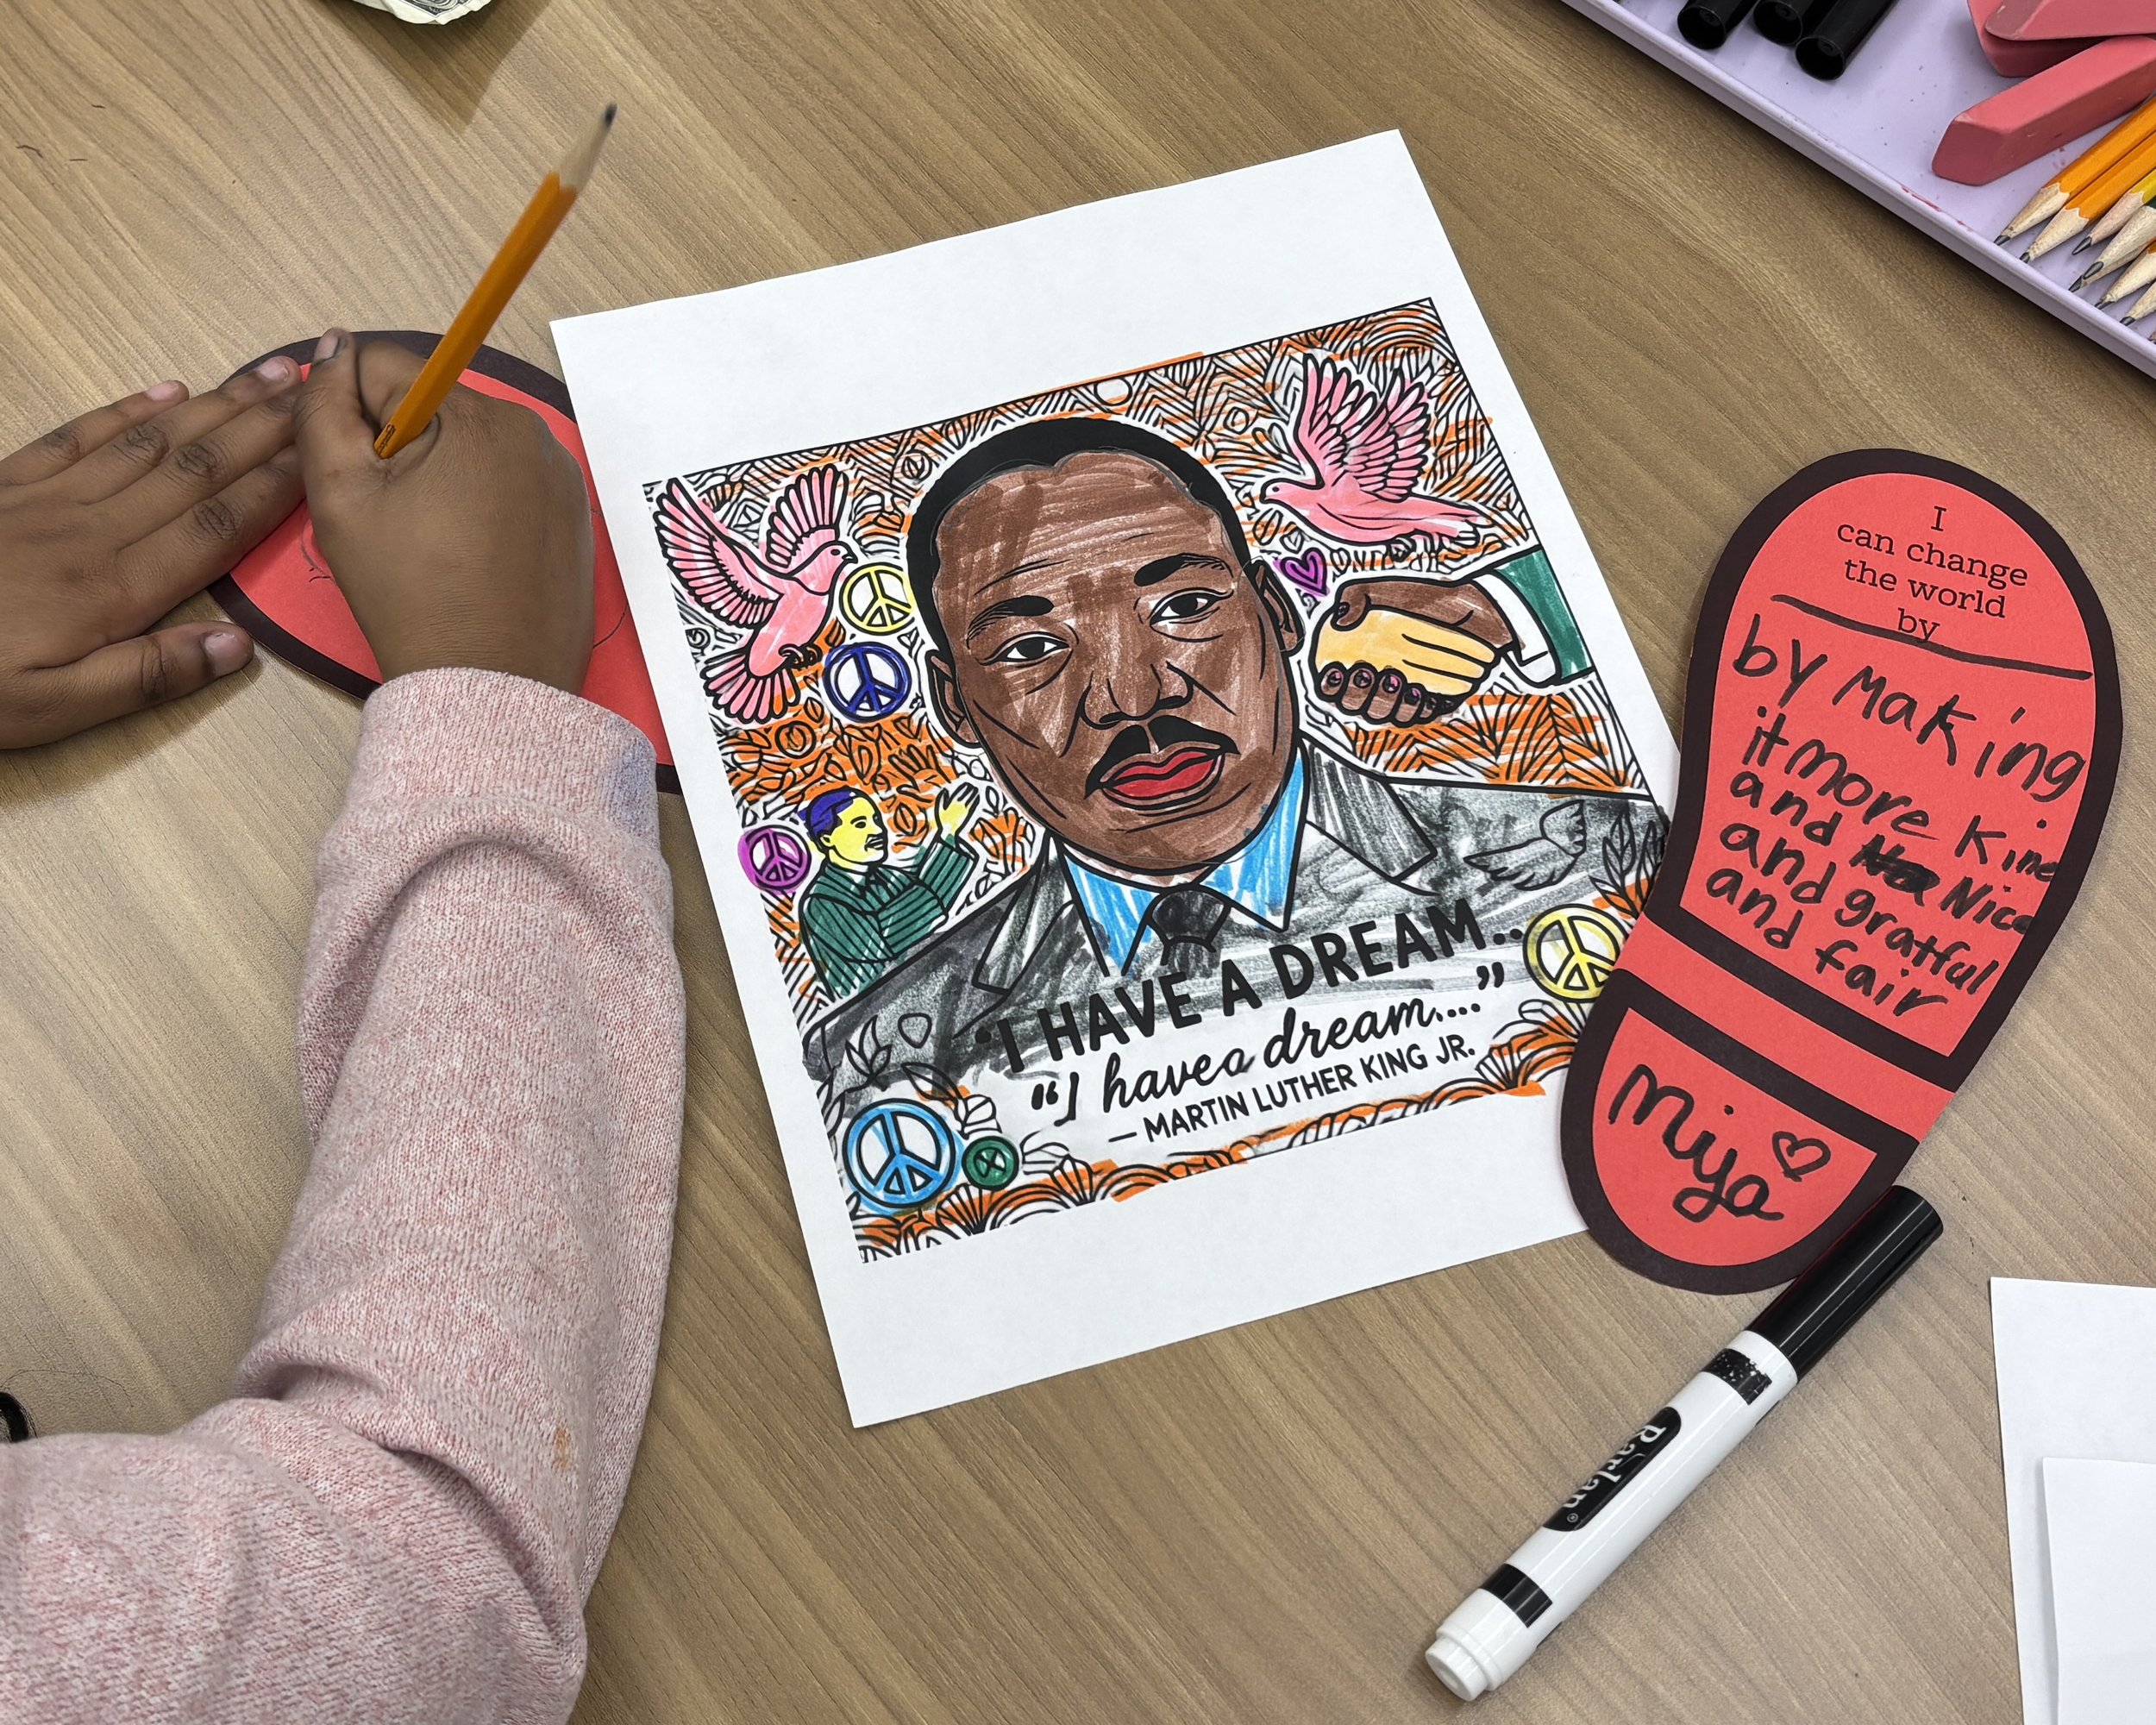
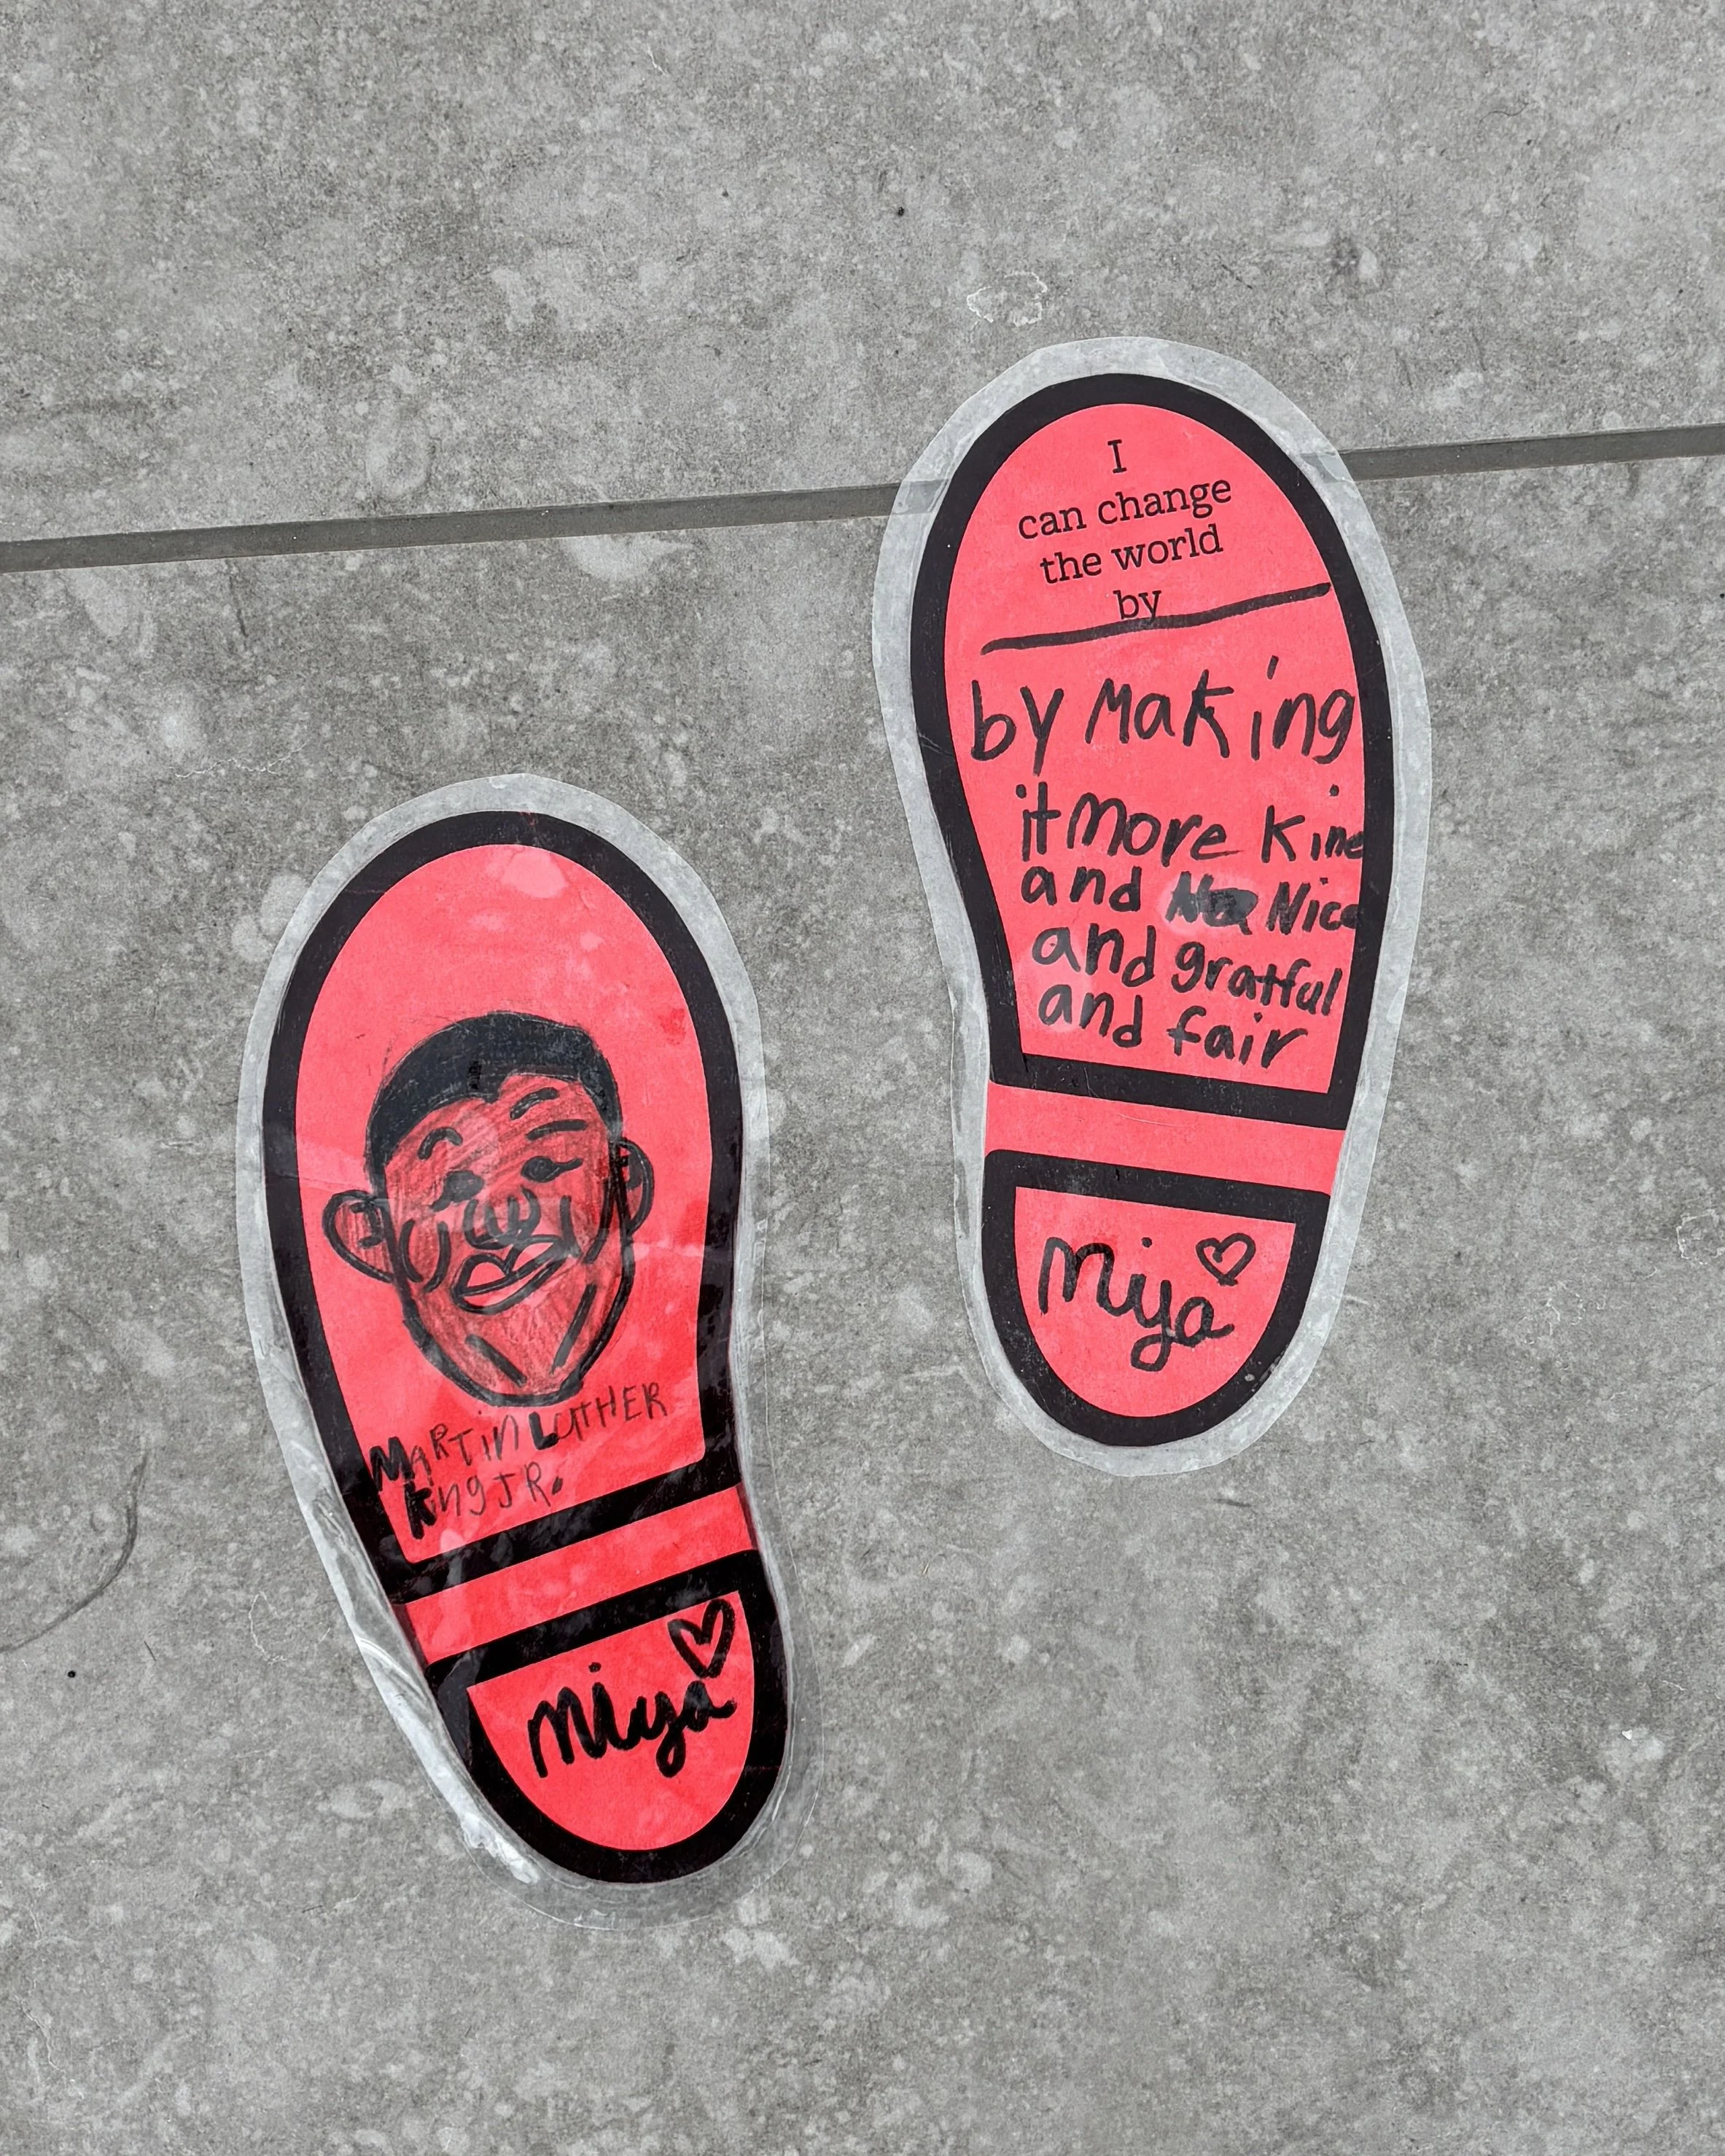
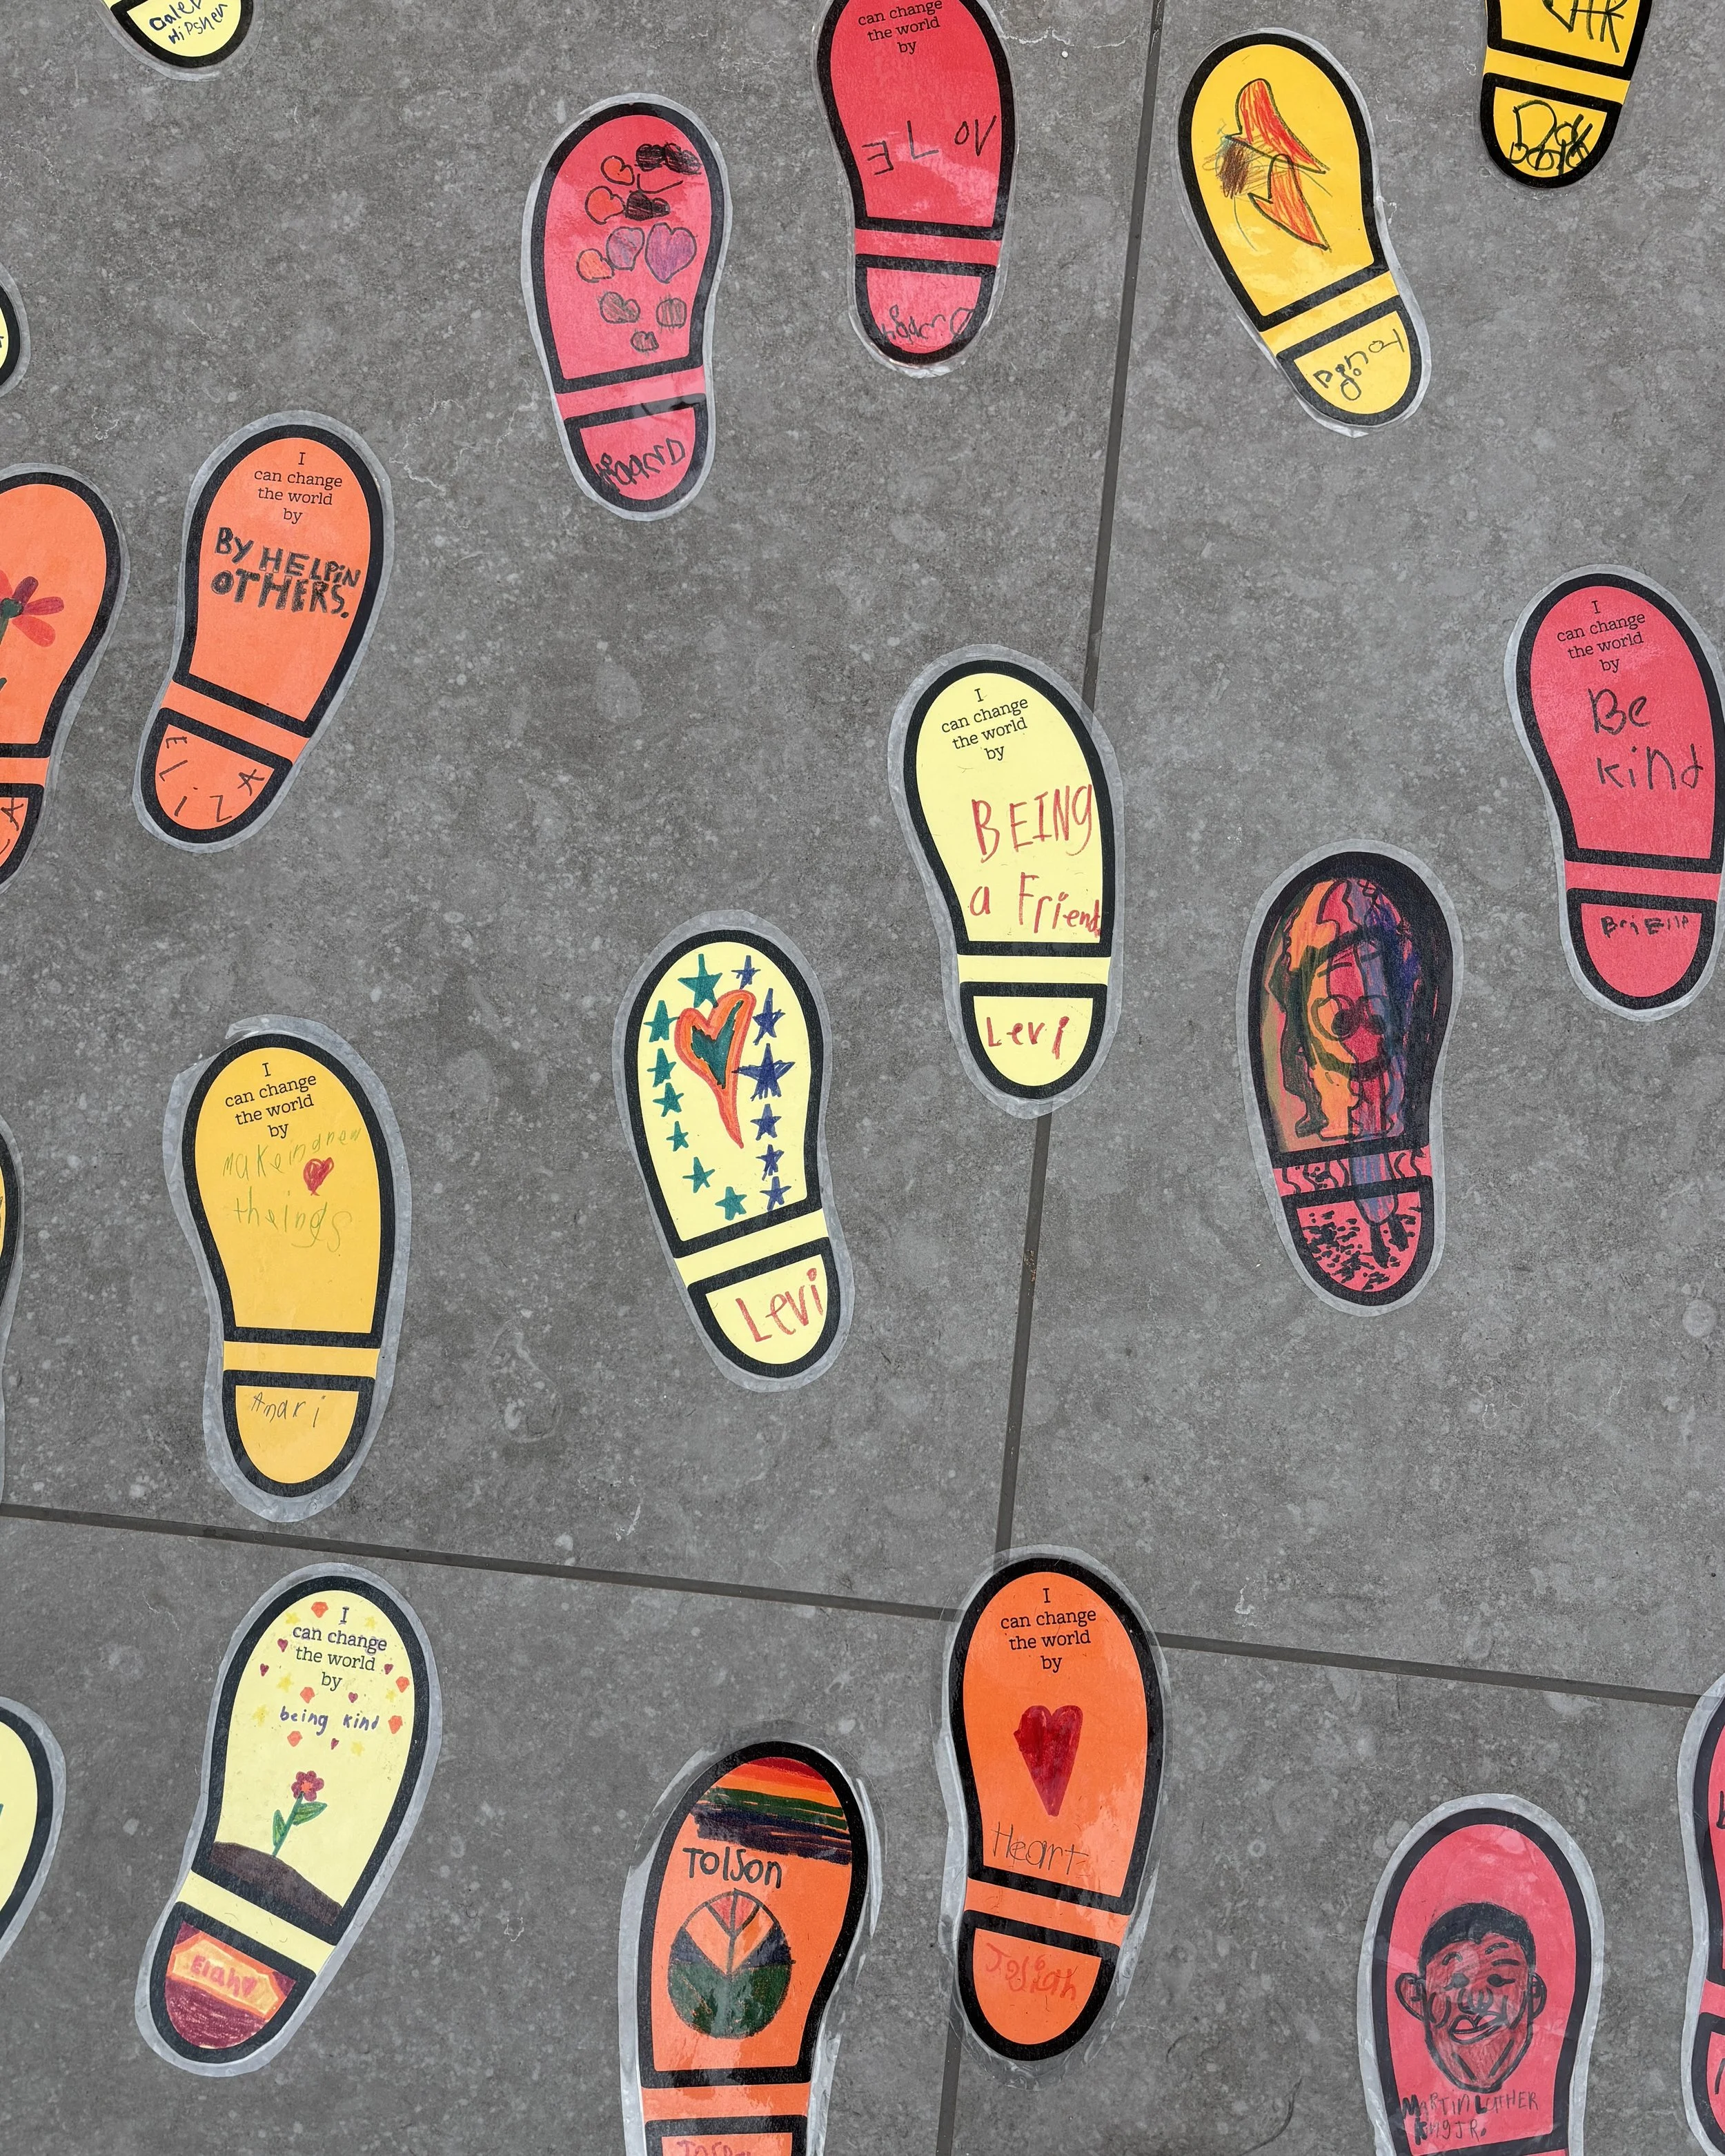
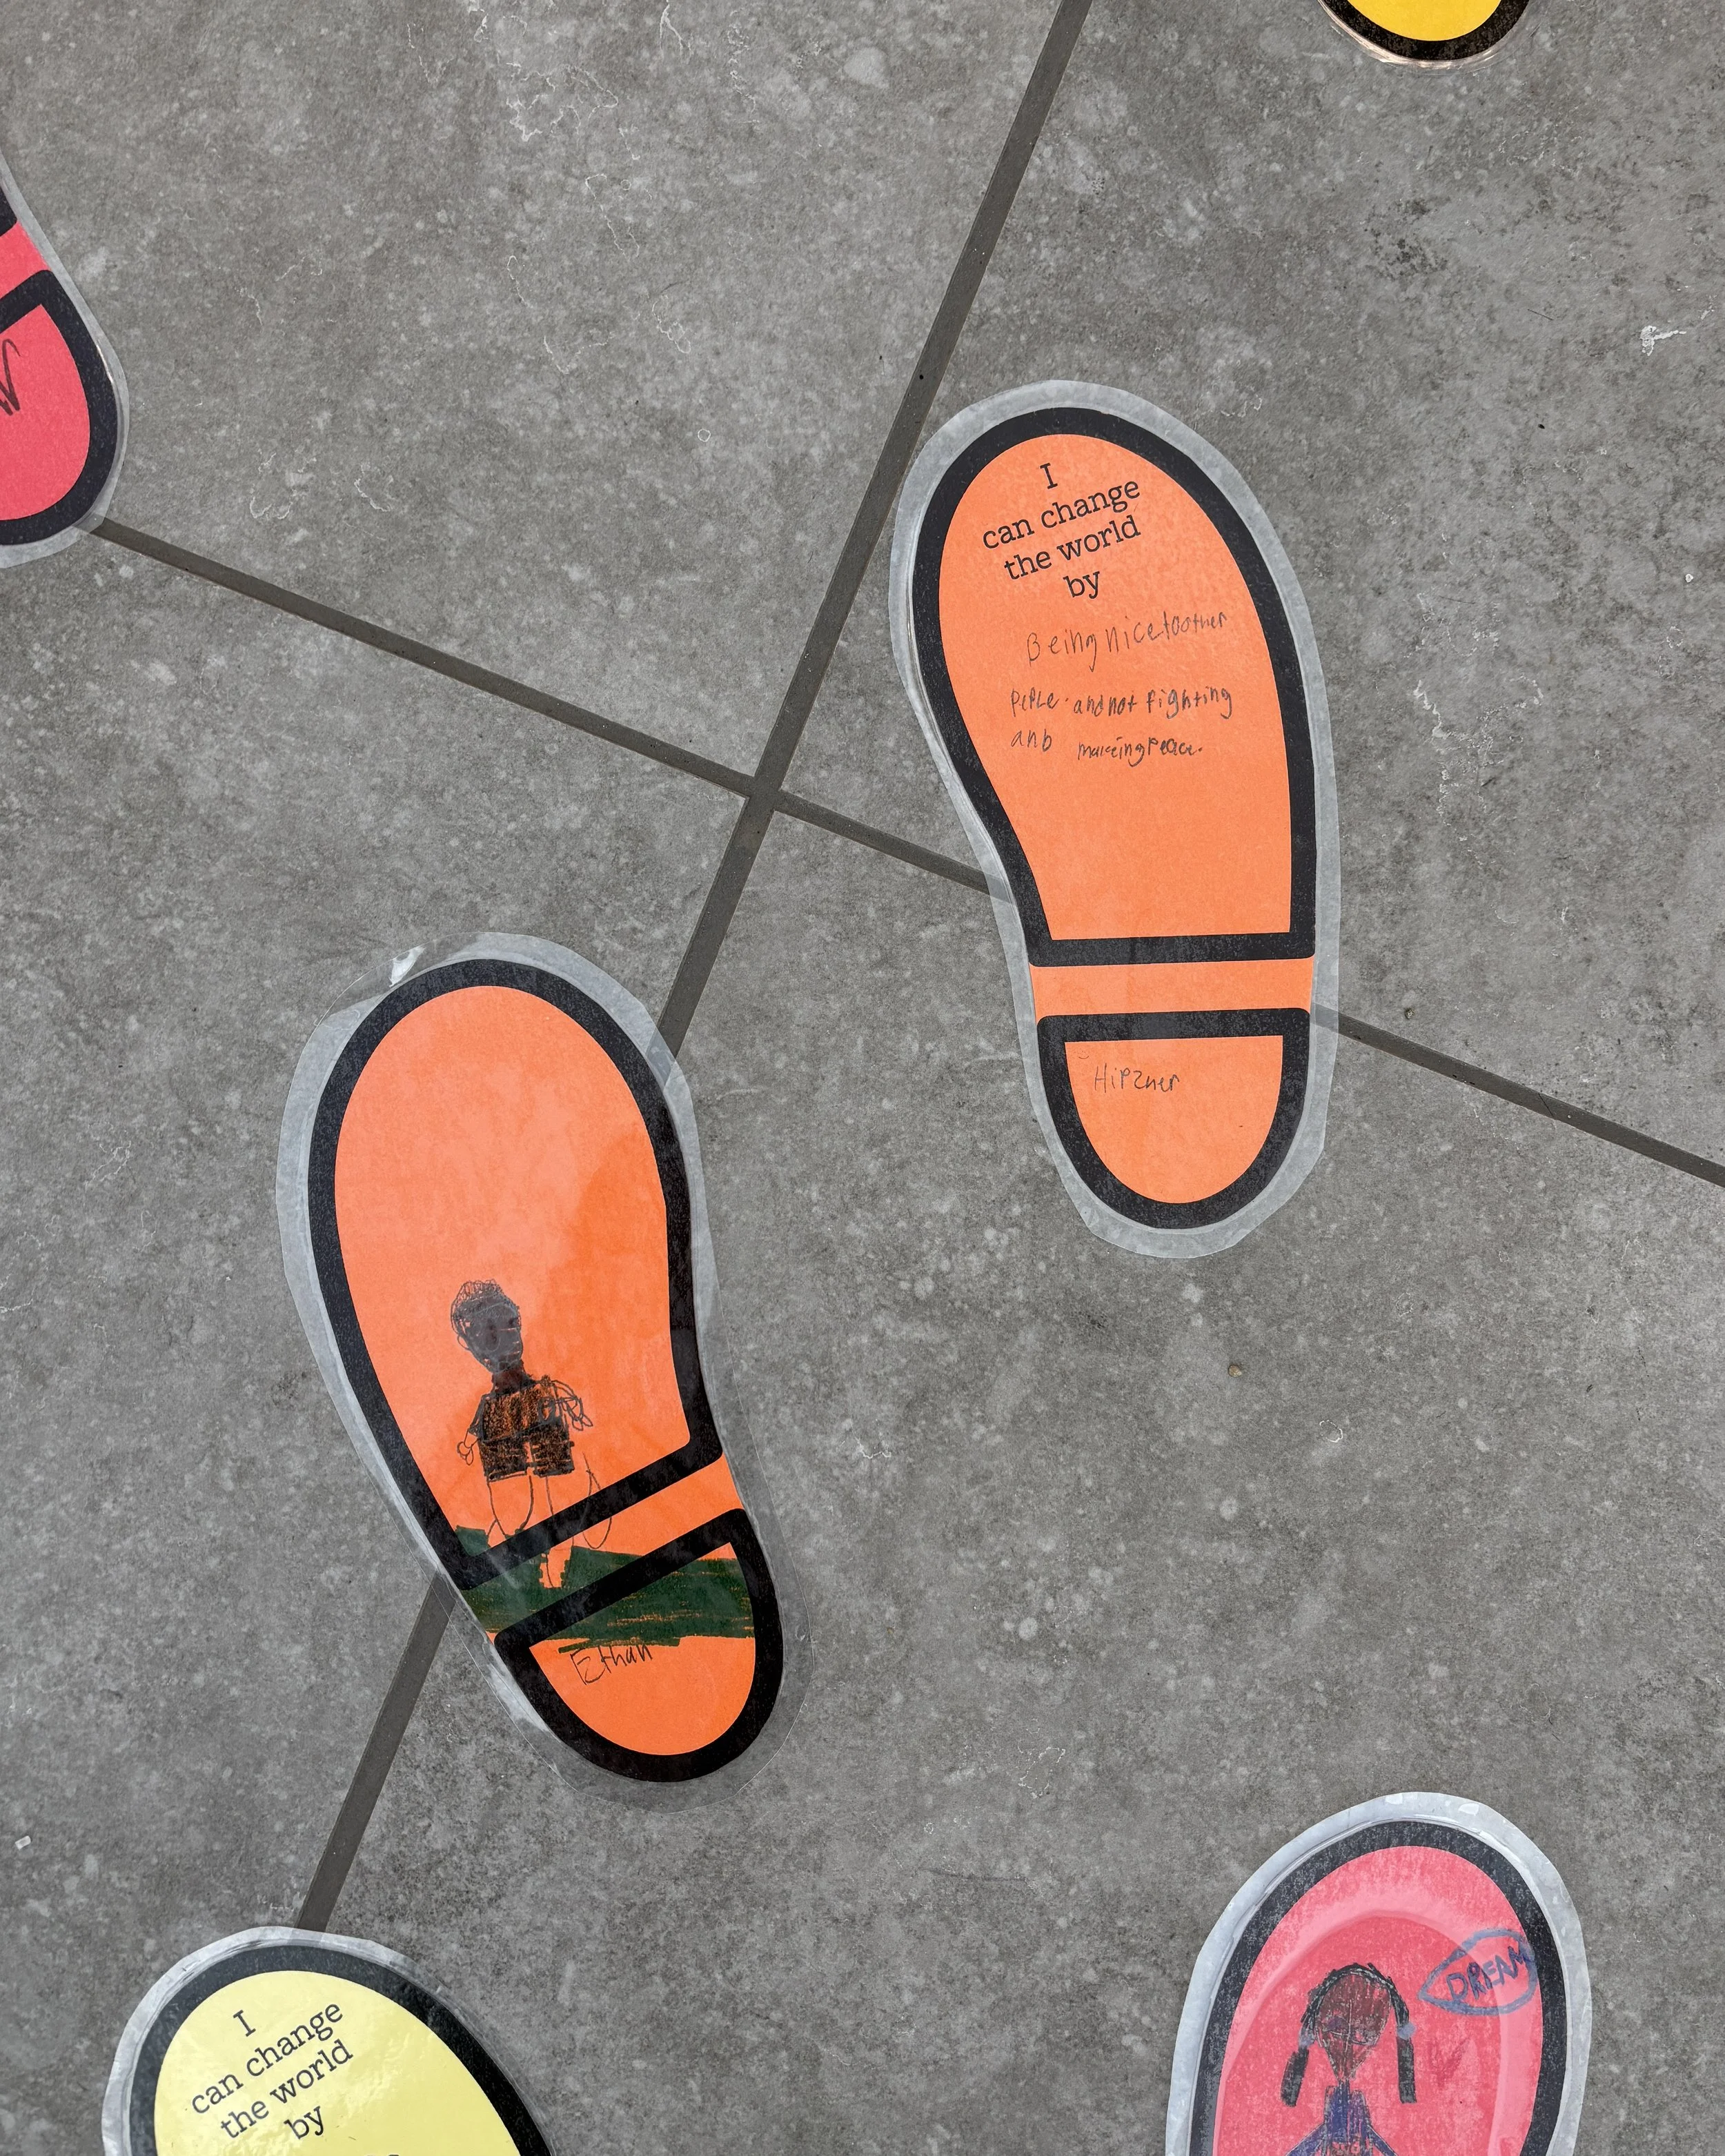
Students will learn about Martin Luther King Jr.'s peaceful marches and their significance in the Civil Rights Movement. They will understand the power of collective action by creating a visual representation of a "marching path" made from their own decorated footprints.
Materials
Large sheets of white paper or a roll of butcher paper
Markers, crayons, and colored pencils
Scissors, Glue or tape
Pre-drawn templates of footprints and poster boards
Example phrases or prompts (e.g., "I dream of..." or "My message is...")
Preparation:
Create a simple slideshow or printouts with images of Martin Luther King Jr., civil rights marches, and key slogans (e.g., "Equal Rights for All," "Justice for Everyone").
Prepare a short story or speech to explain MLK's peaceful marches in simple terms.
Lesson Outline
Introduction (10minutes):
1. Tell students about Martin Luther King Jr. and how he led peaceful marches during the Civil Rights Movement to fight against unfair treatment of Black people and other minorities.
2. Discuss Question:
- "Have you ever seen people work together to help someone or make something better? What did they do?"
- "Why do you think Dr. King chose to march instead of fight?"Hands-On Activity (30 minutes): Marching Footsteps
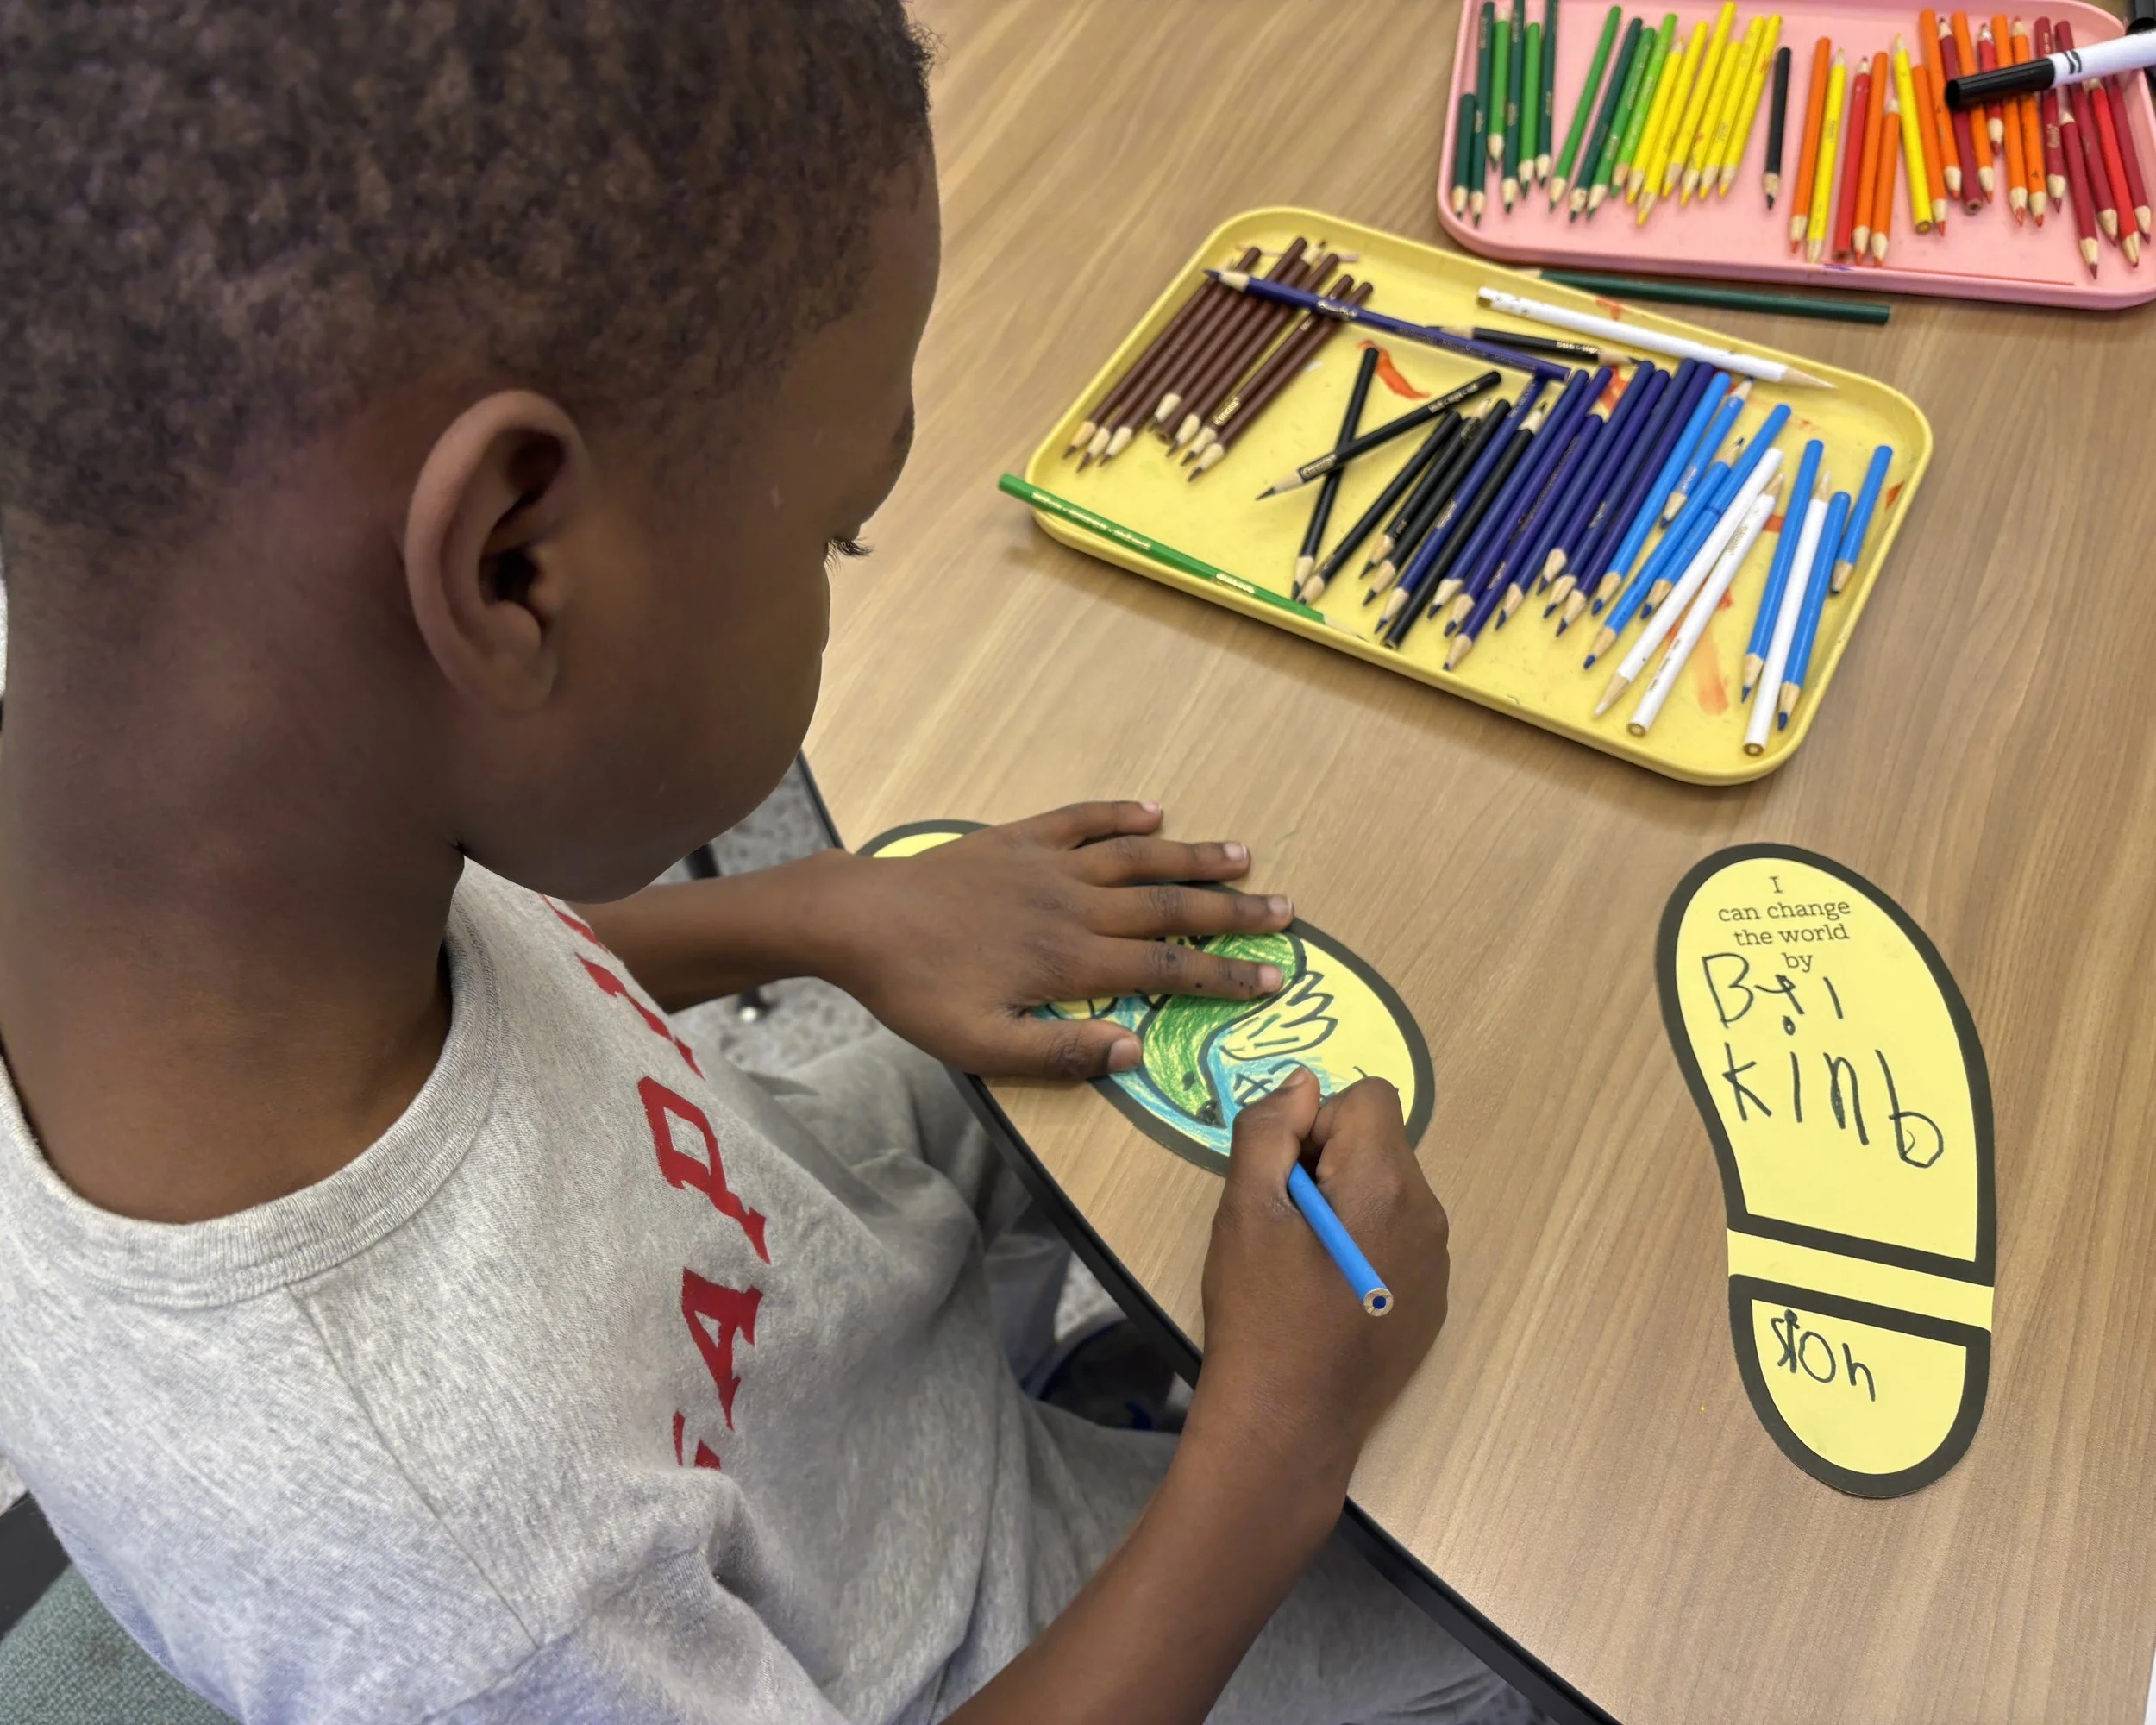
1. Give each student a pre-drawn footprint template.
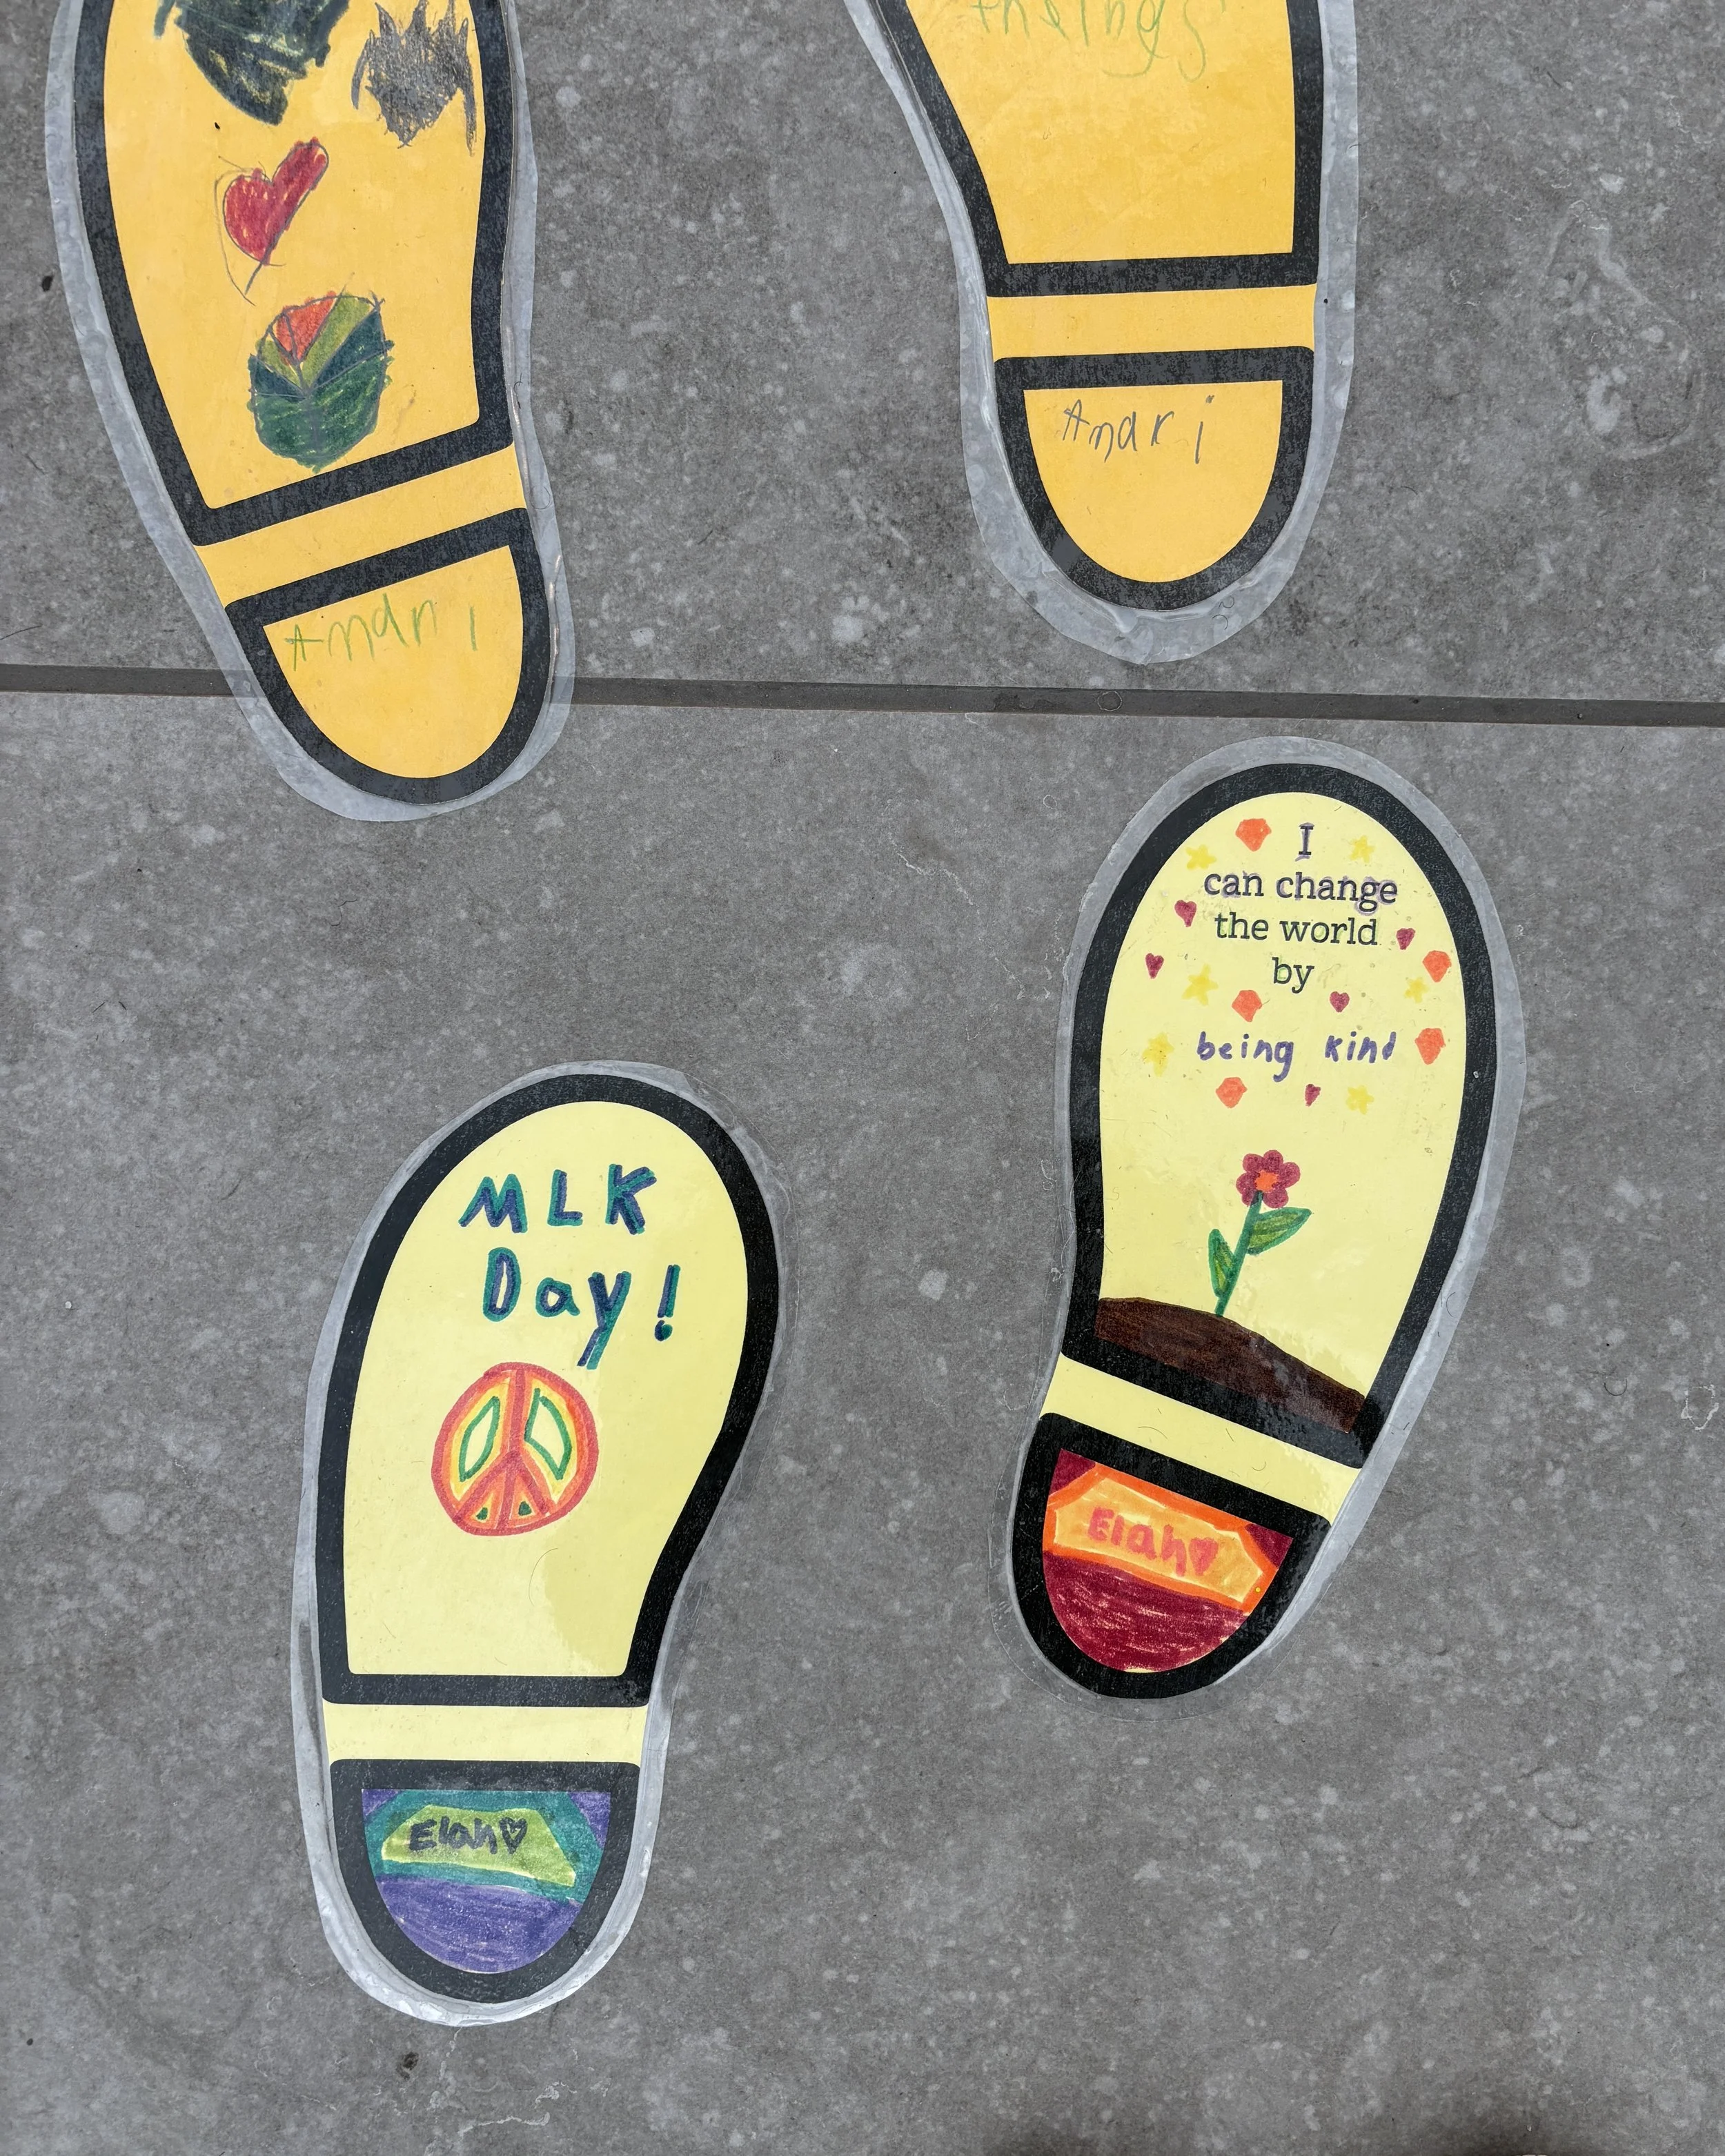
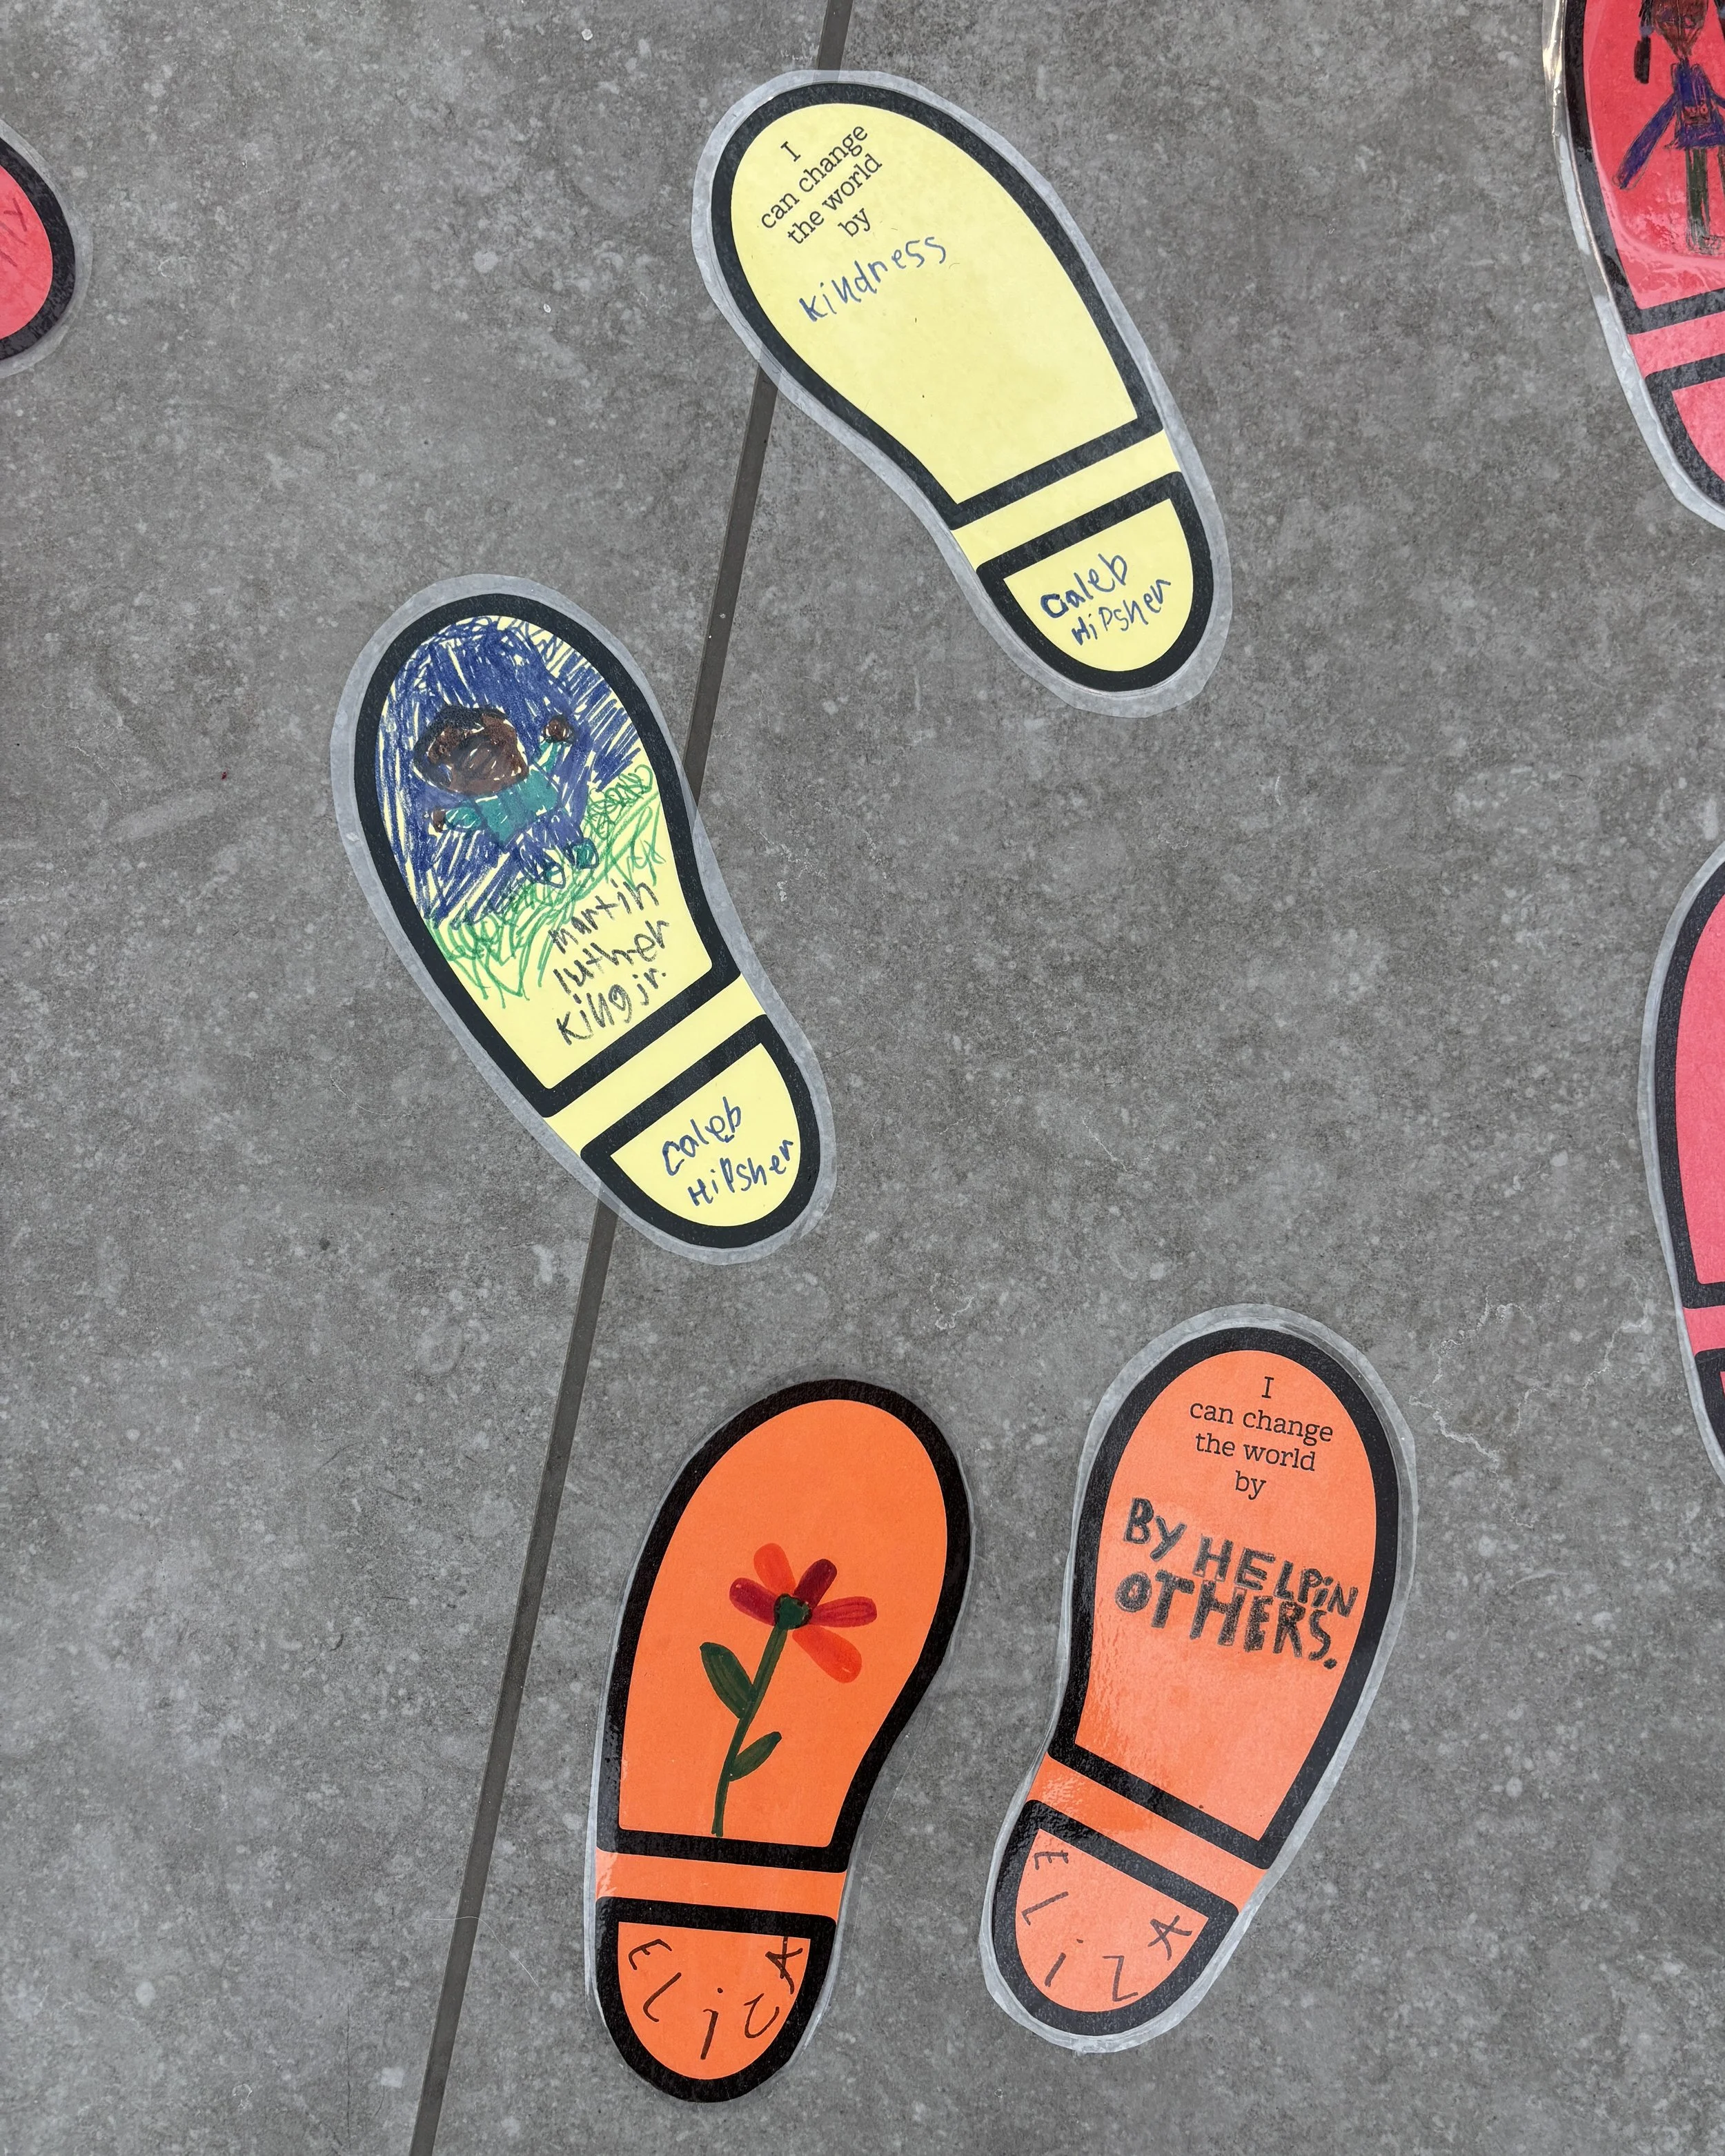
2. Add a message: Ask students to write or draw something on their footprint that represents "equality", "kindness", "peace" and etc,.
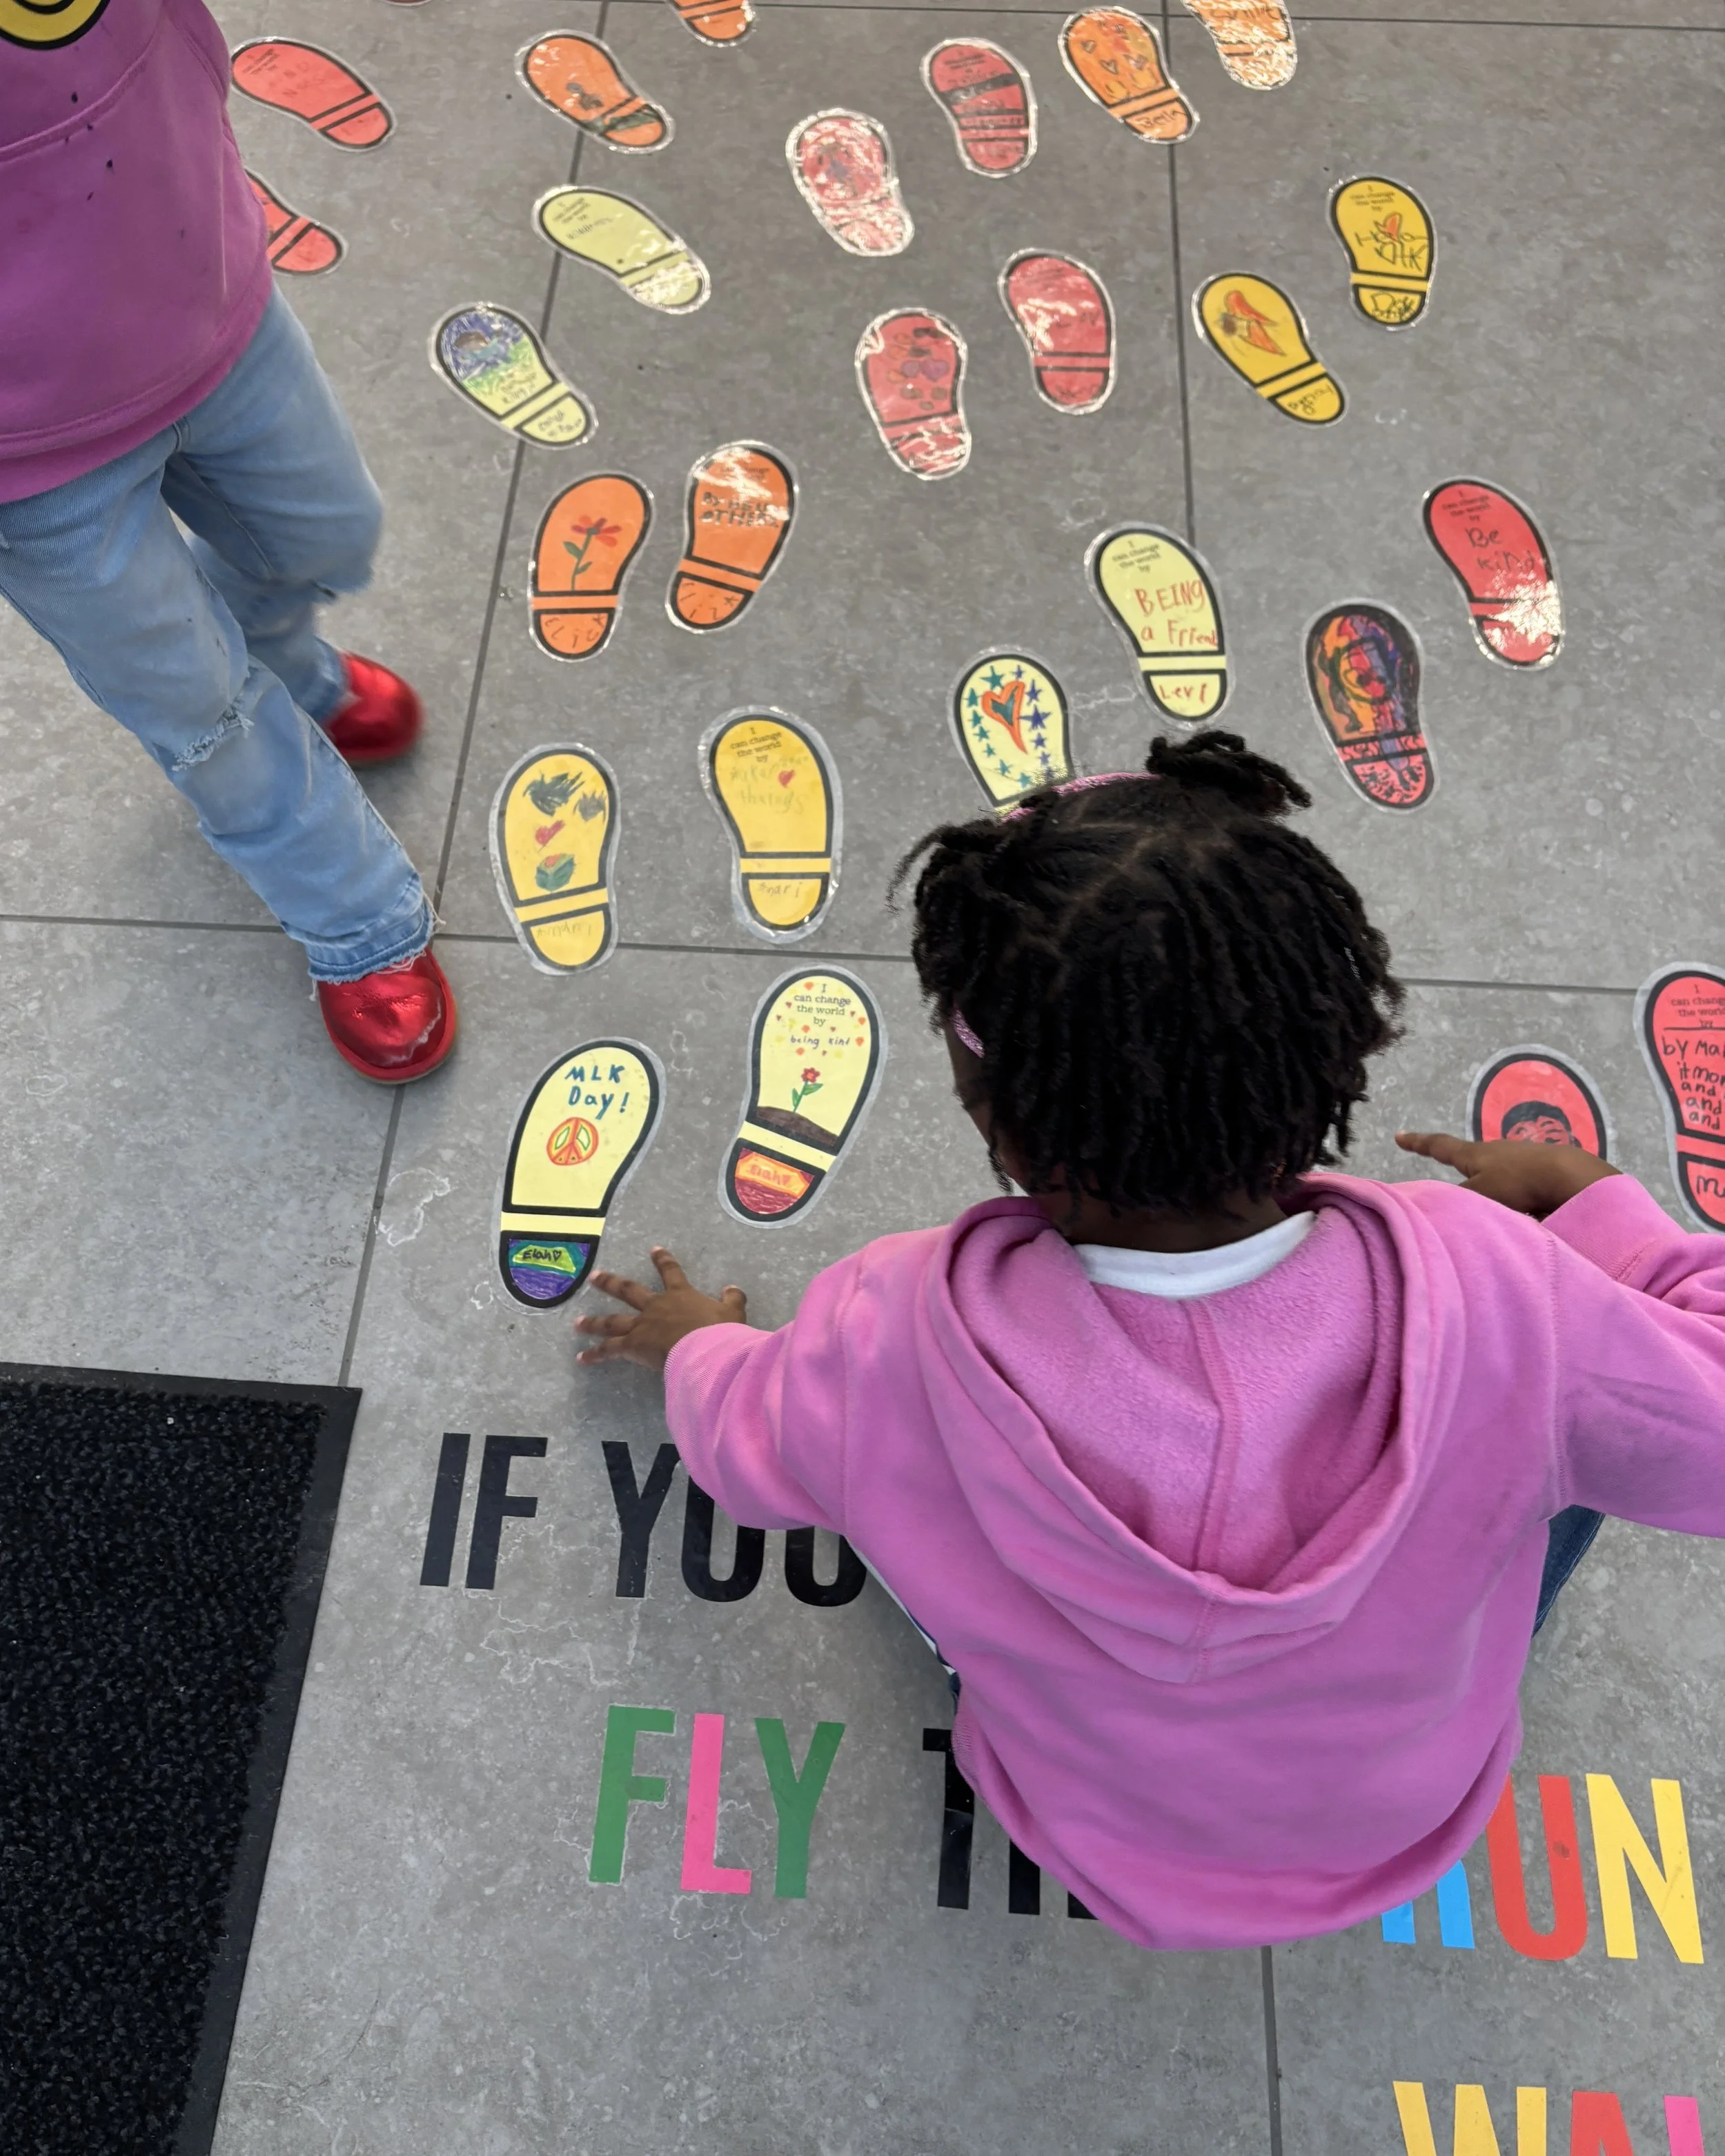
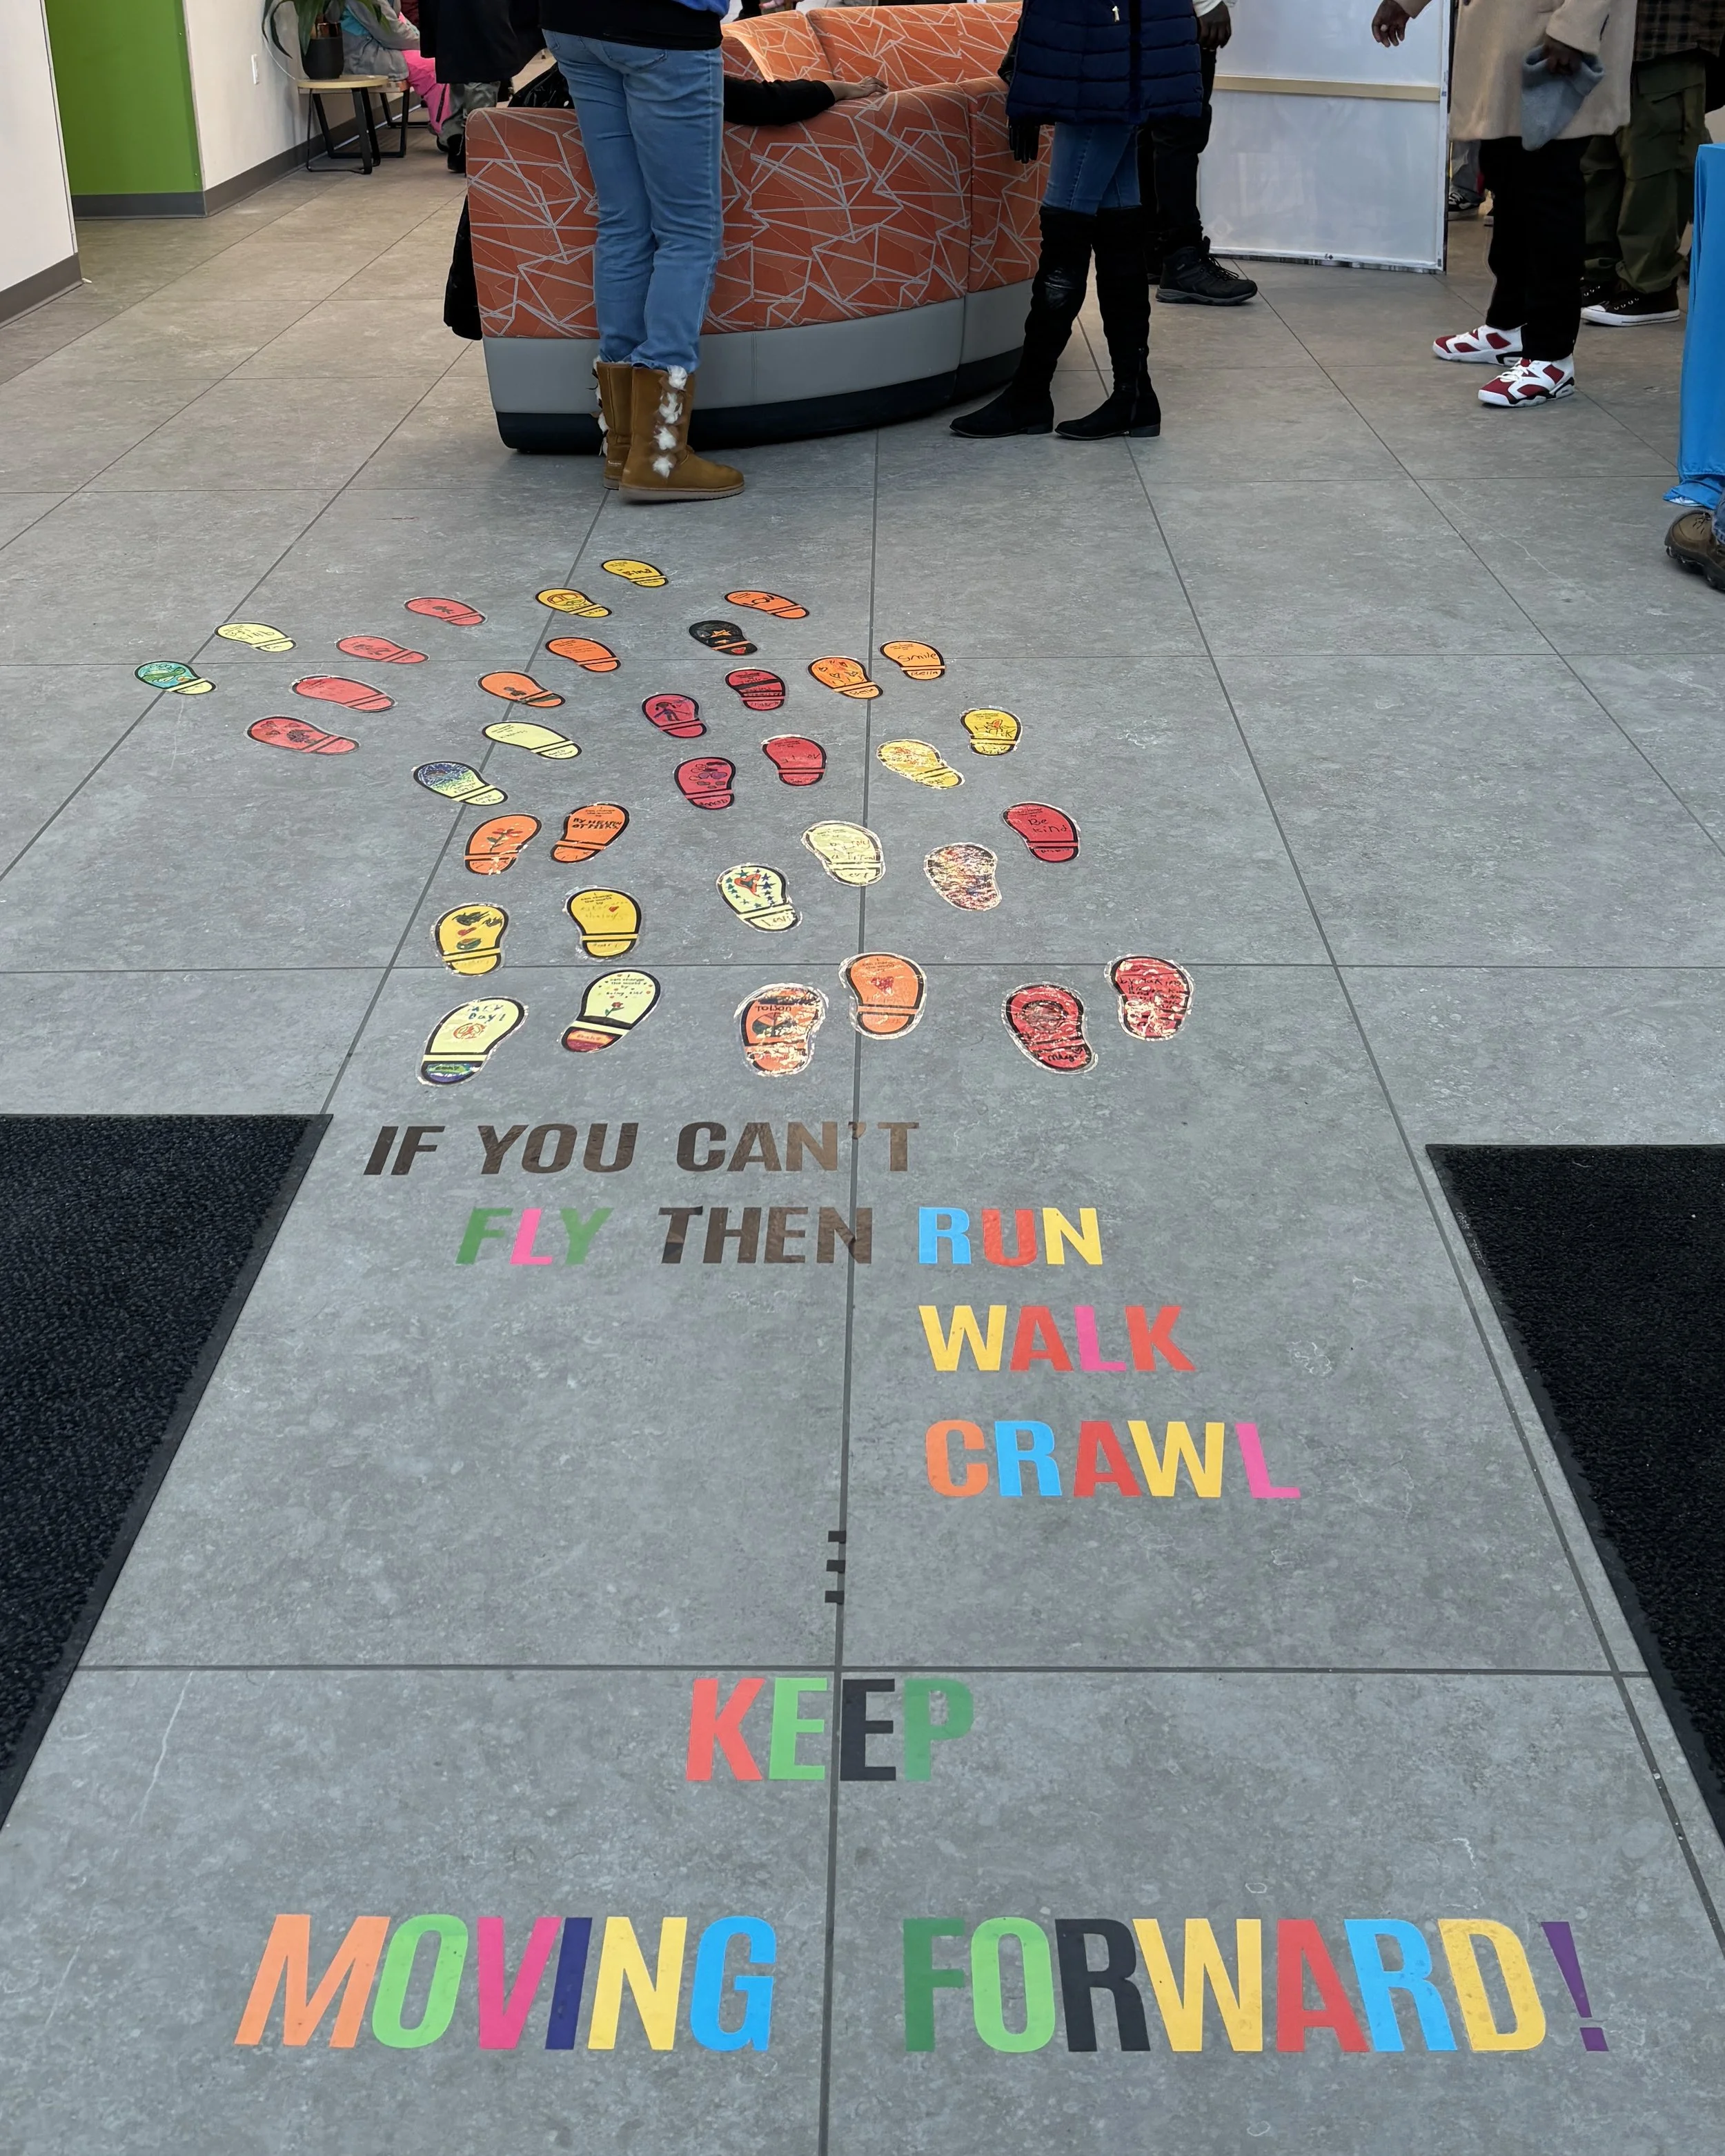
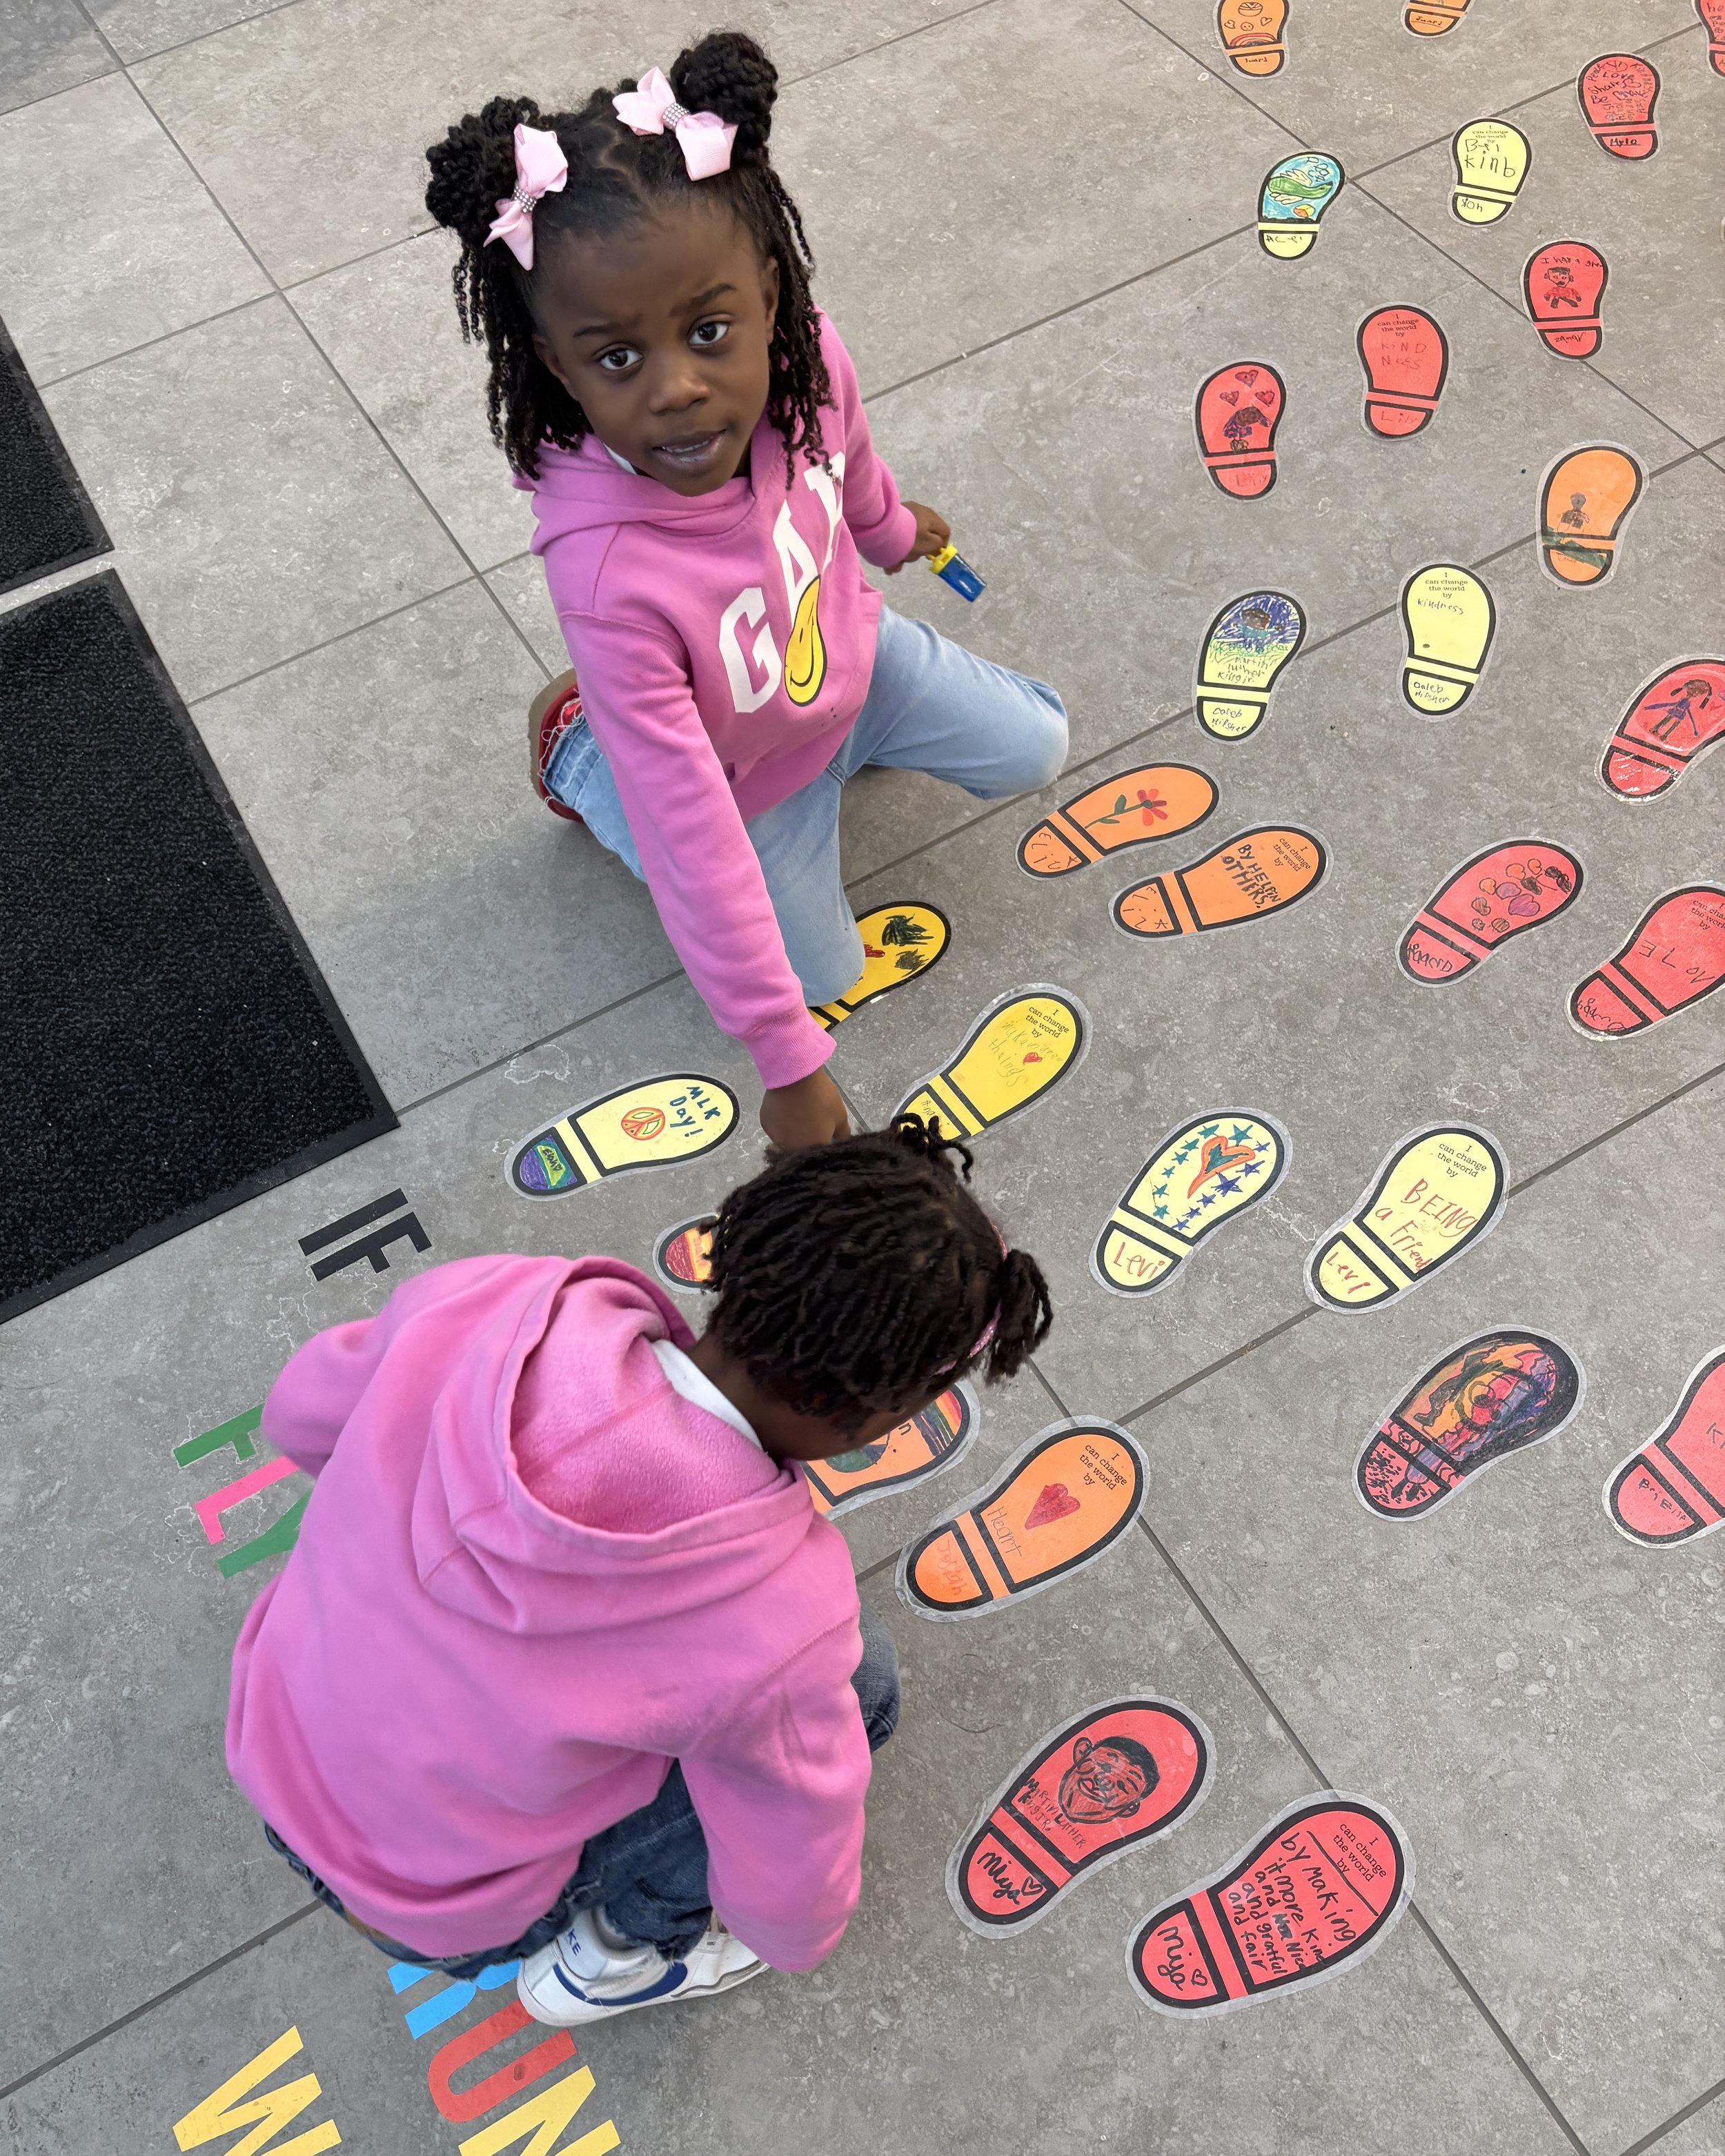
3. Create the path: Once all the footprints are ready, gather as a group to tape or glue them in a long line on a banner, hallway wall, or classroom floor. Arrange the footprints in a way that resembles a march.
Sharing and Appreciation (10 minutes):
1. Students appreciate the completed path together, allowing them to feel that their individual pieces are part of a greater whole.
2.Reflection Questions:
- "What do you notice about our path? How does it feel to see everyone’s footprints together?"
- “Why is it important that everyone’s piece is part of the whole path?”
- "How do you think Dr. King felt when so many people marched with him?"
Even small steps can lead to big changes when we work together.
Each footprint in our march is important, just like every person’s voice matters.
Painting the Sky with Claude Monet
Exploring
Color and Light
Inspired by Claude Monet
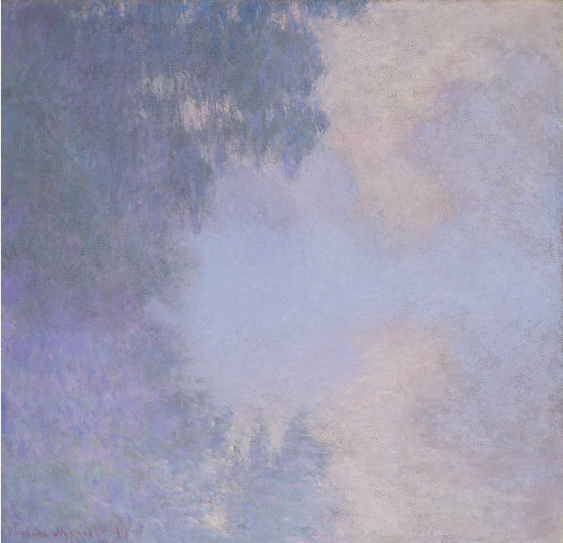
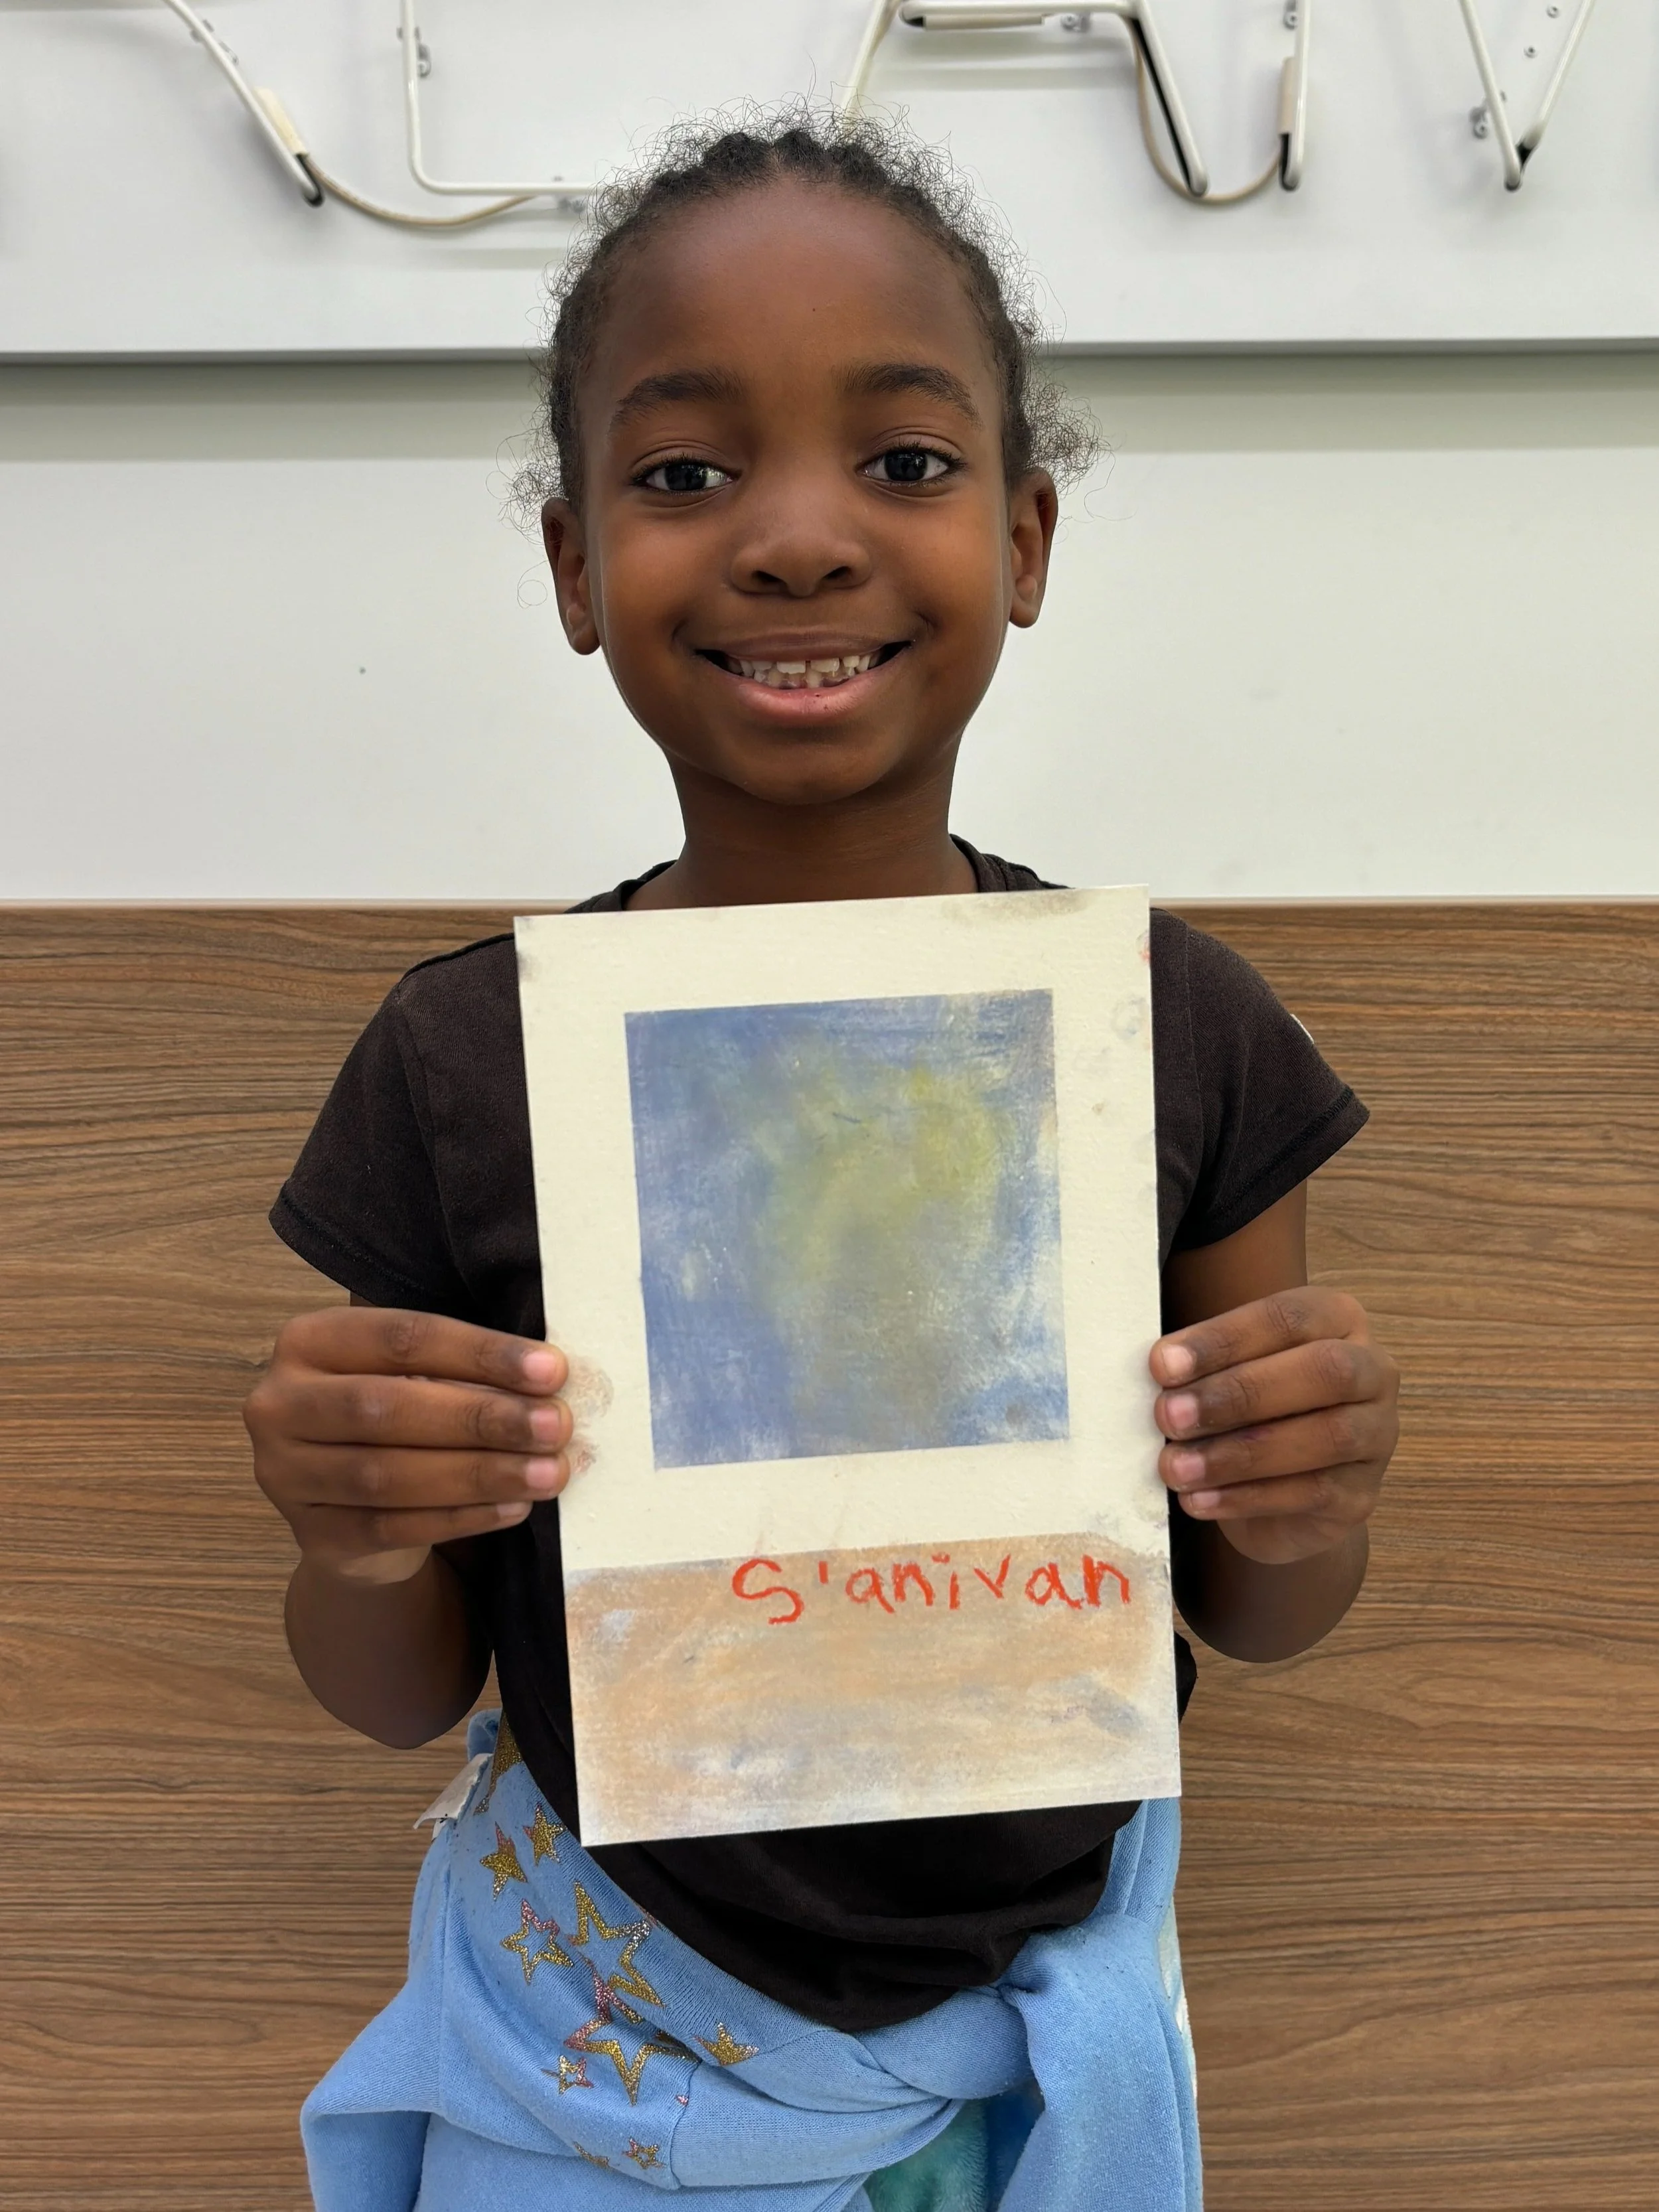
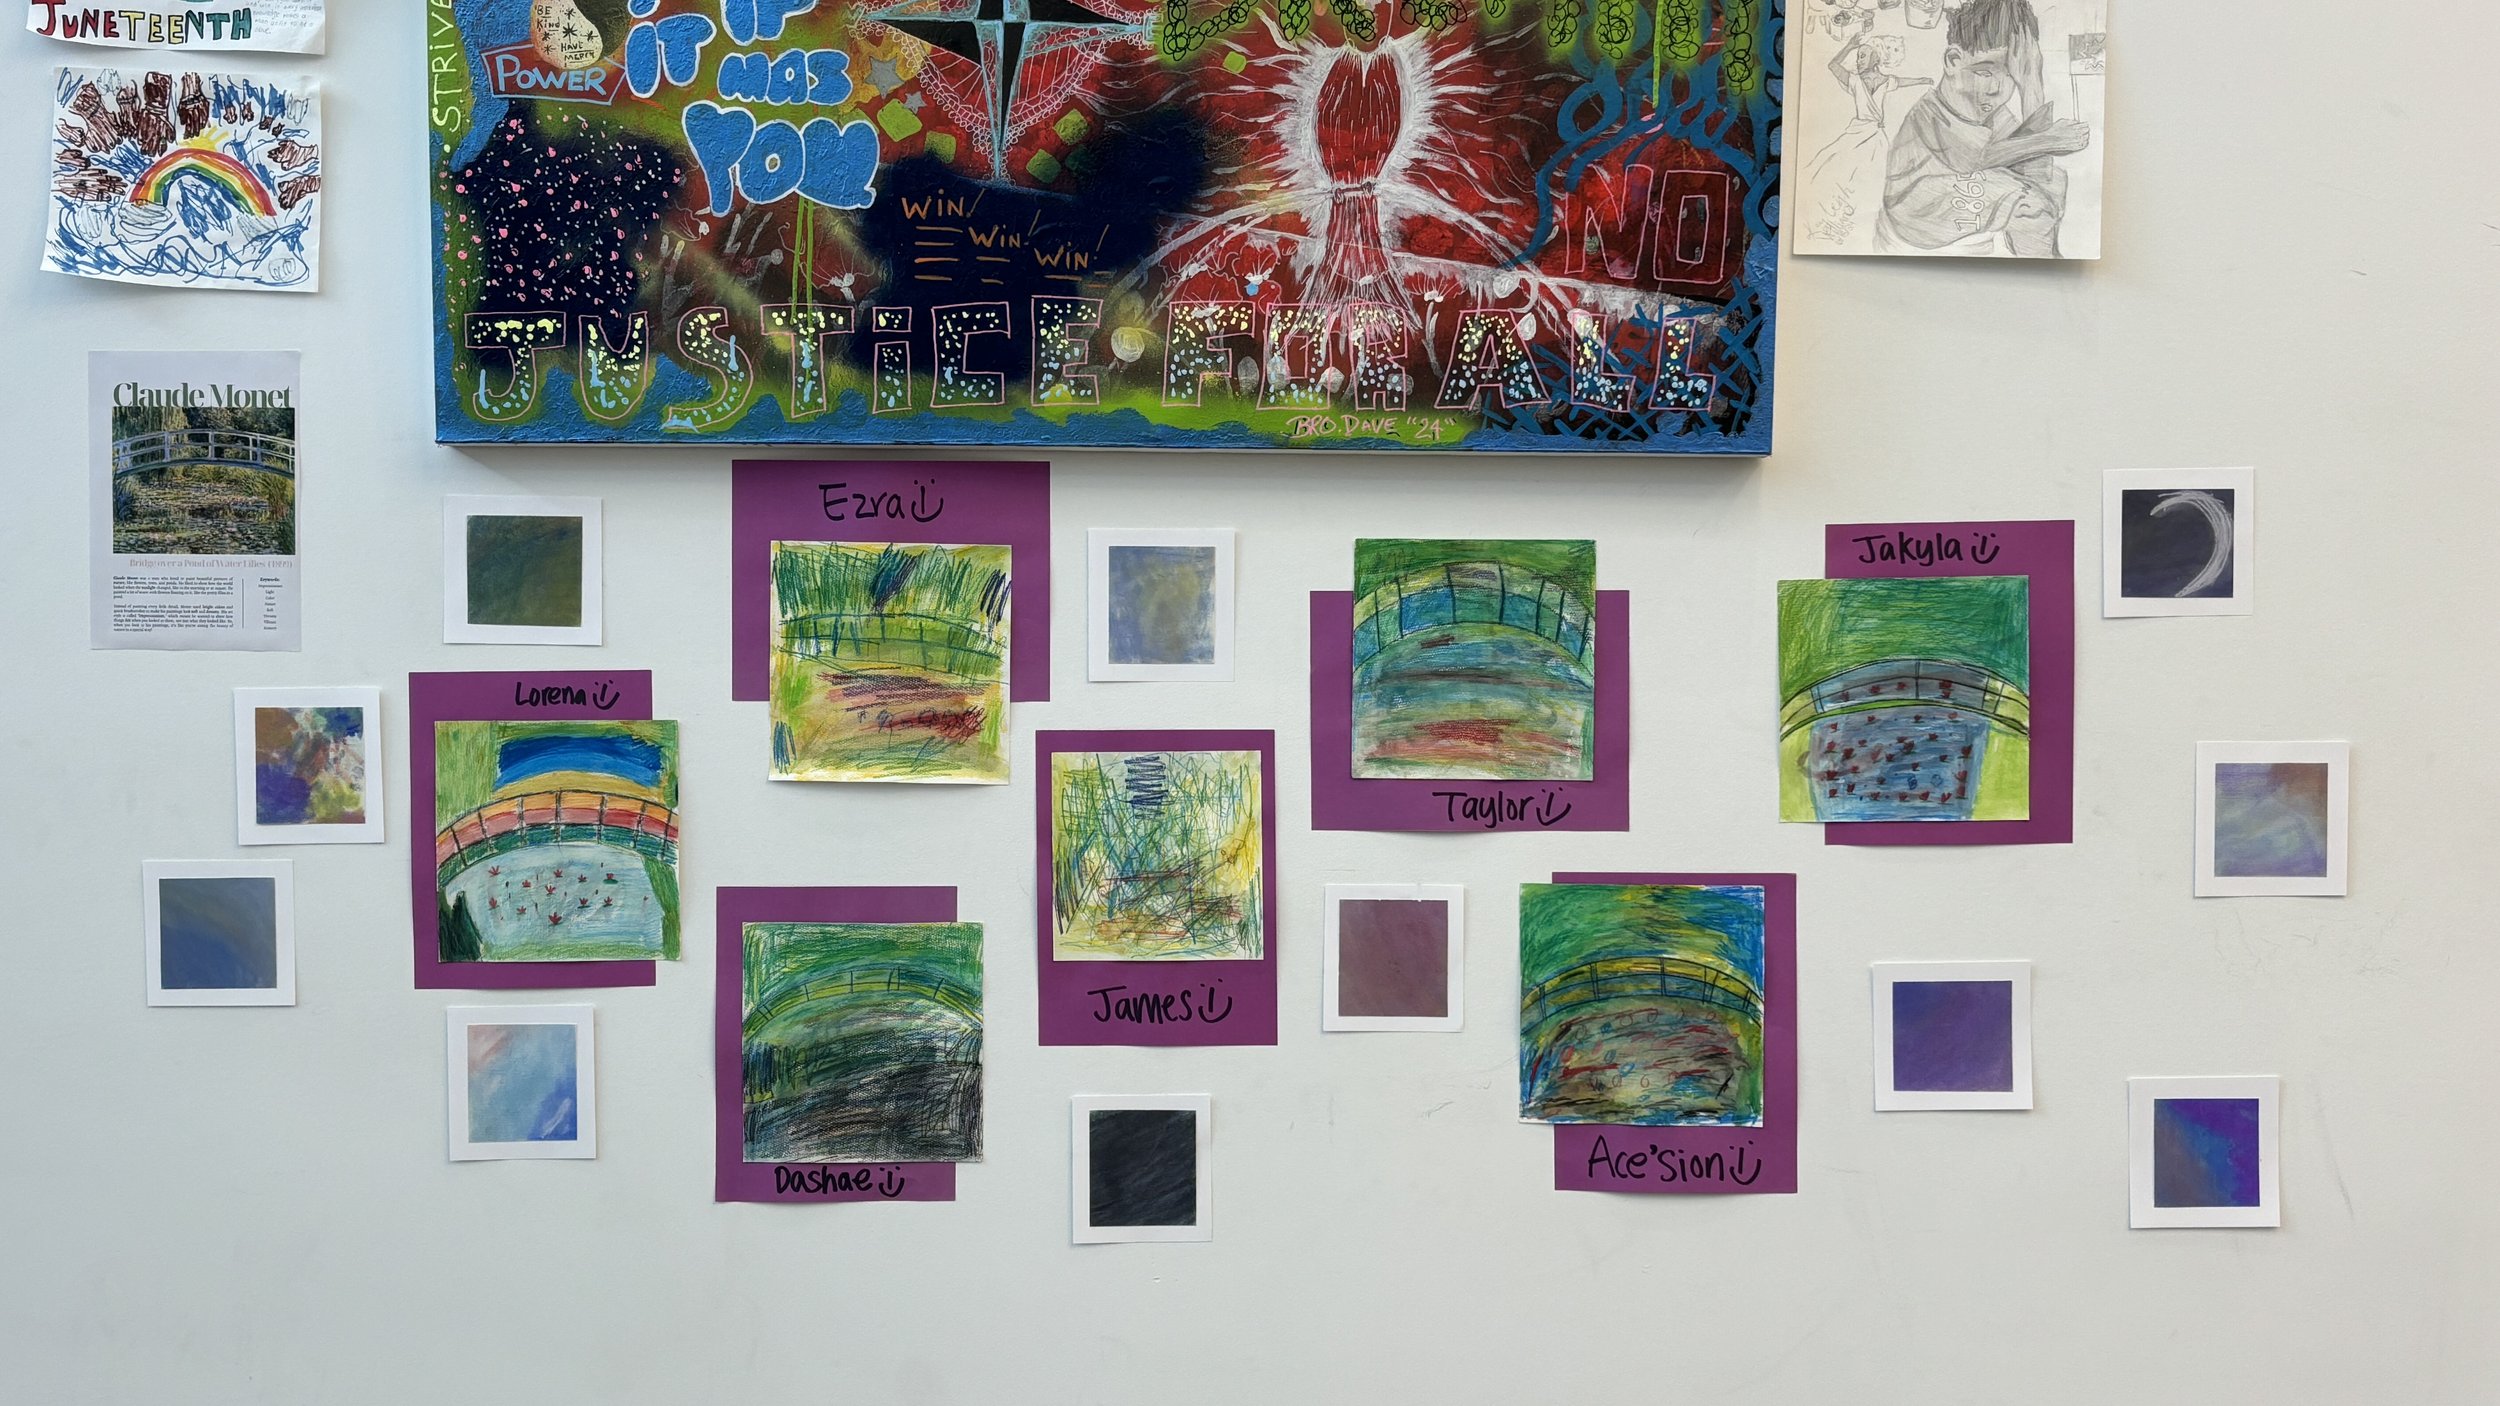
In this lesson, students will explore the art of Claude Monet, focusing on how he used color and light to capture the beauty of the sky.
By observing Monet’s Impressionist paintings, students will learn how artists express mood, time of day, and atmosphere through color.
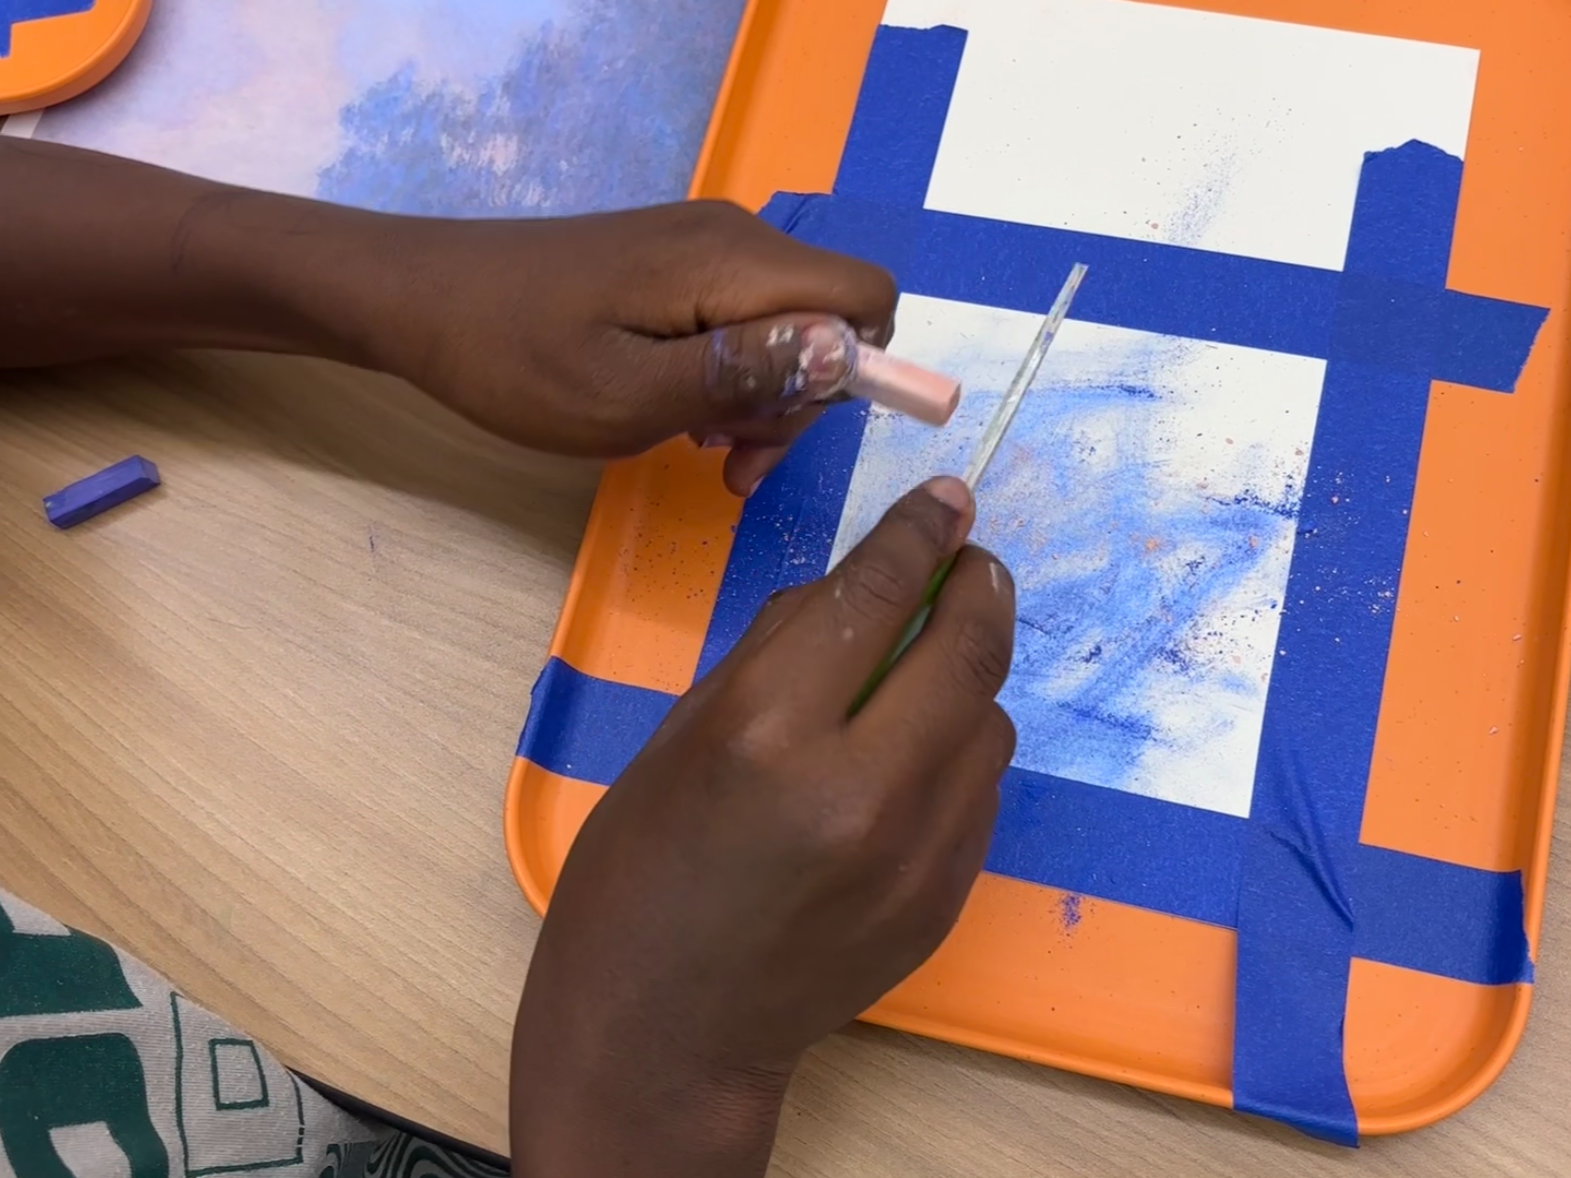
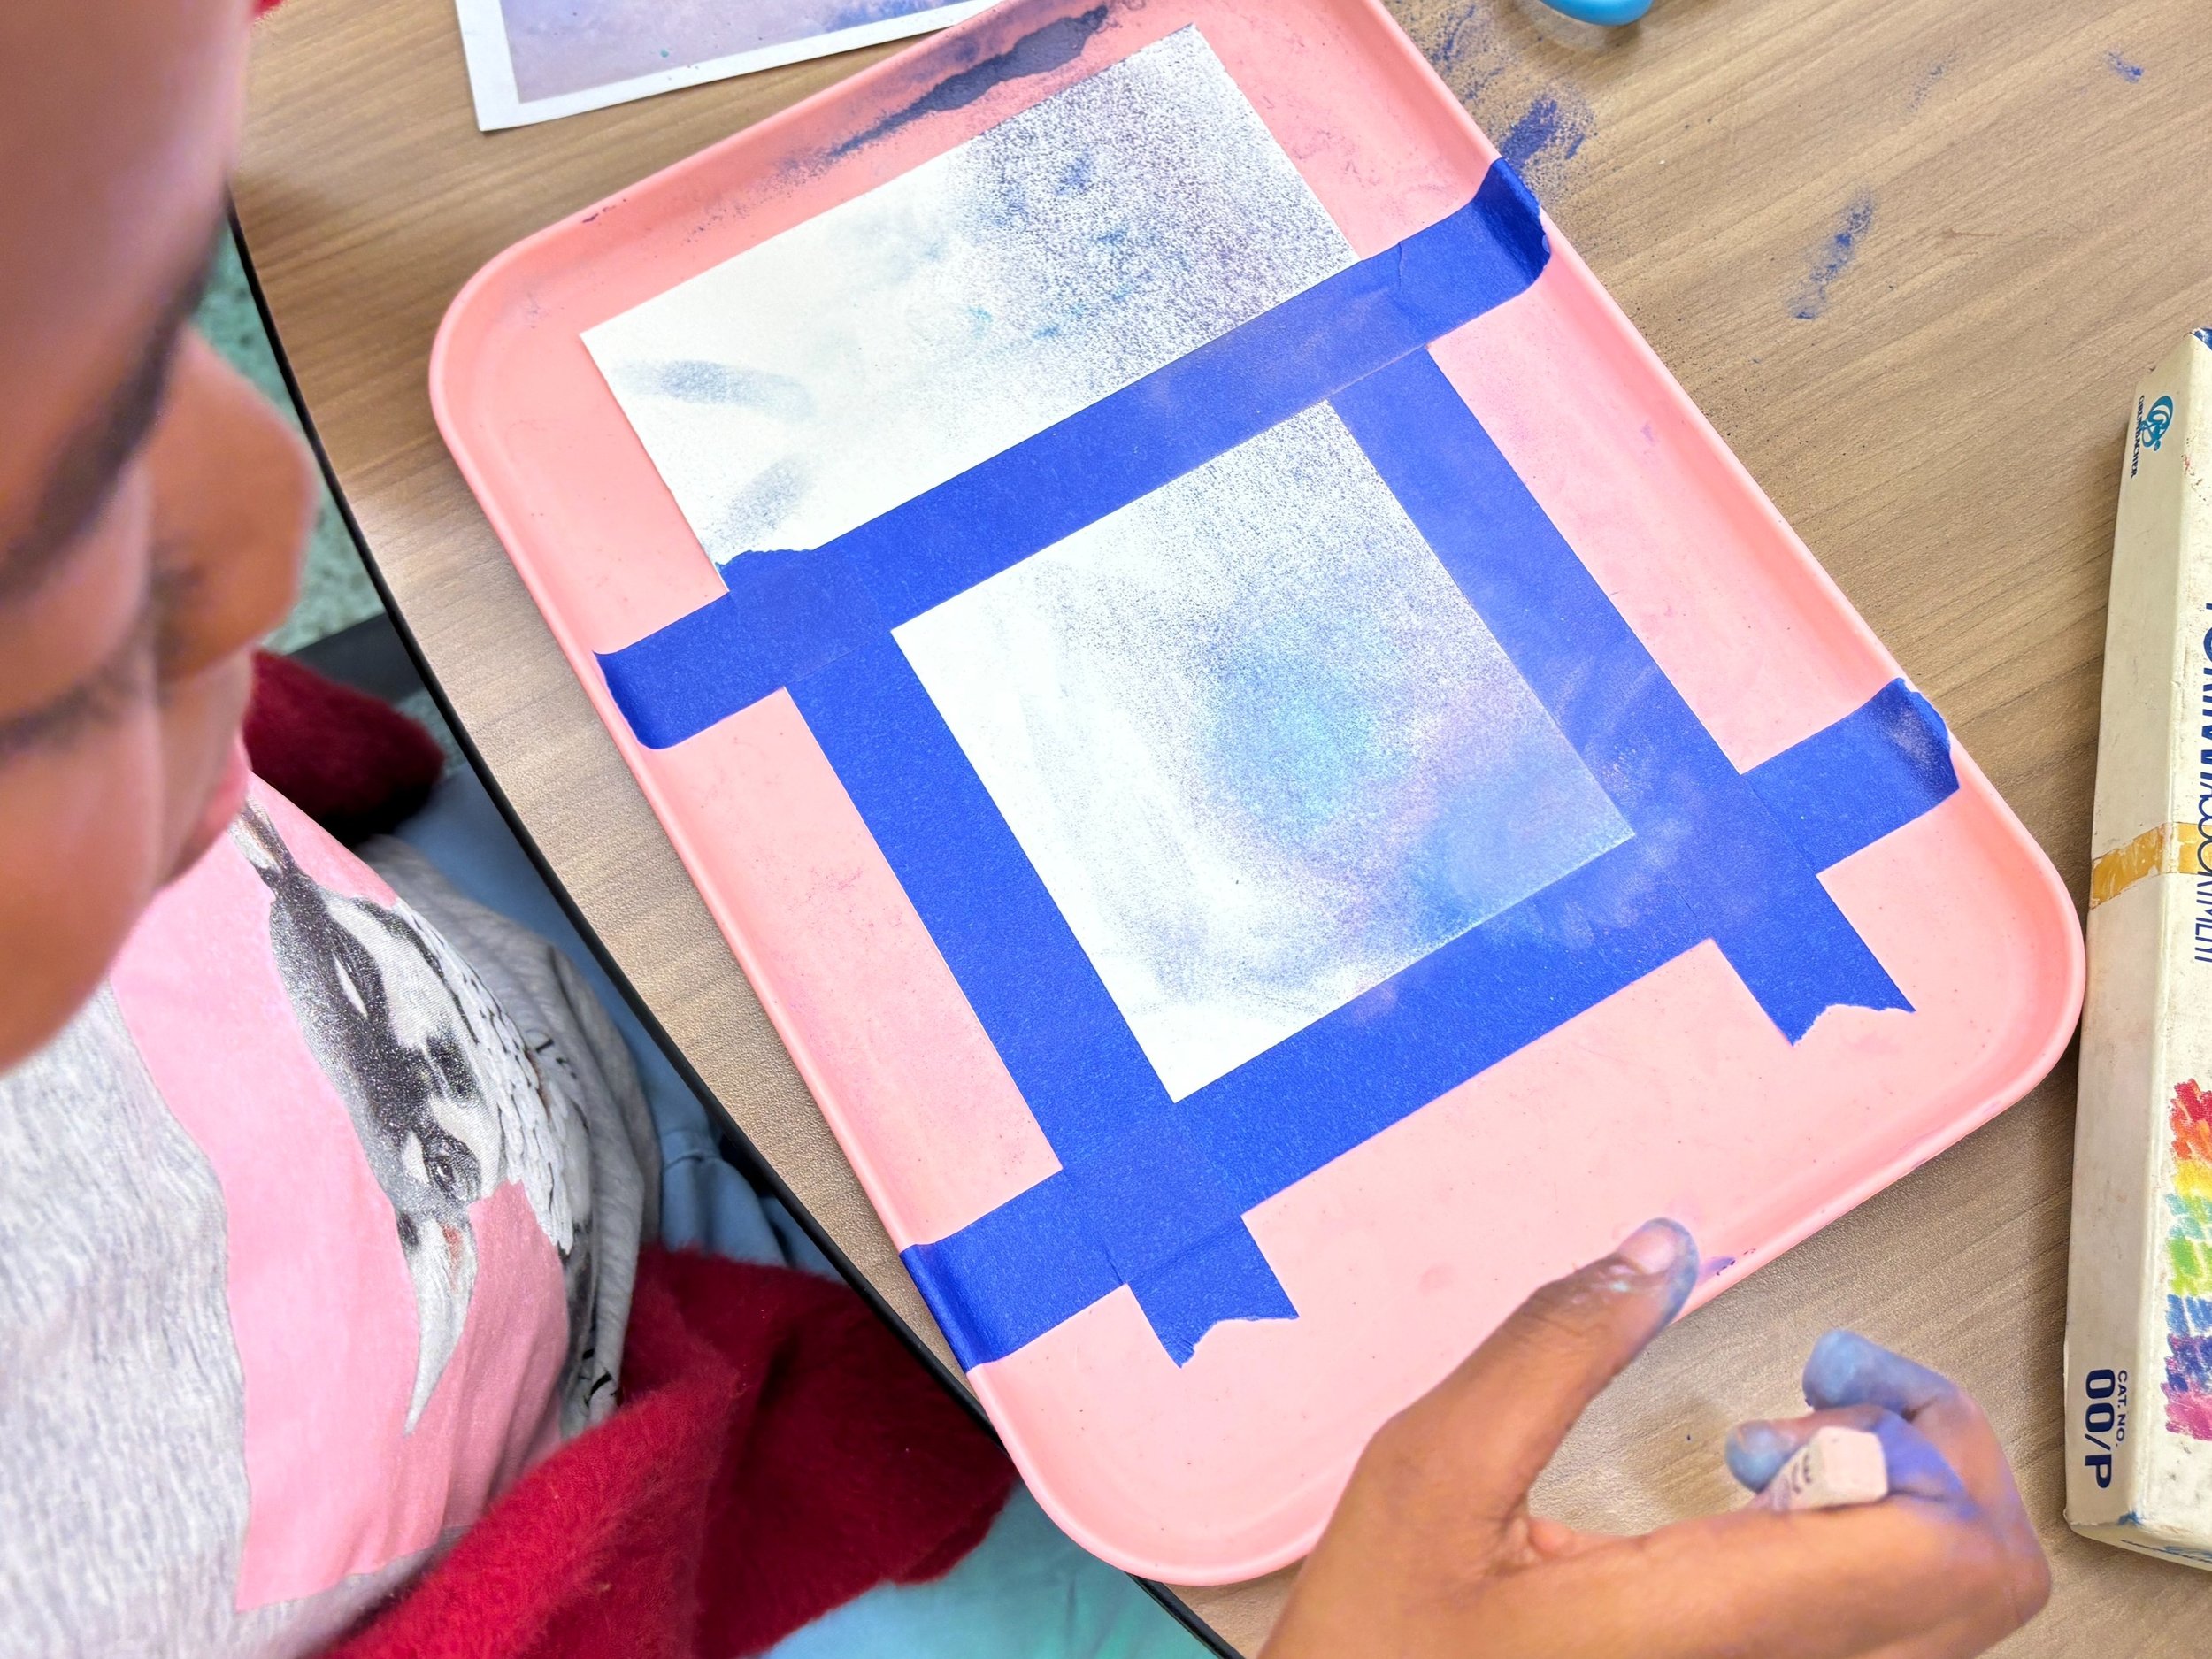
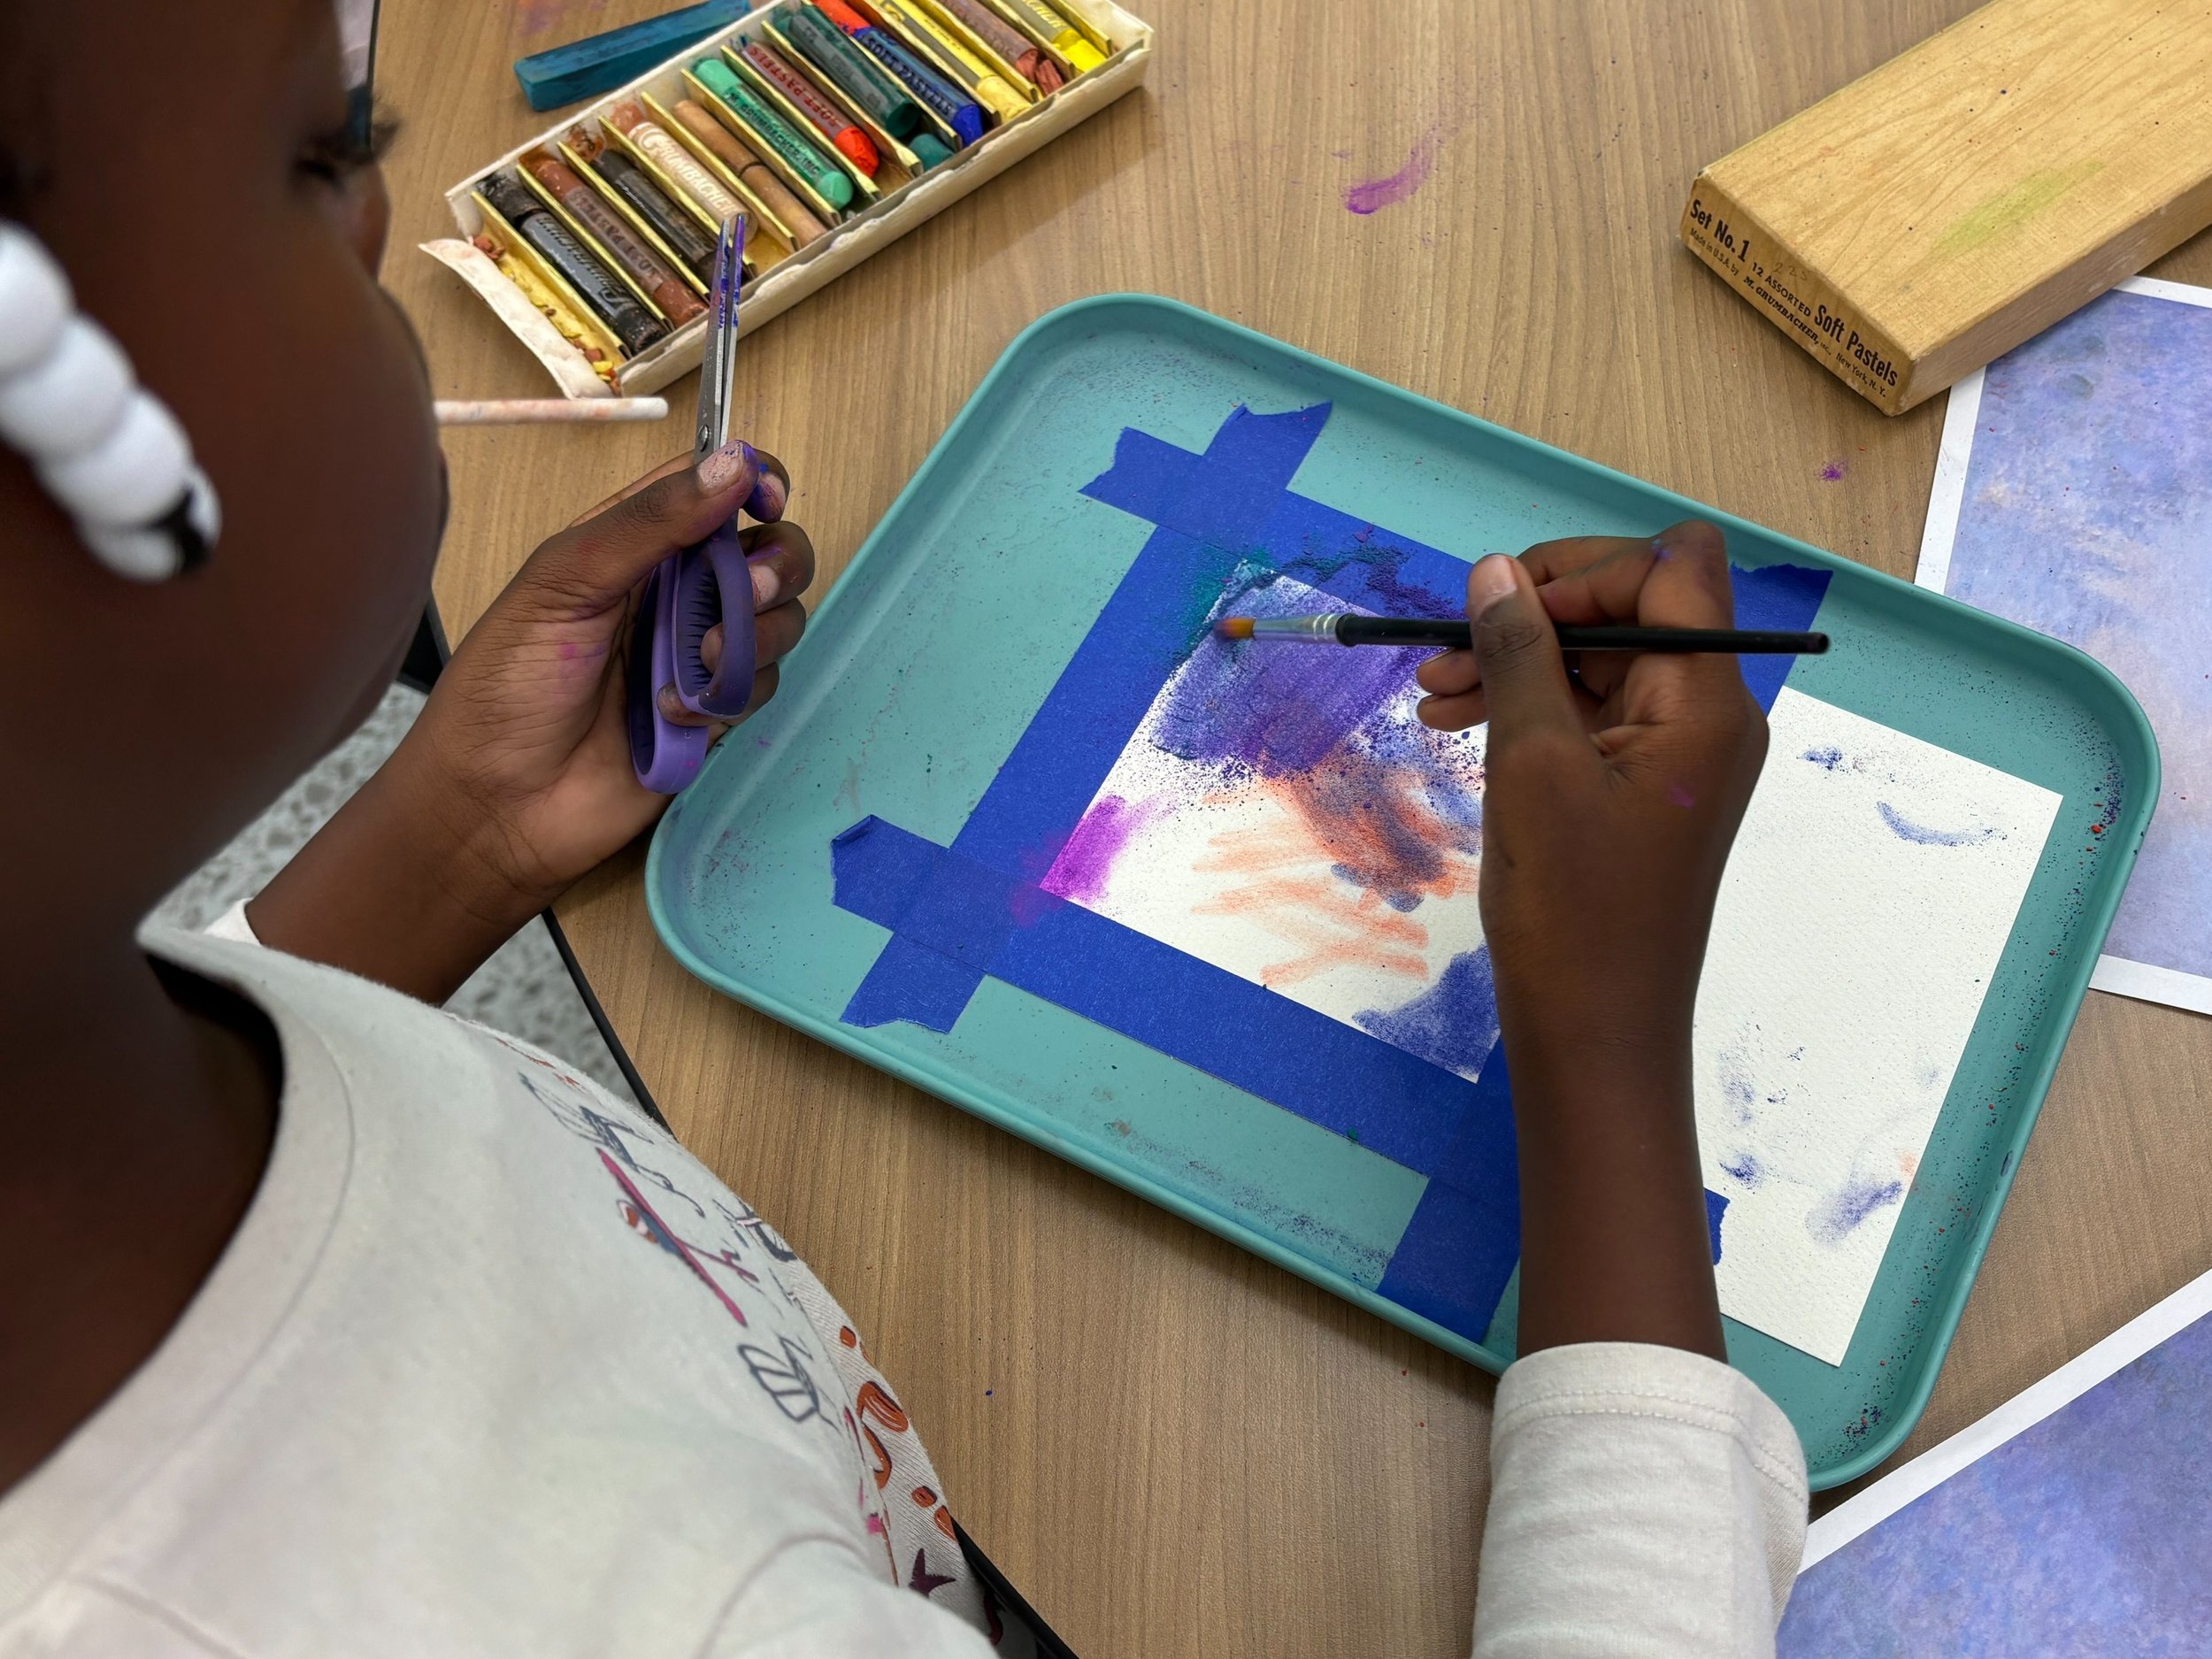
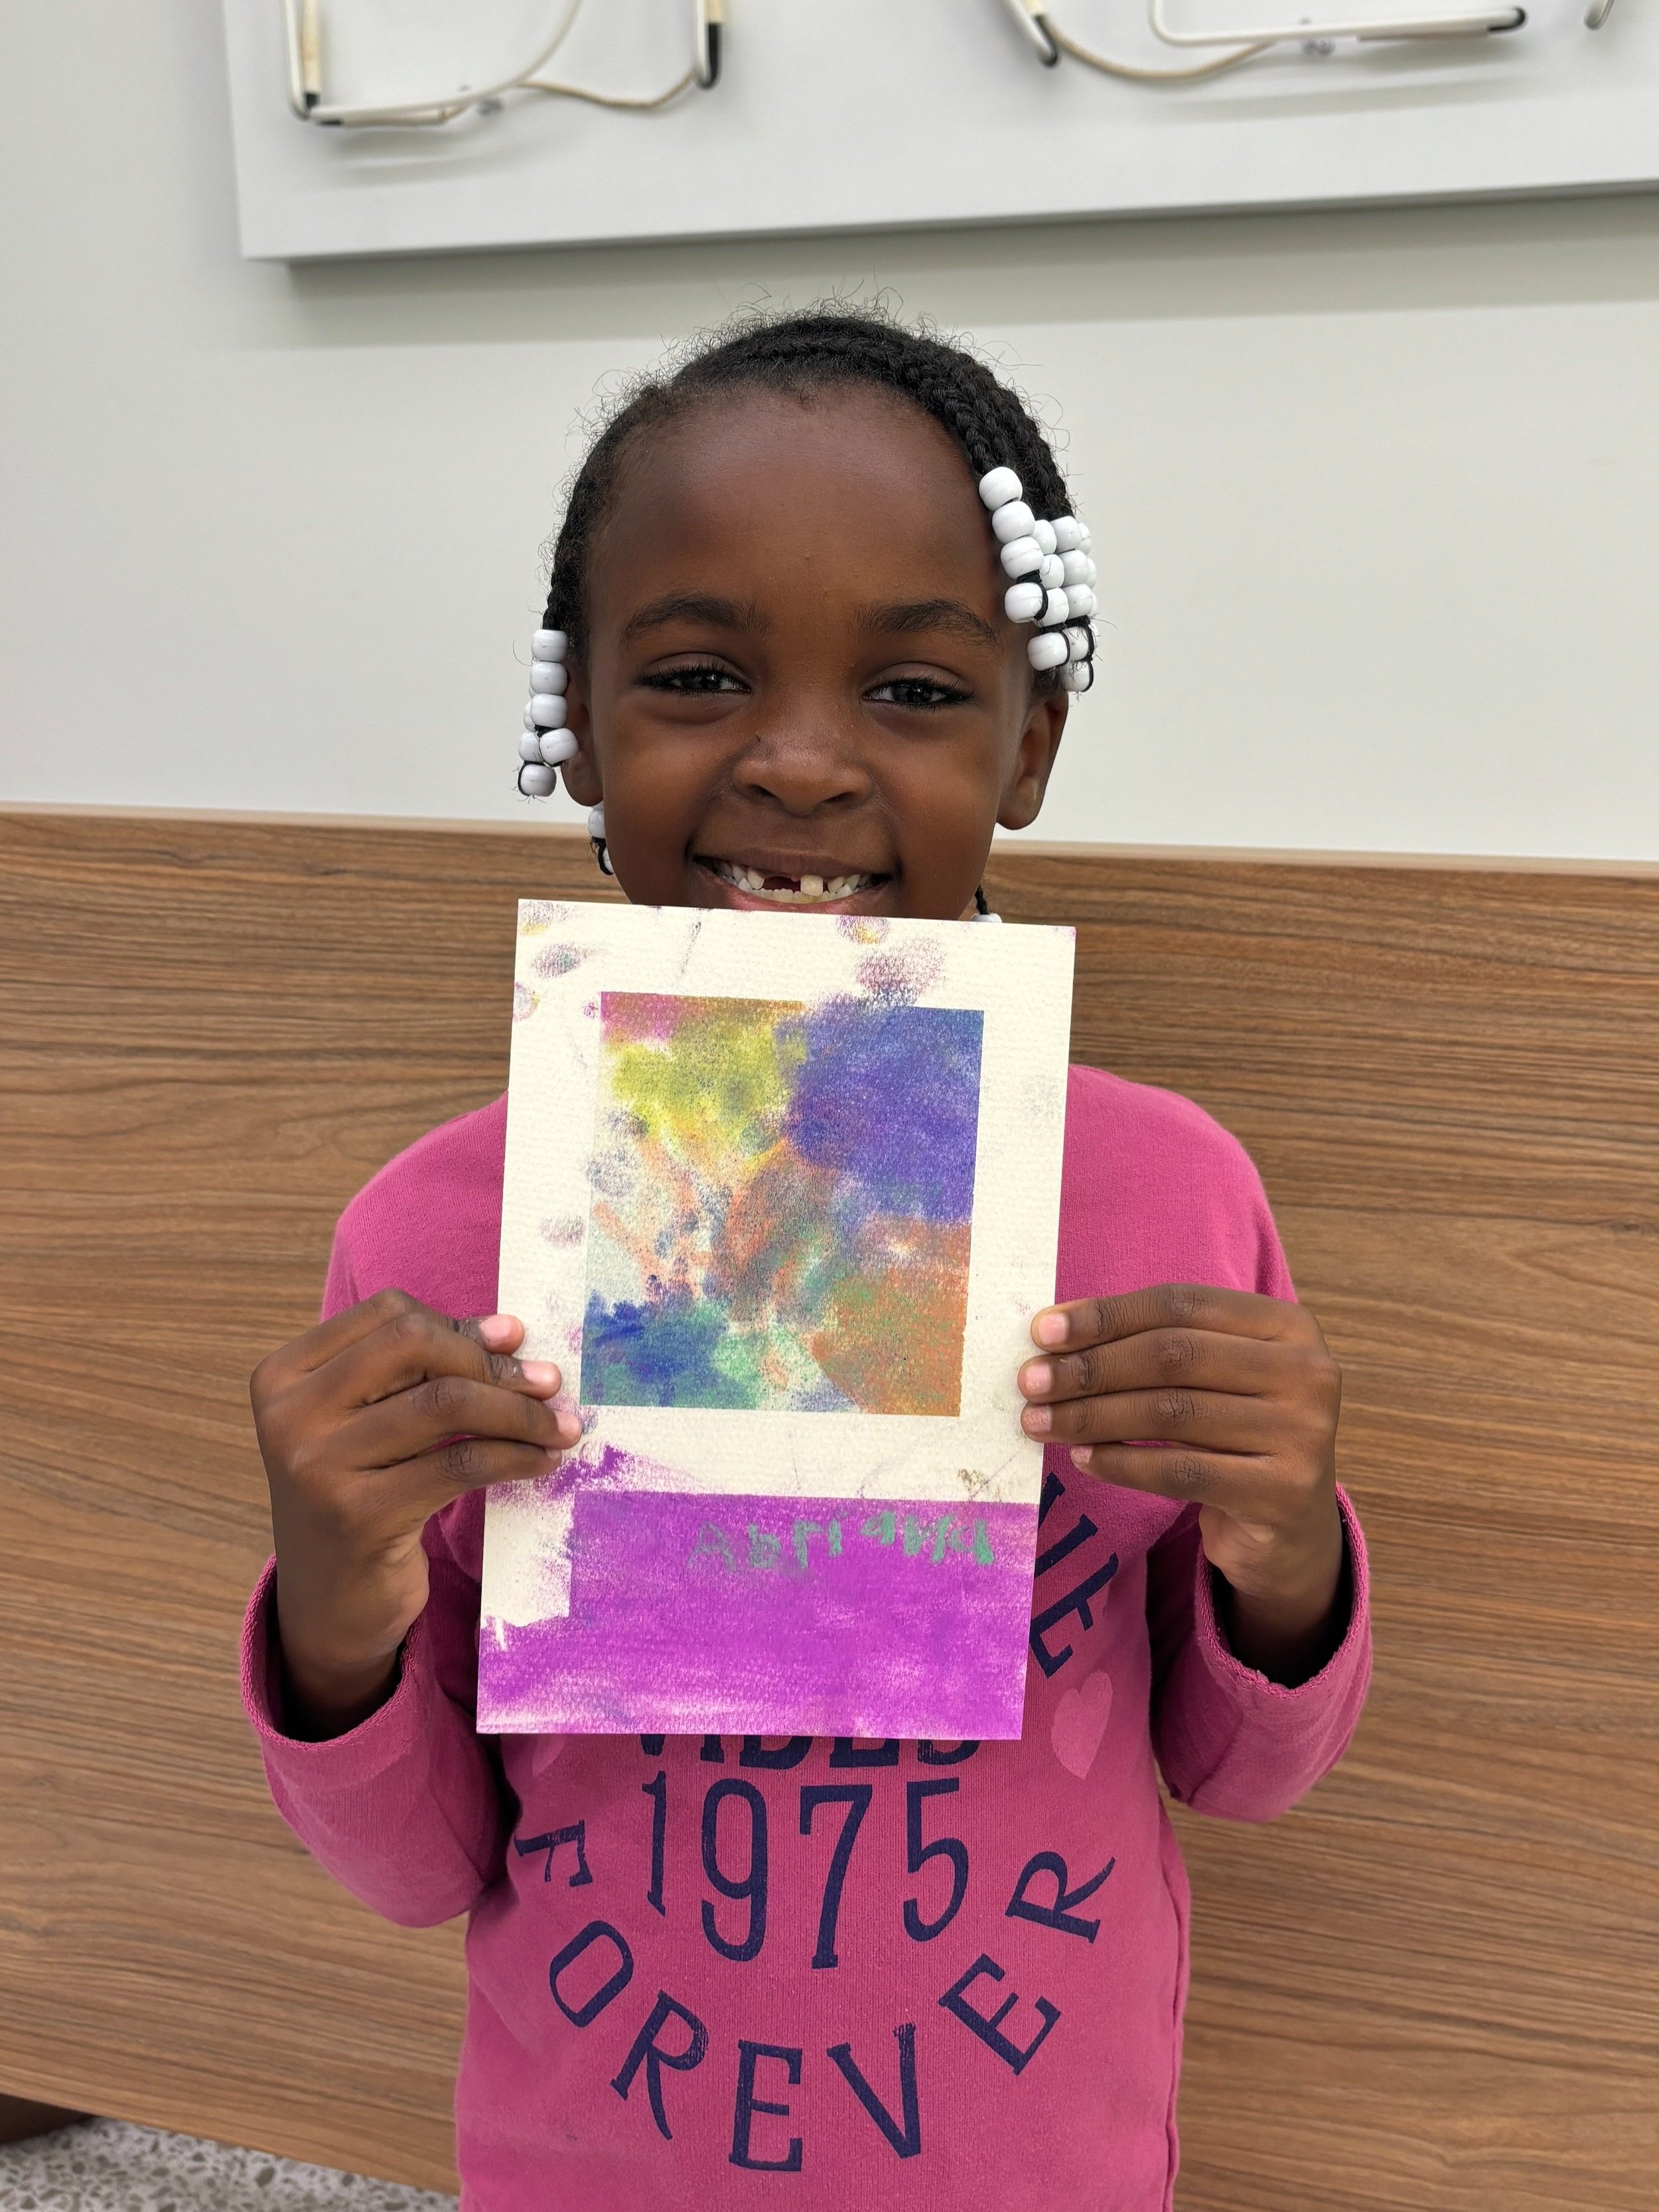
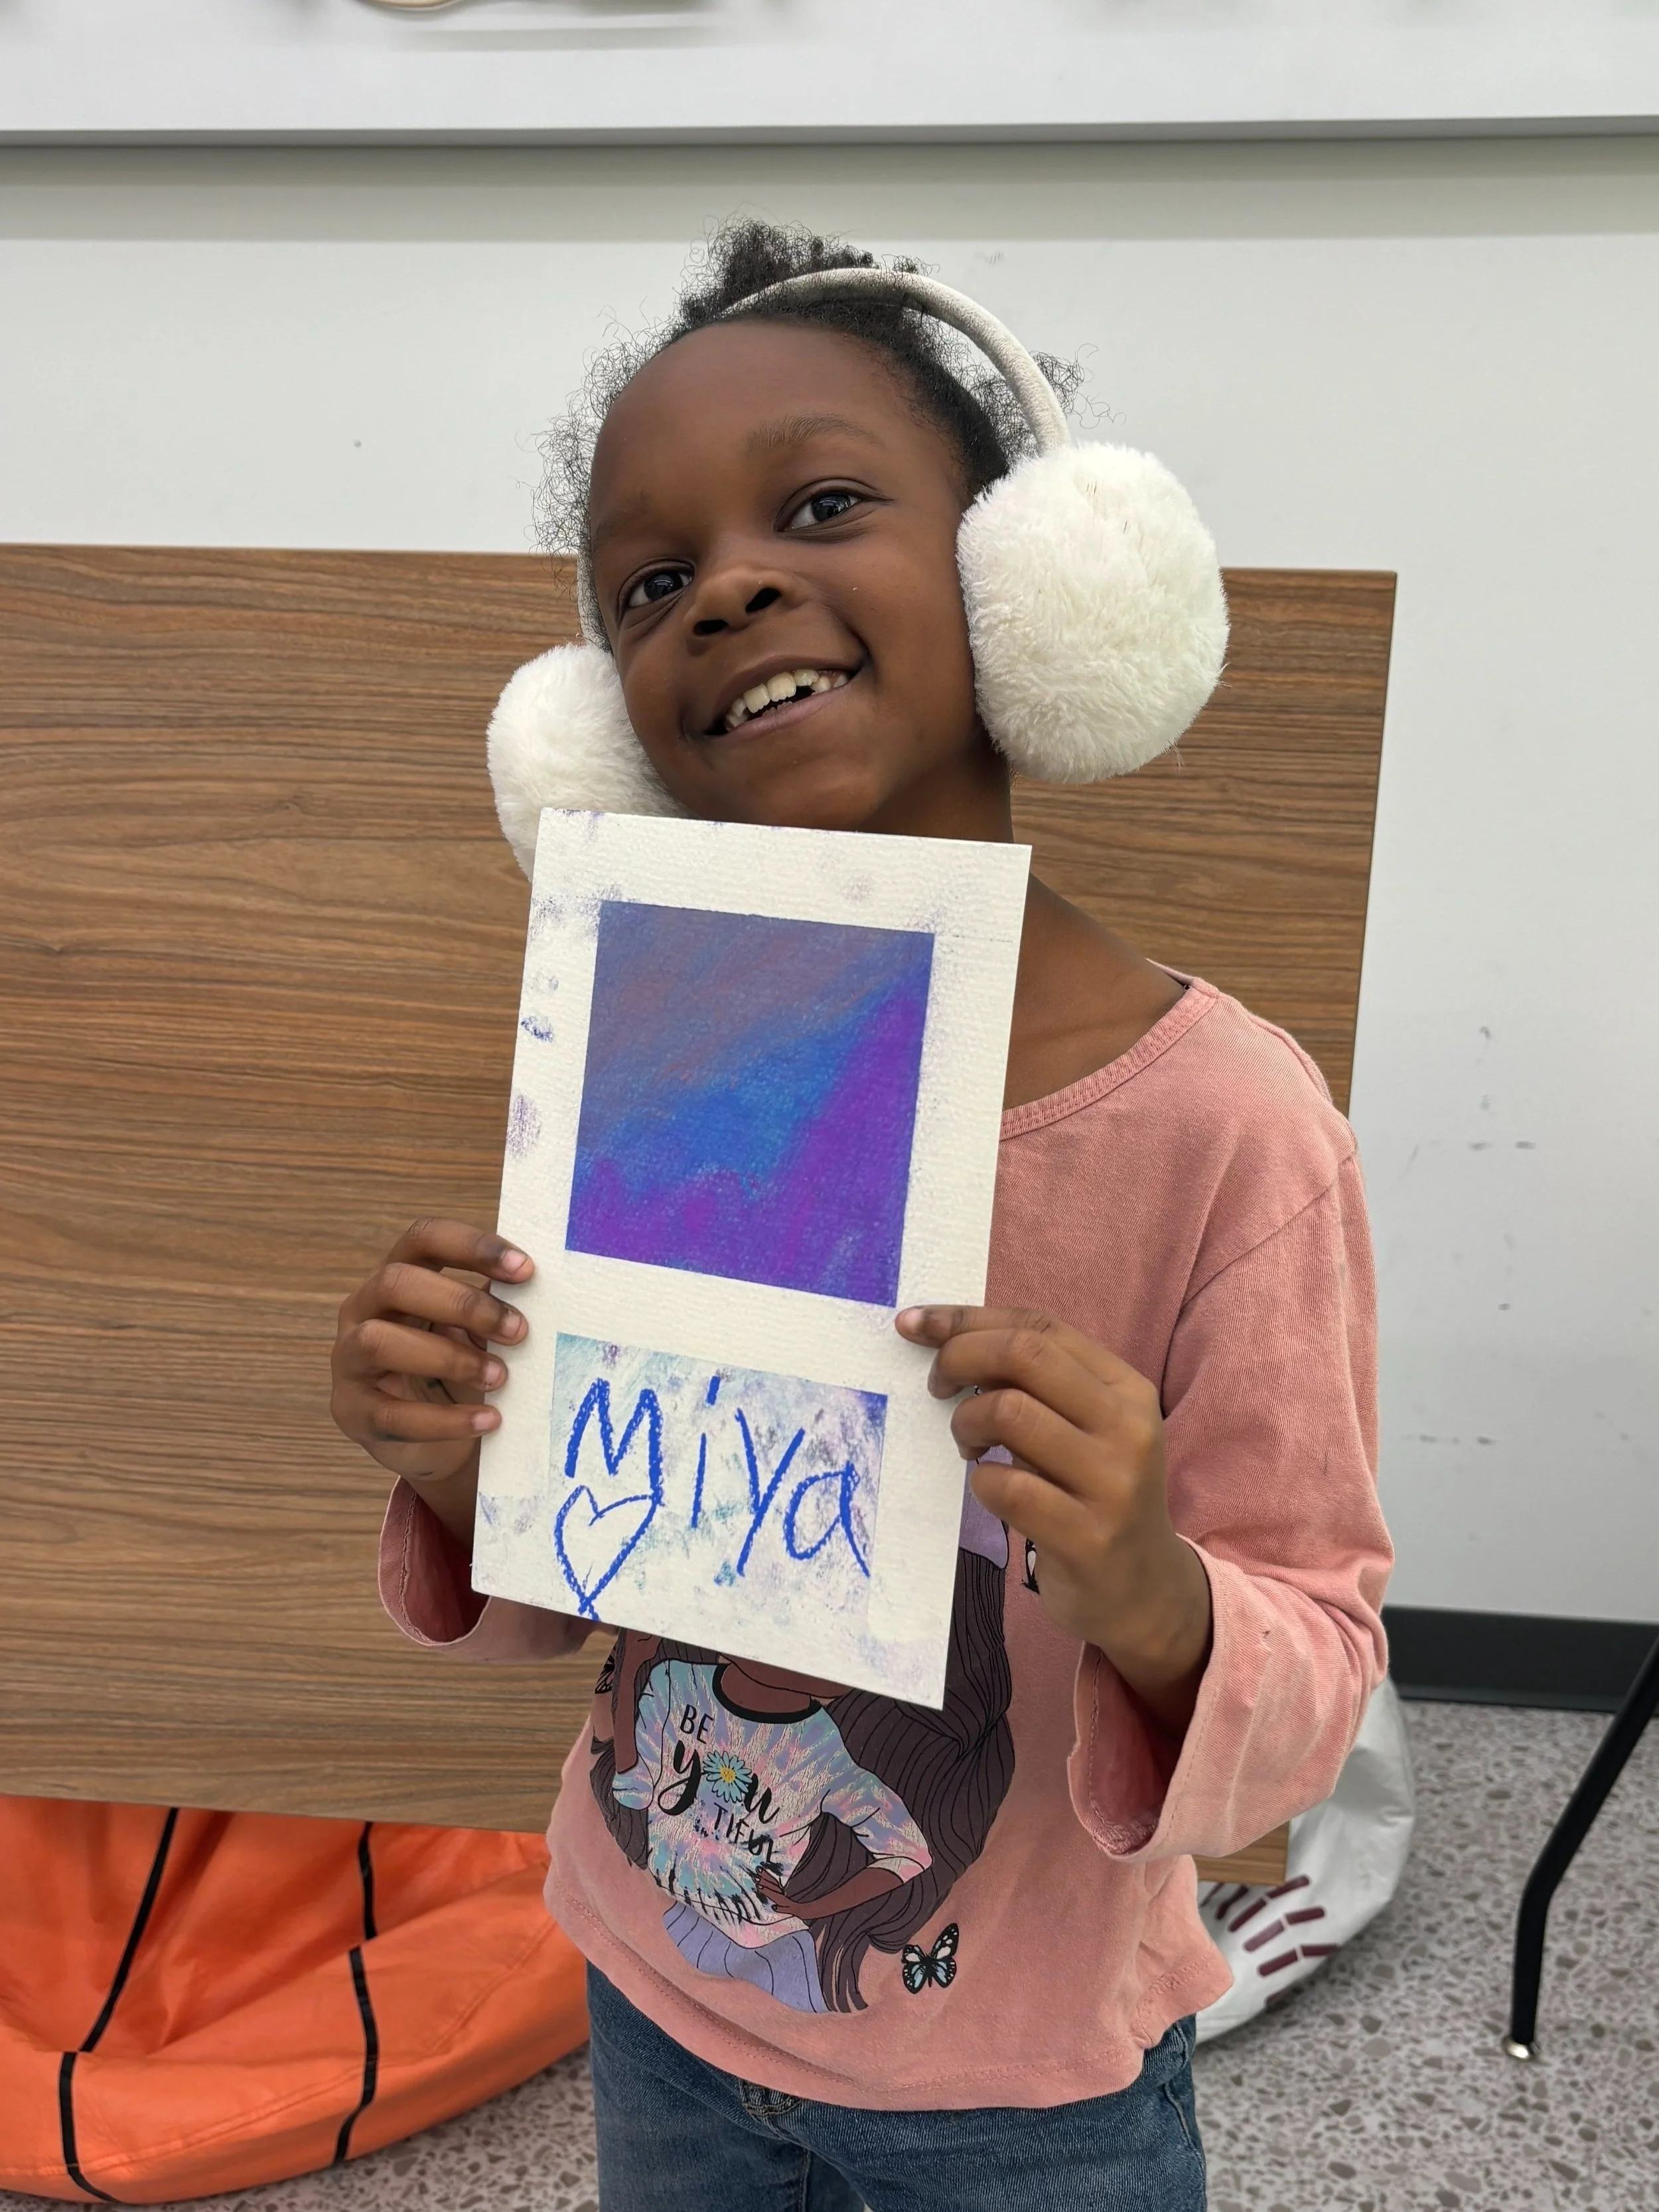
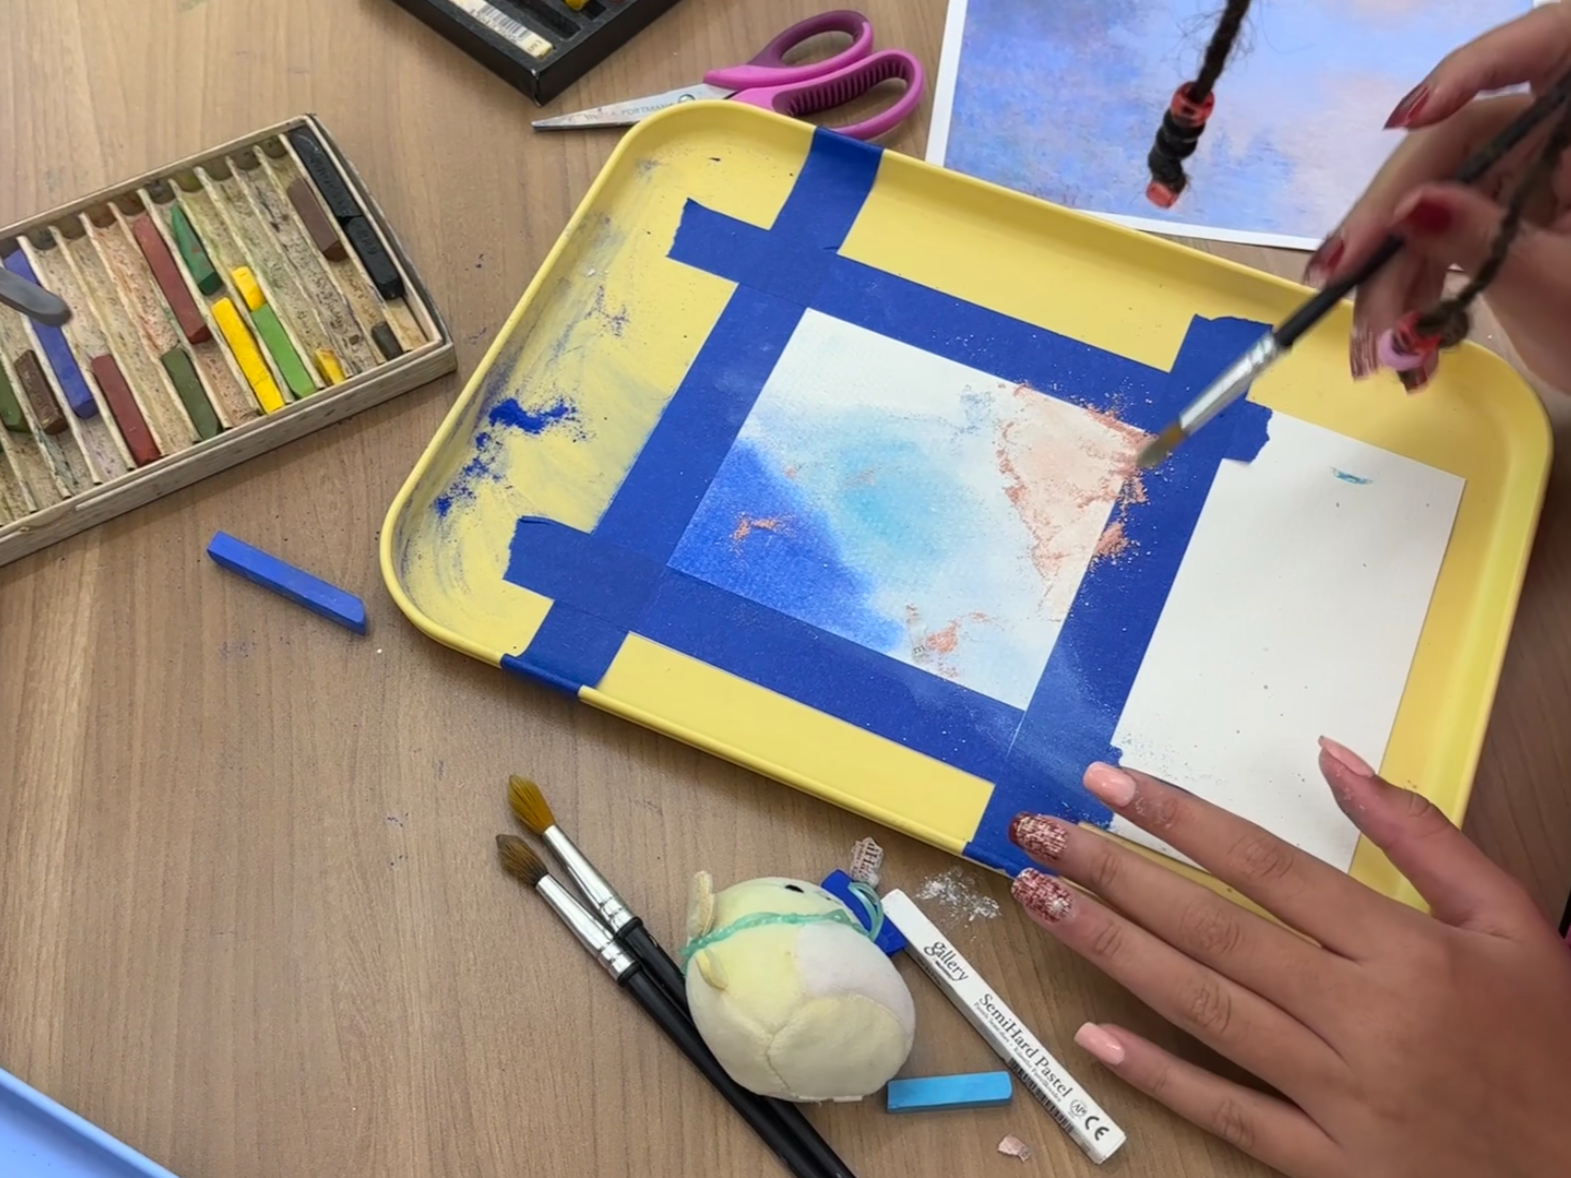
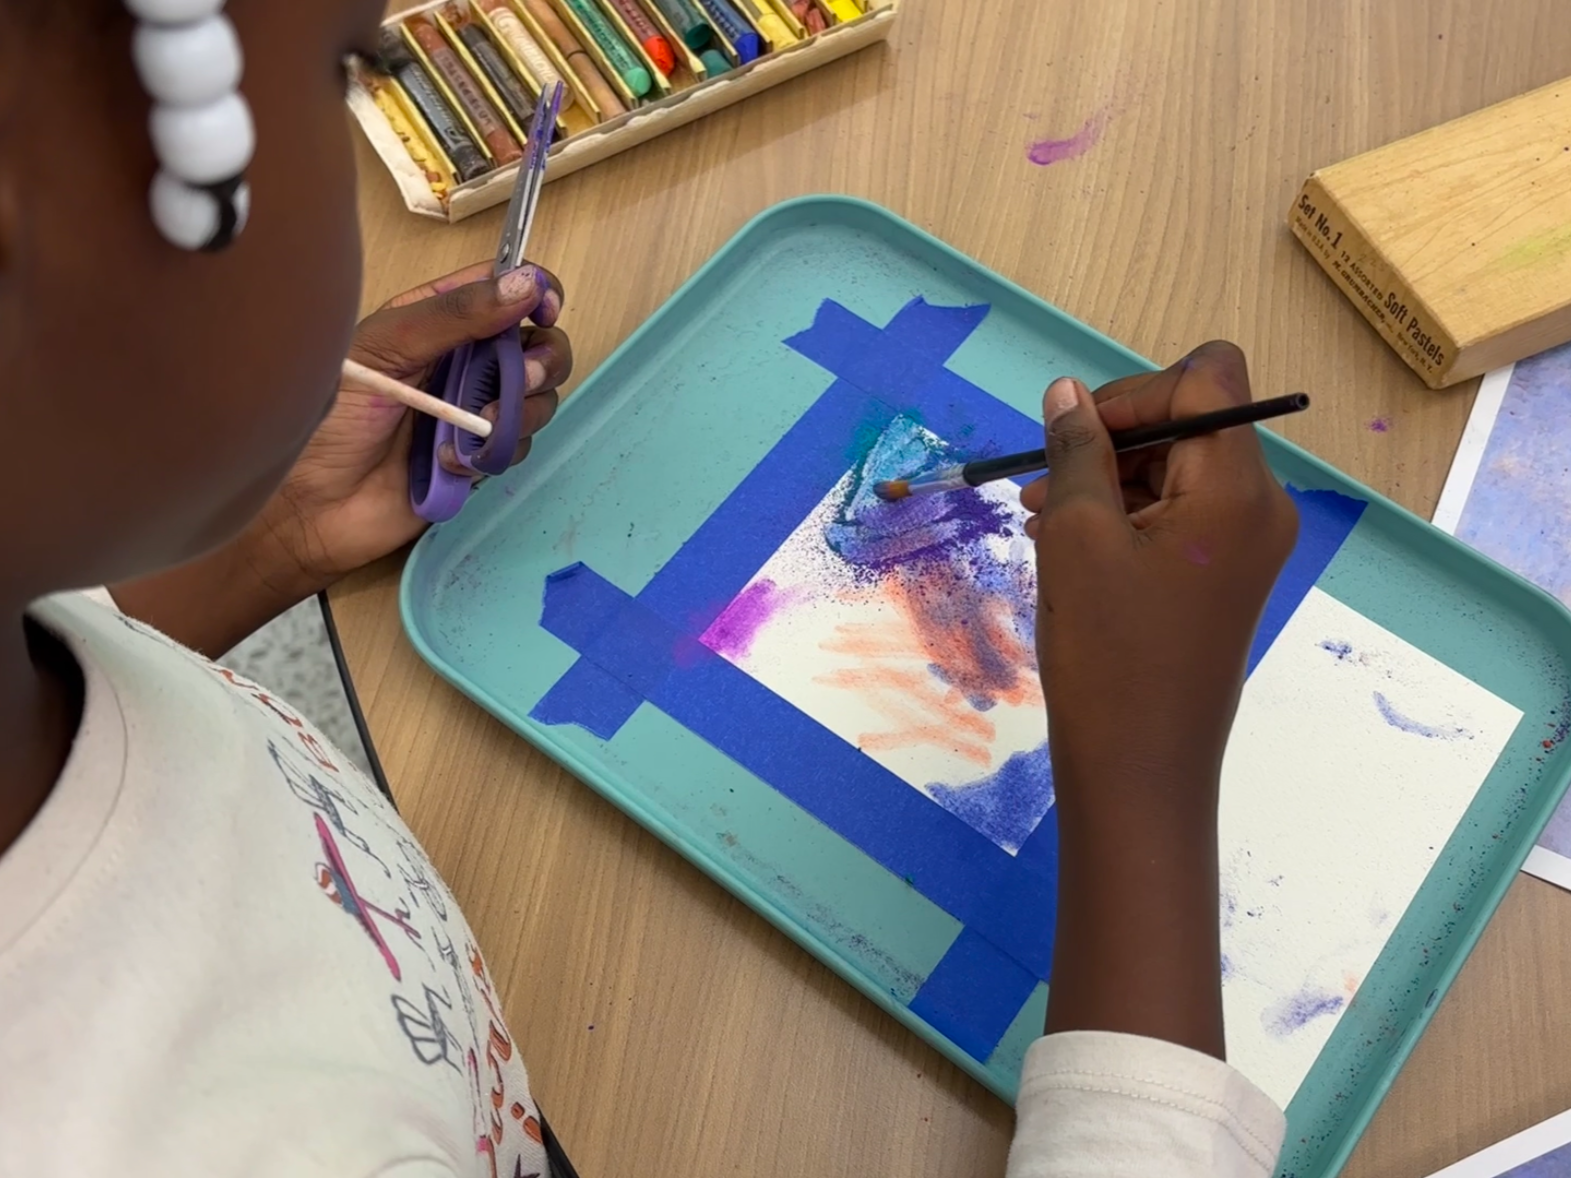
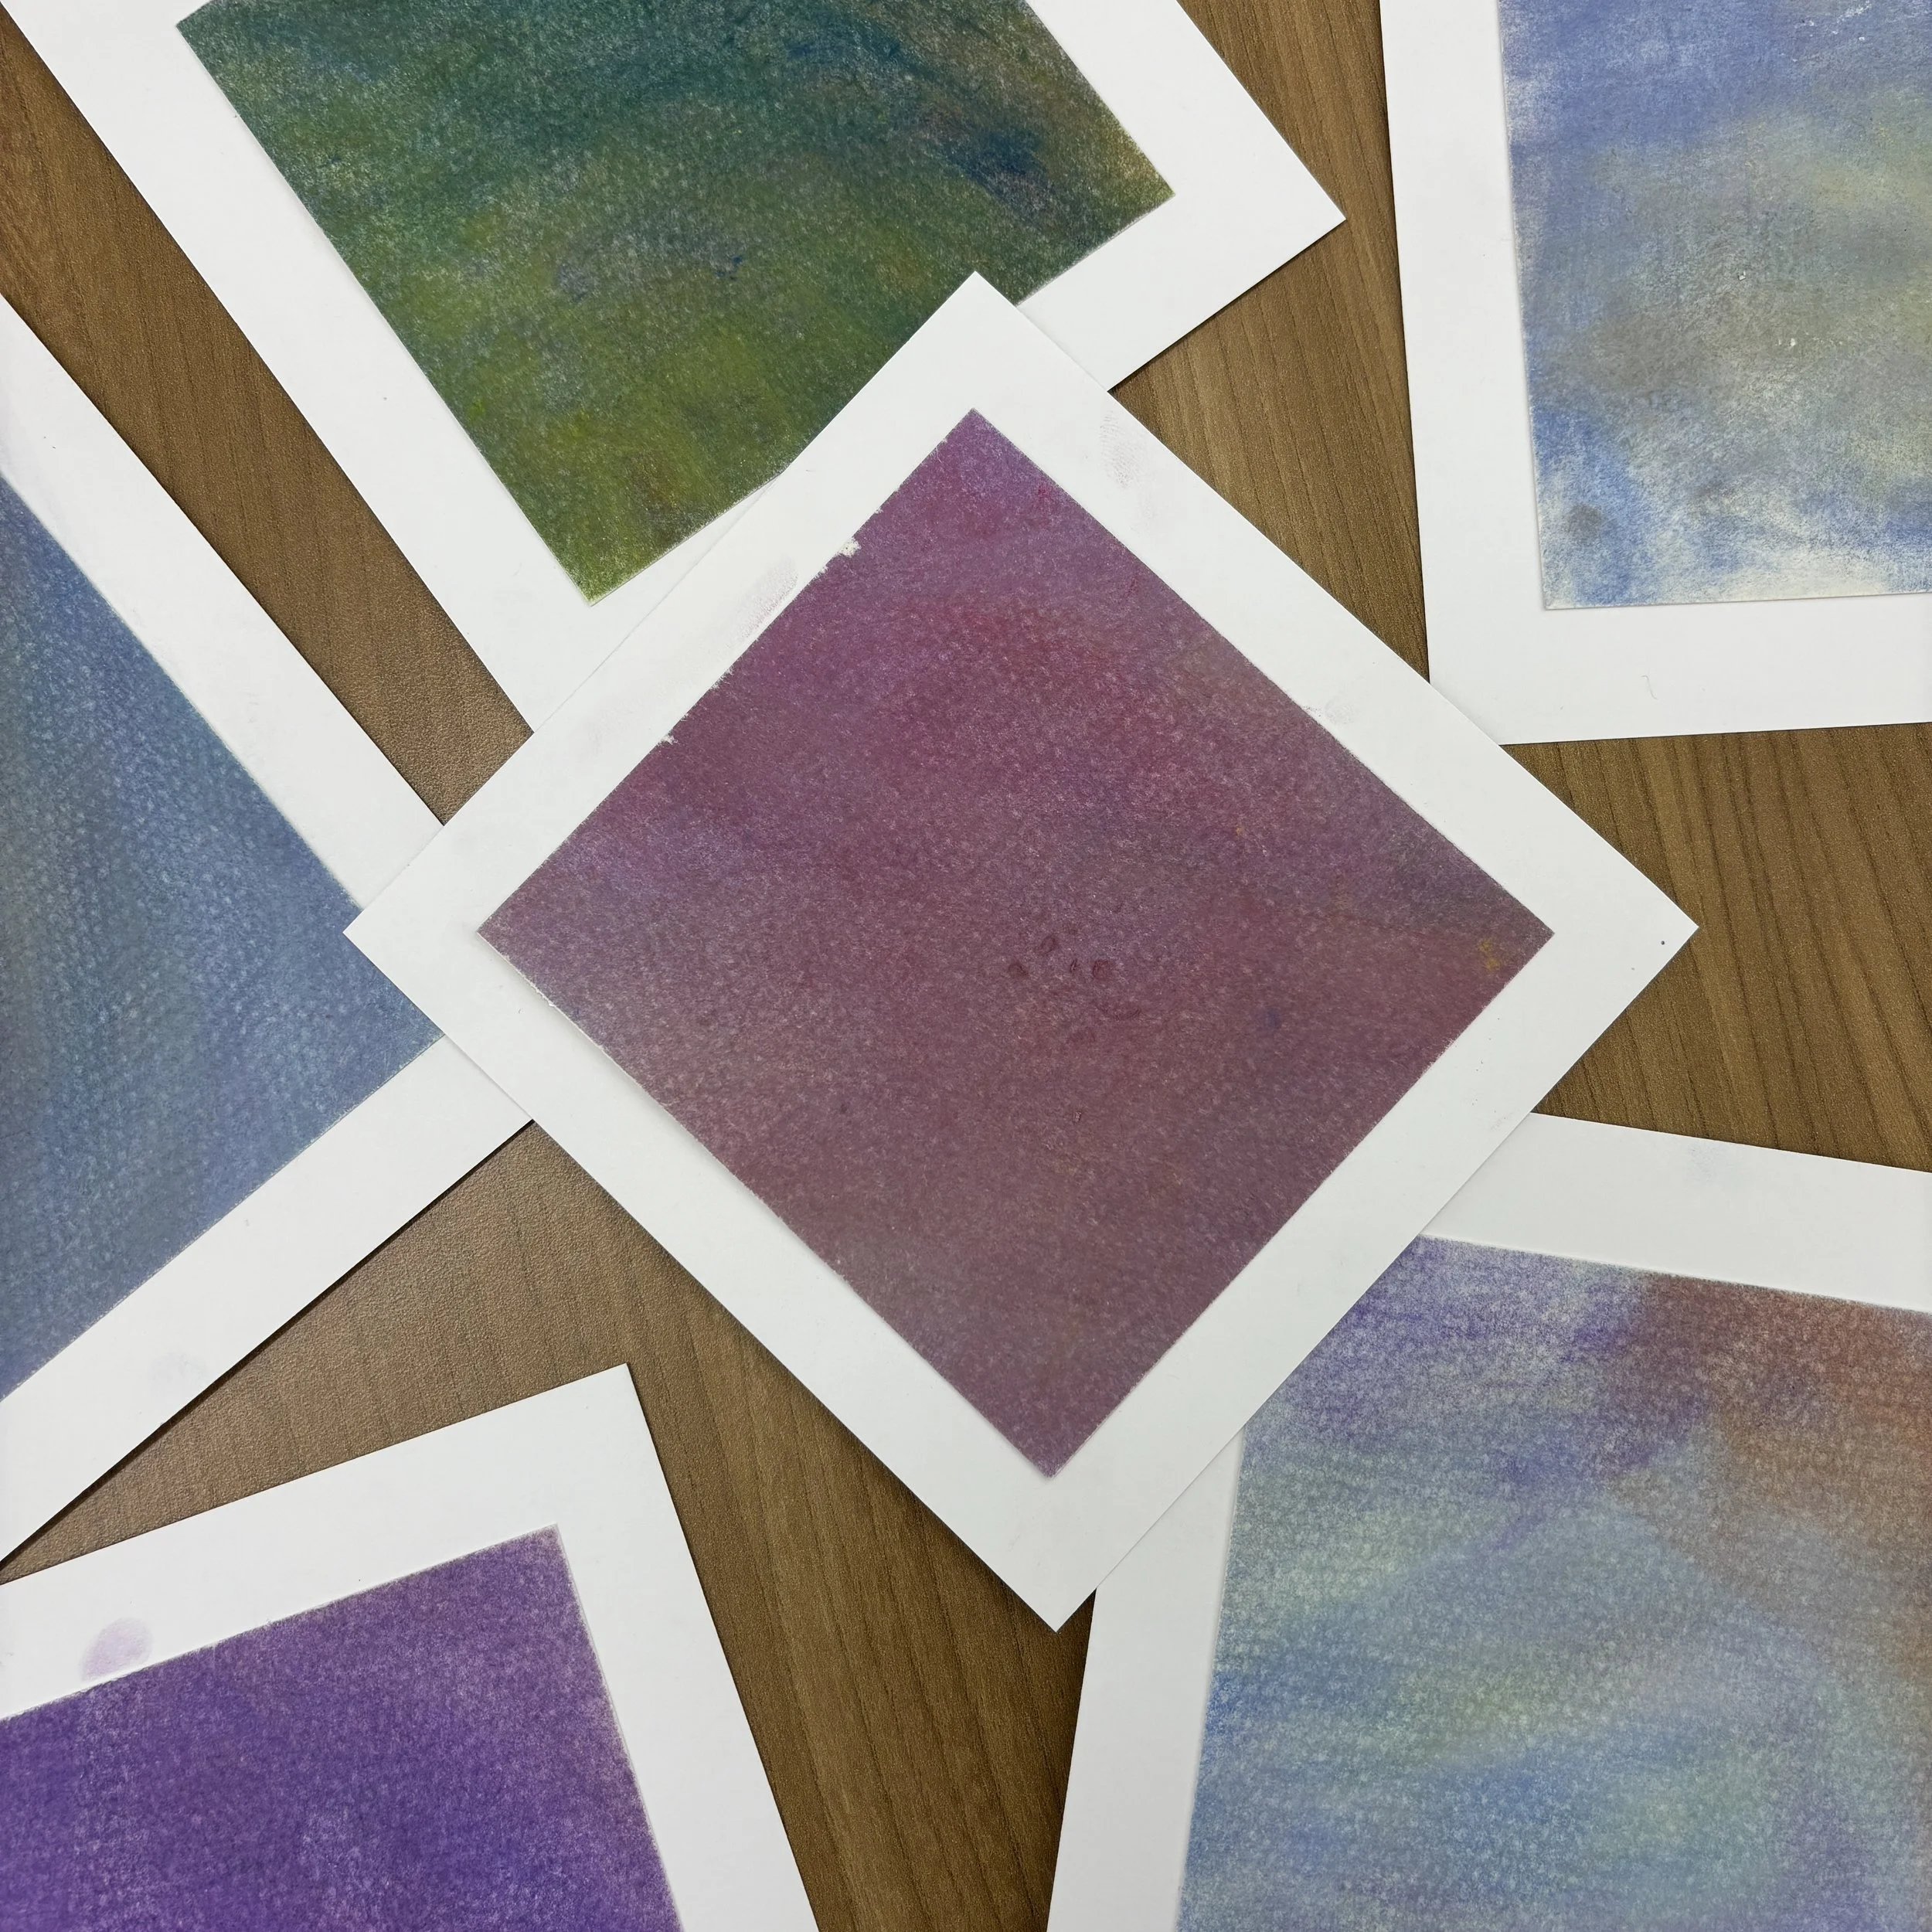
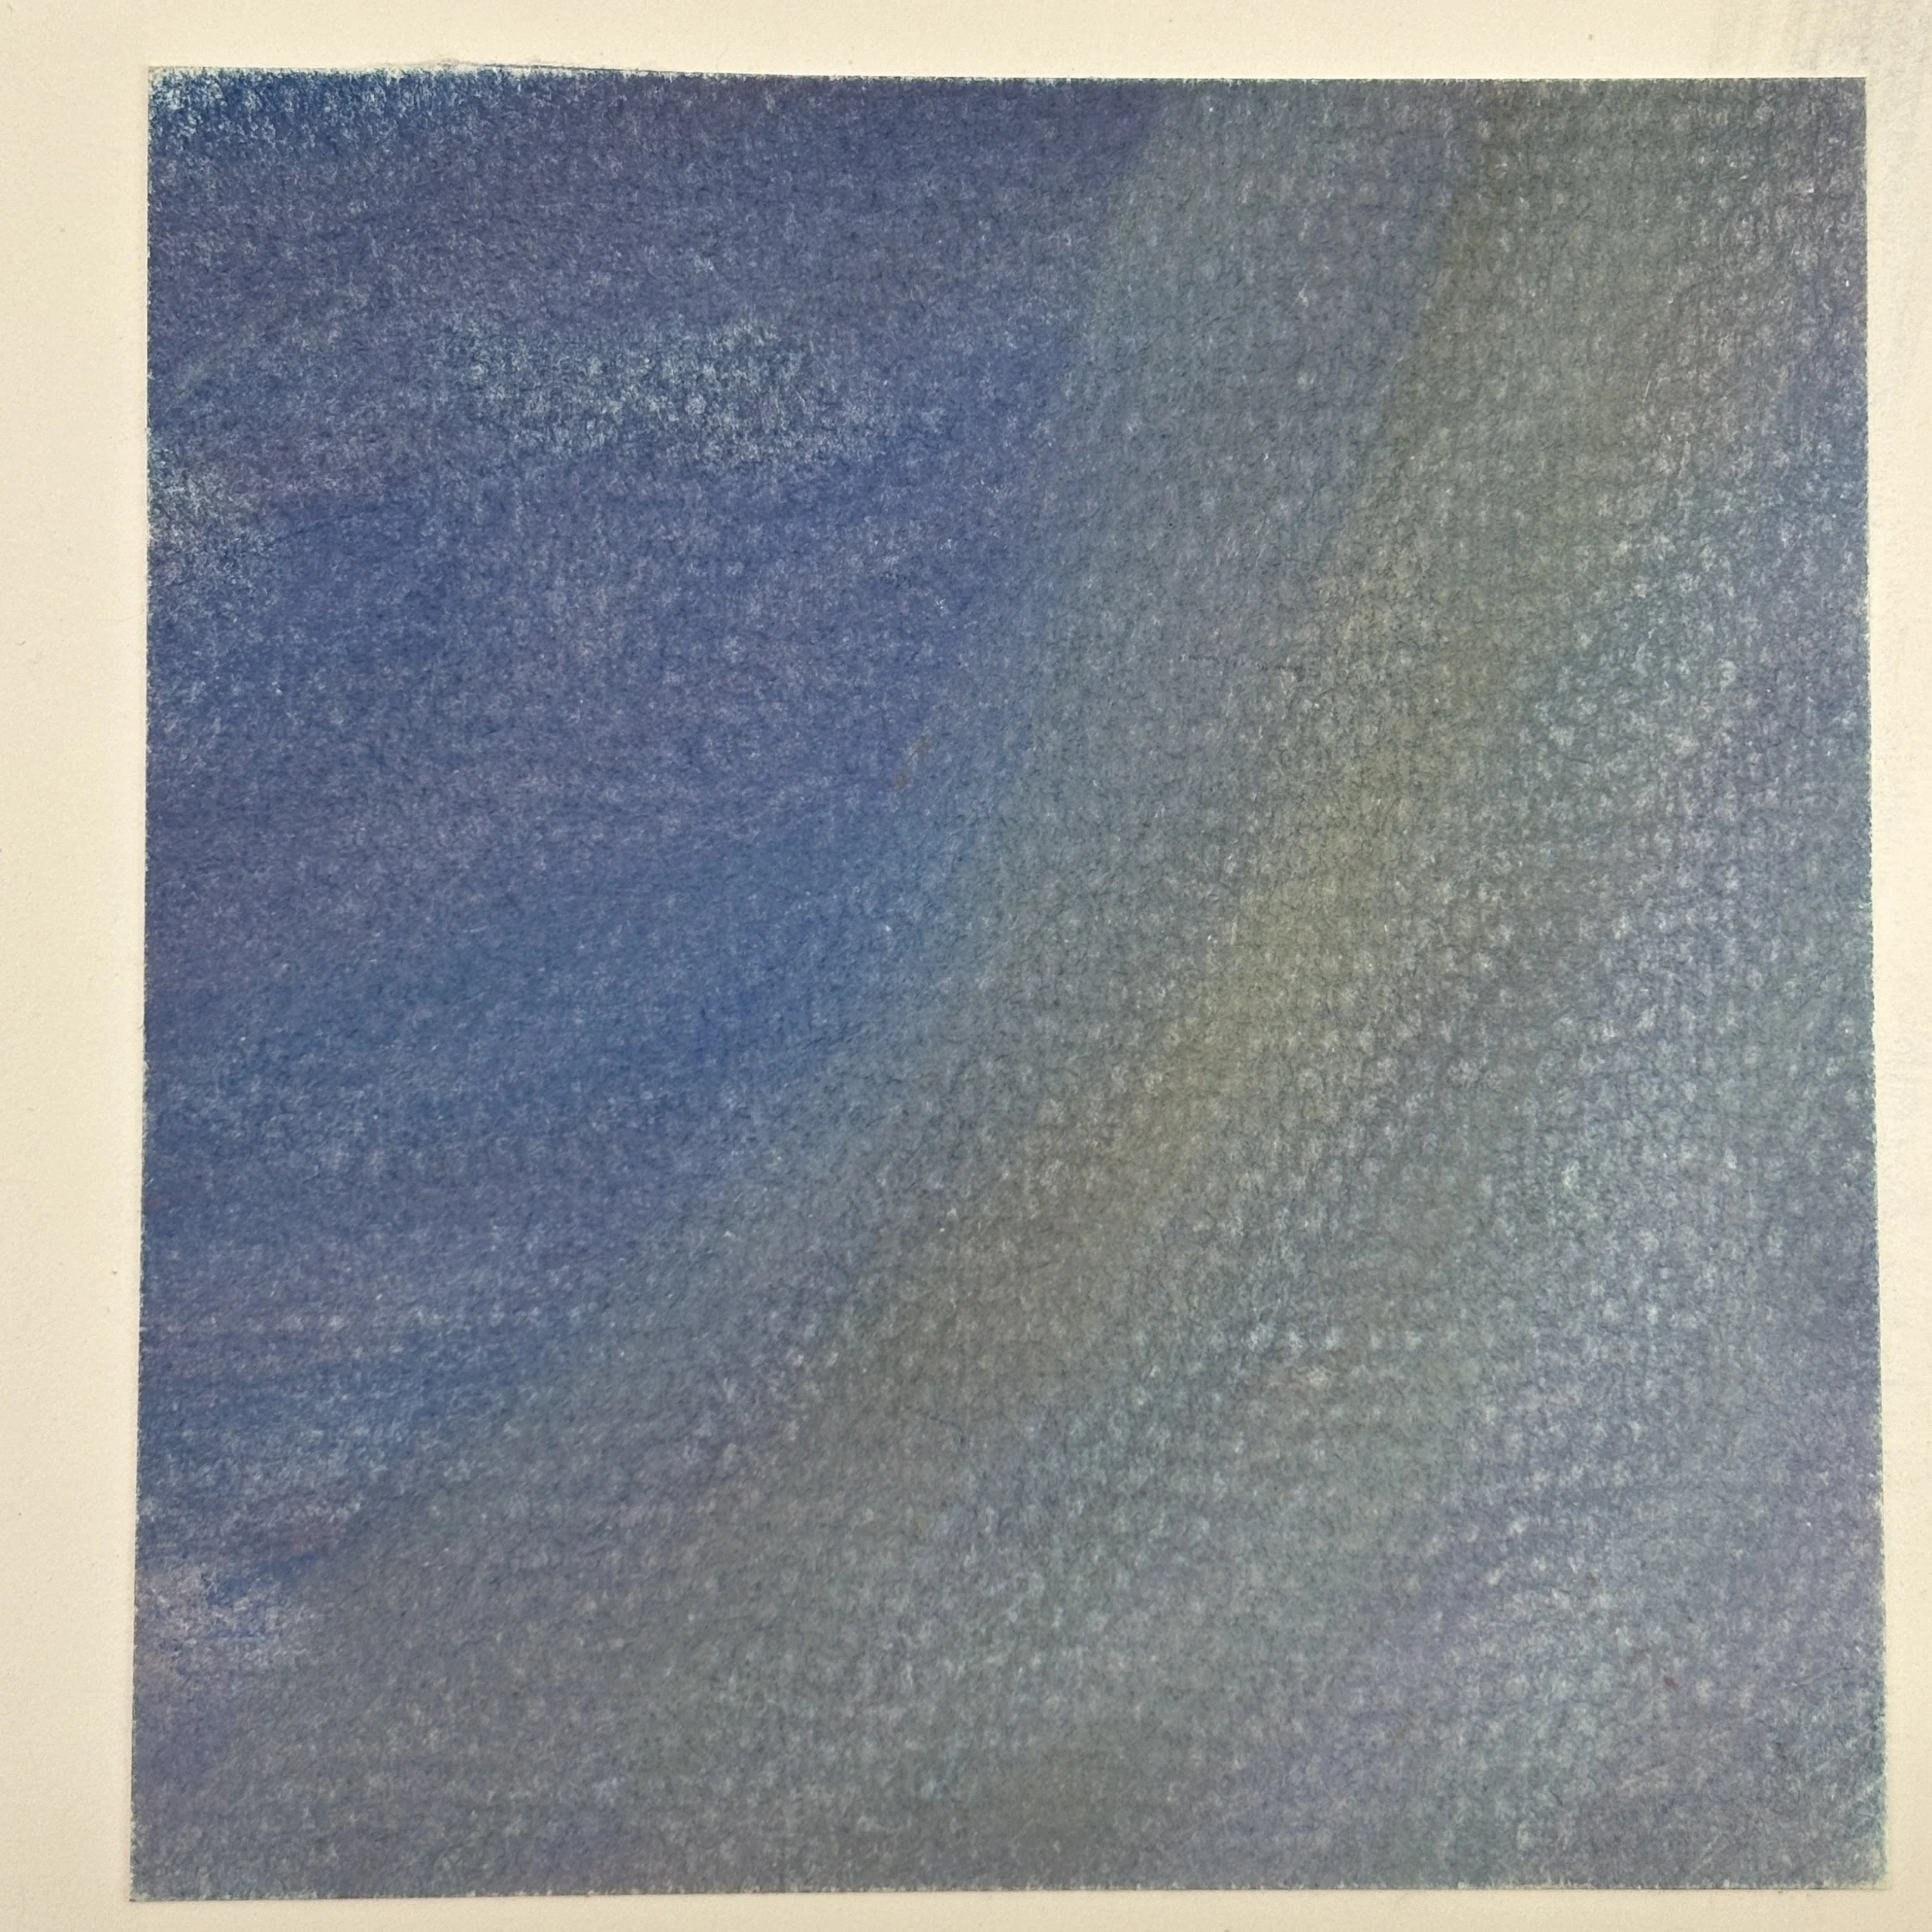
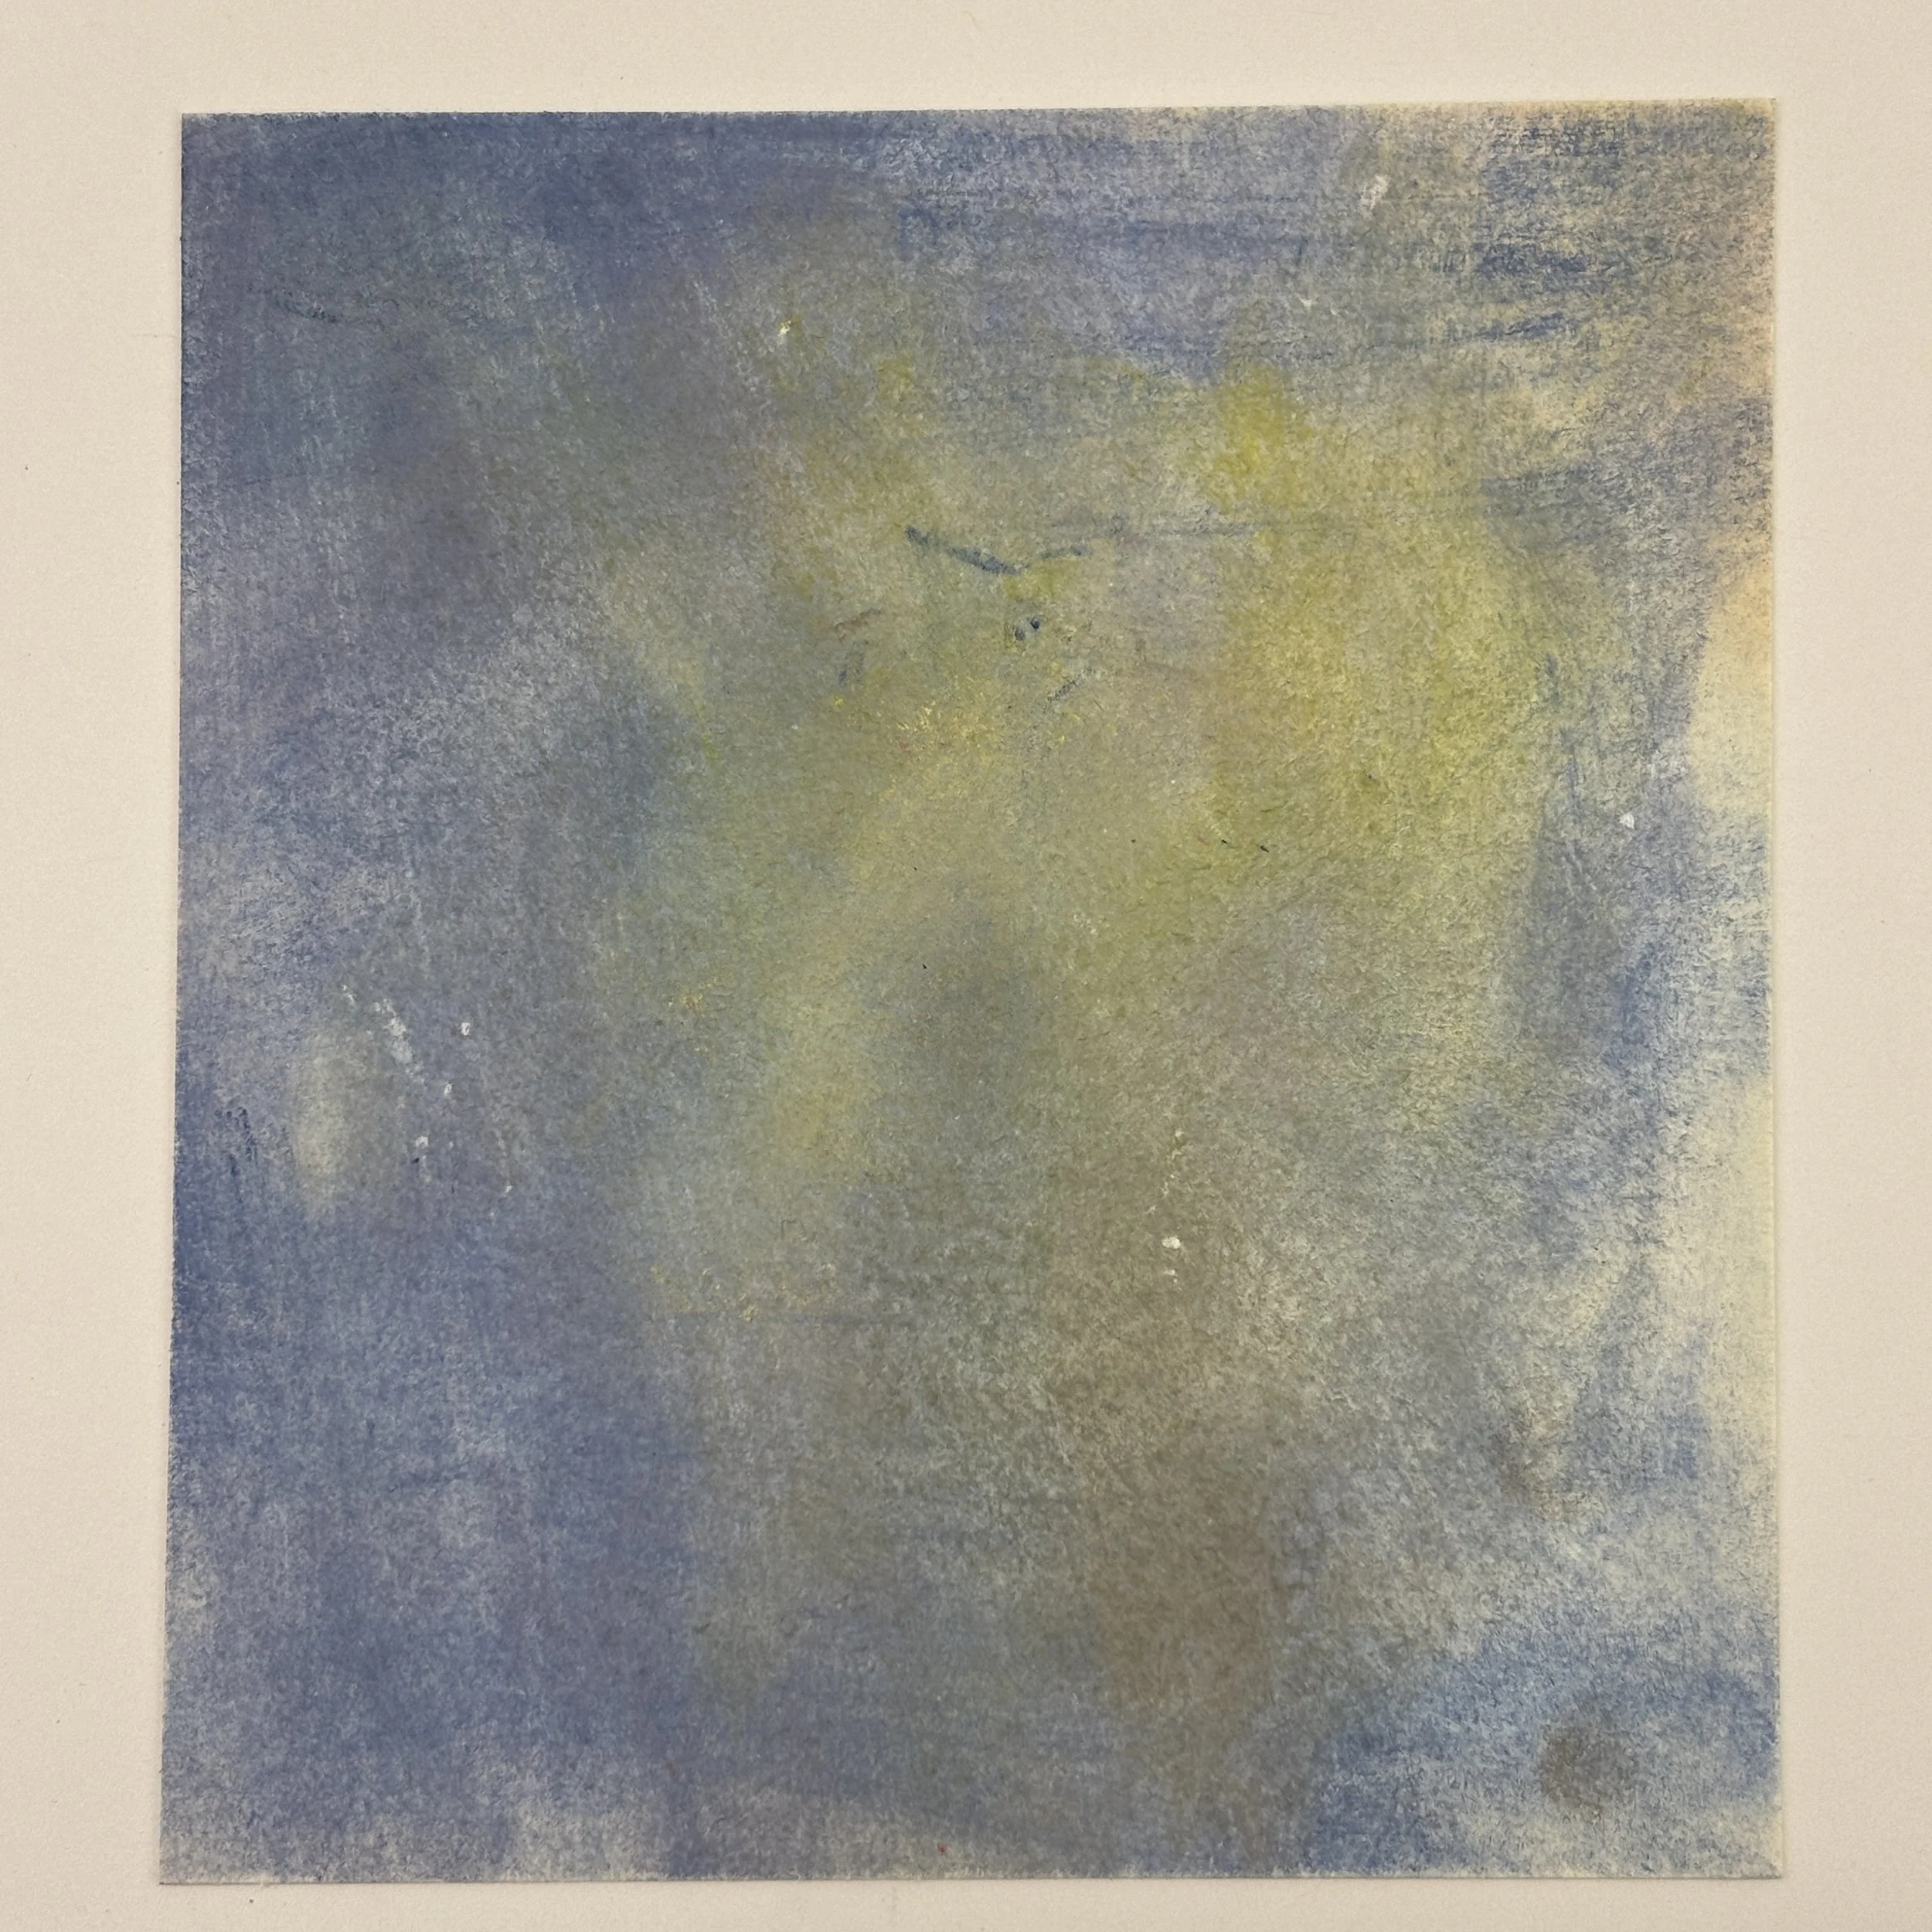
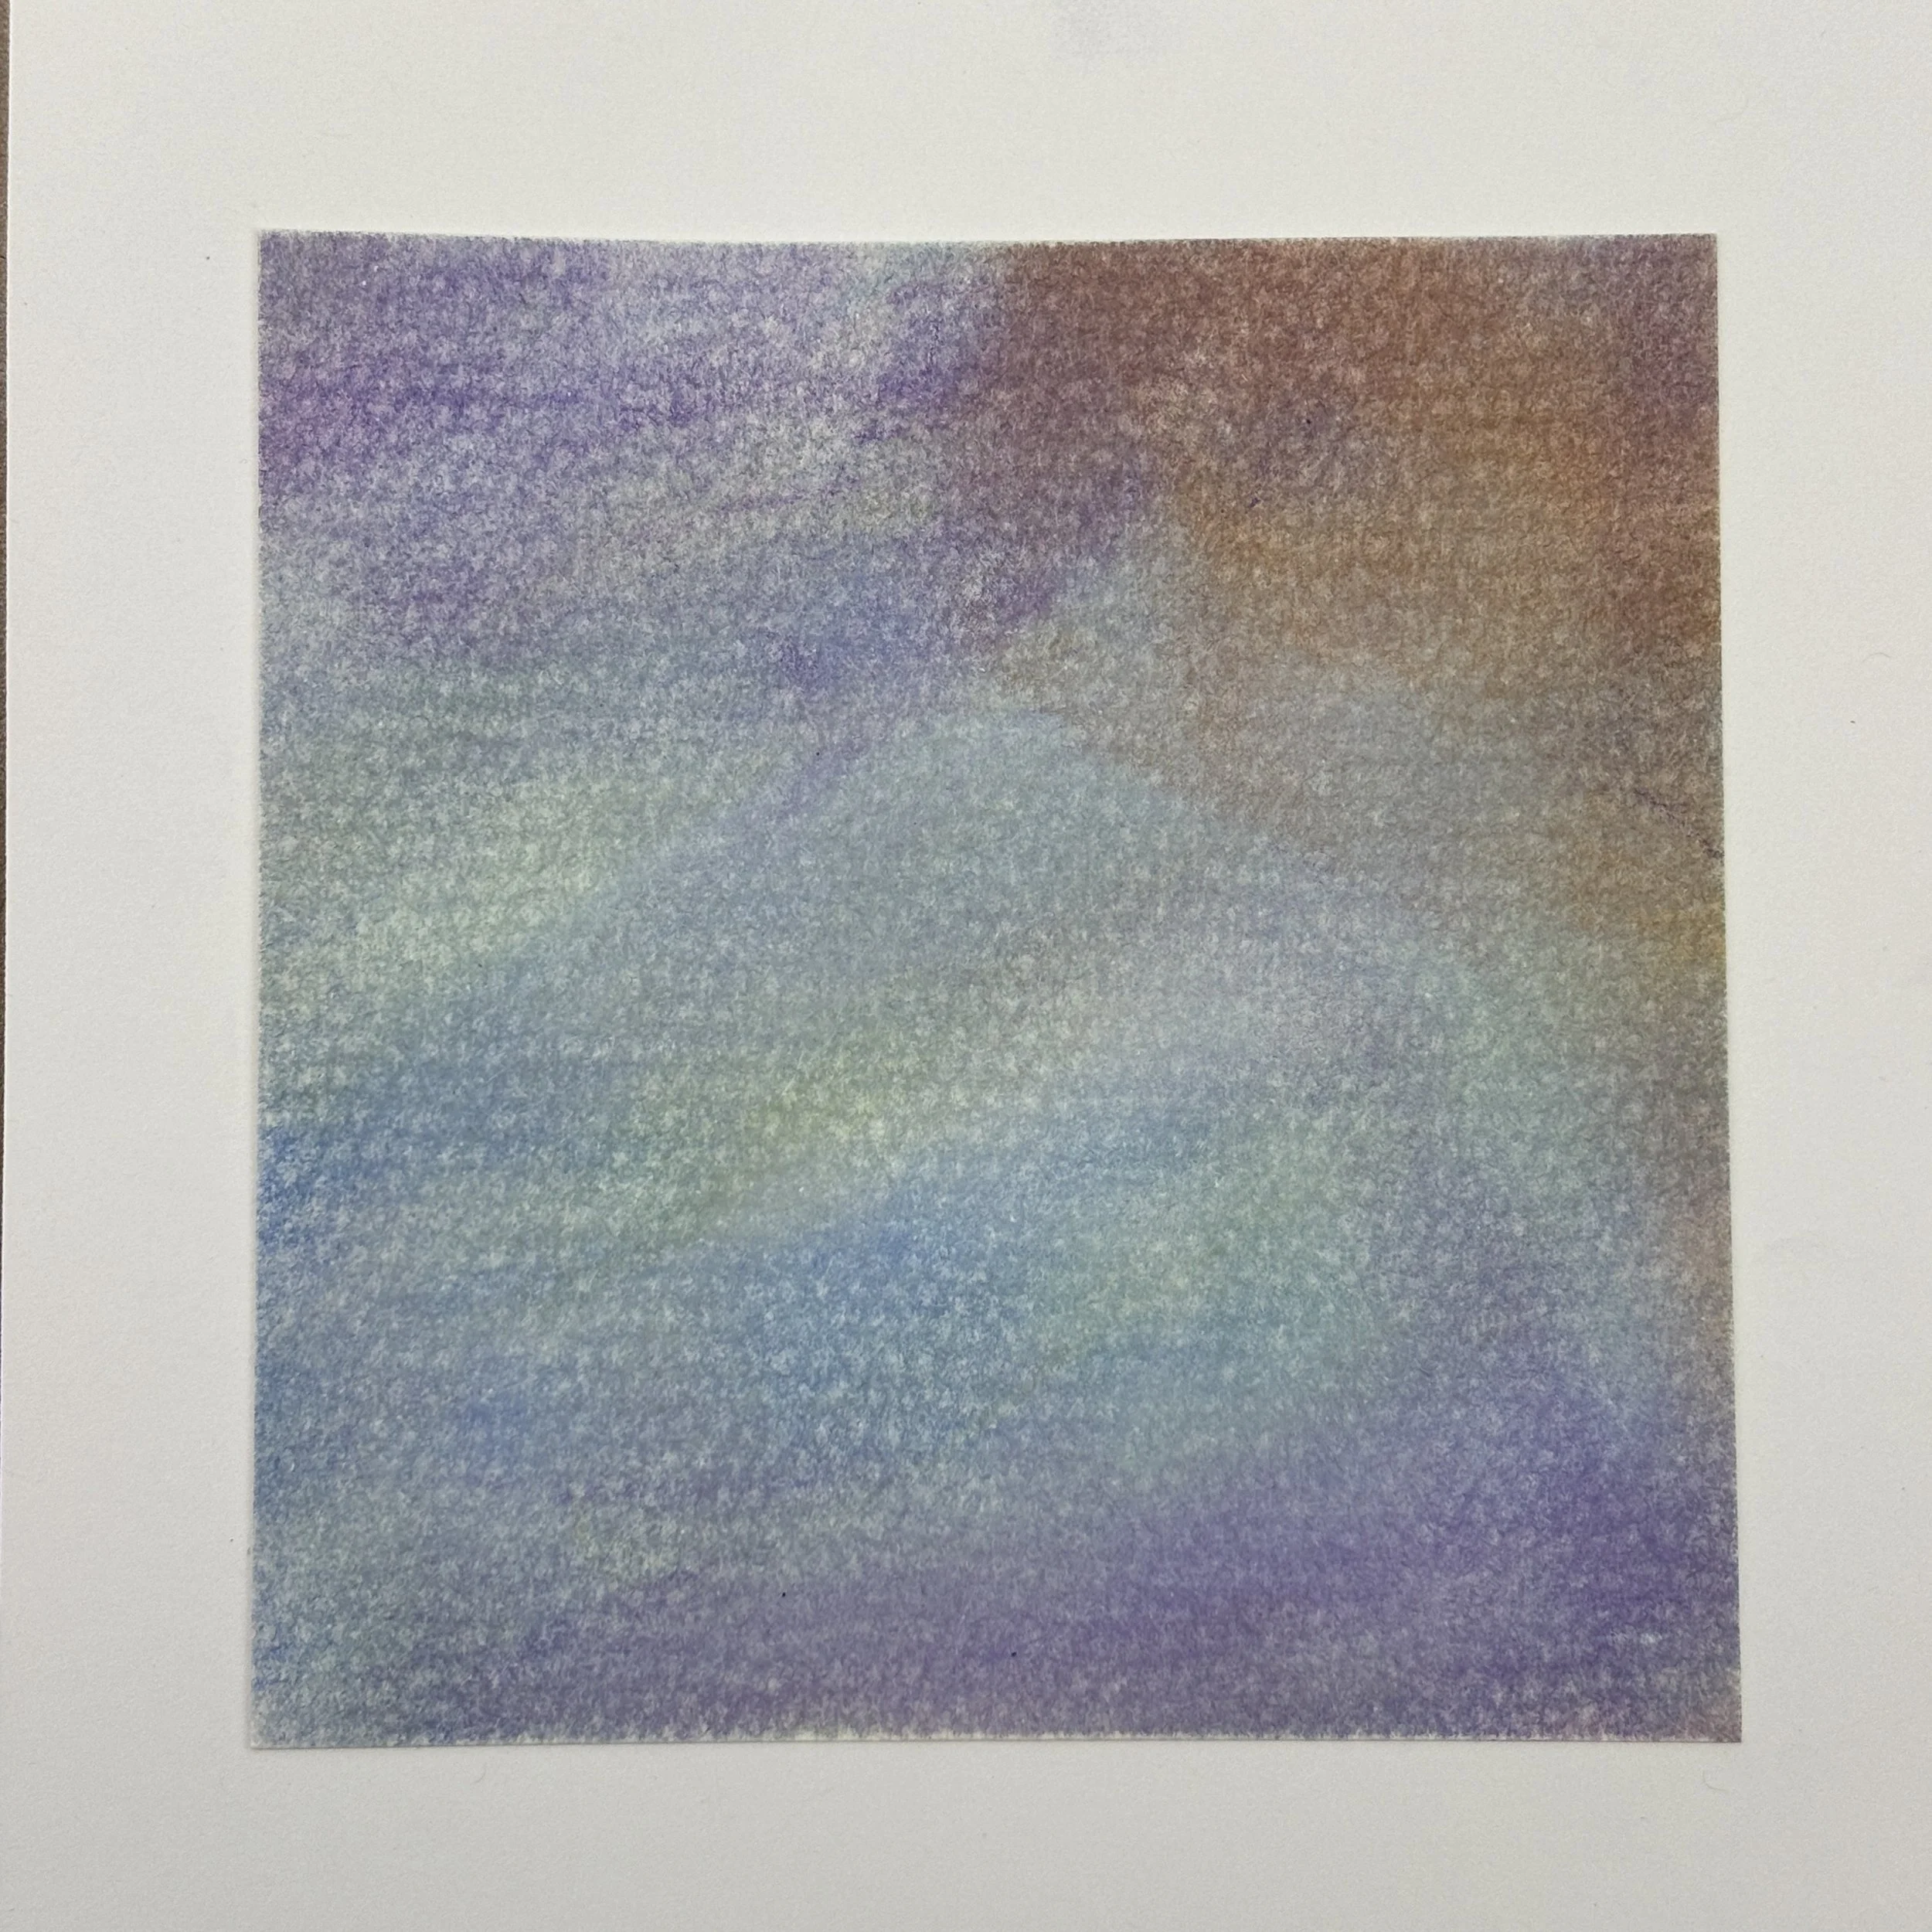
Using soft pastels, each student will create their own unique sky artwork, experimenting with color blending
and personal expression.
Materials
Paper
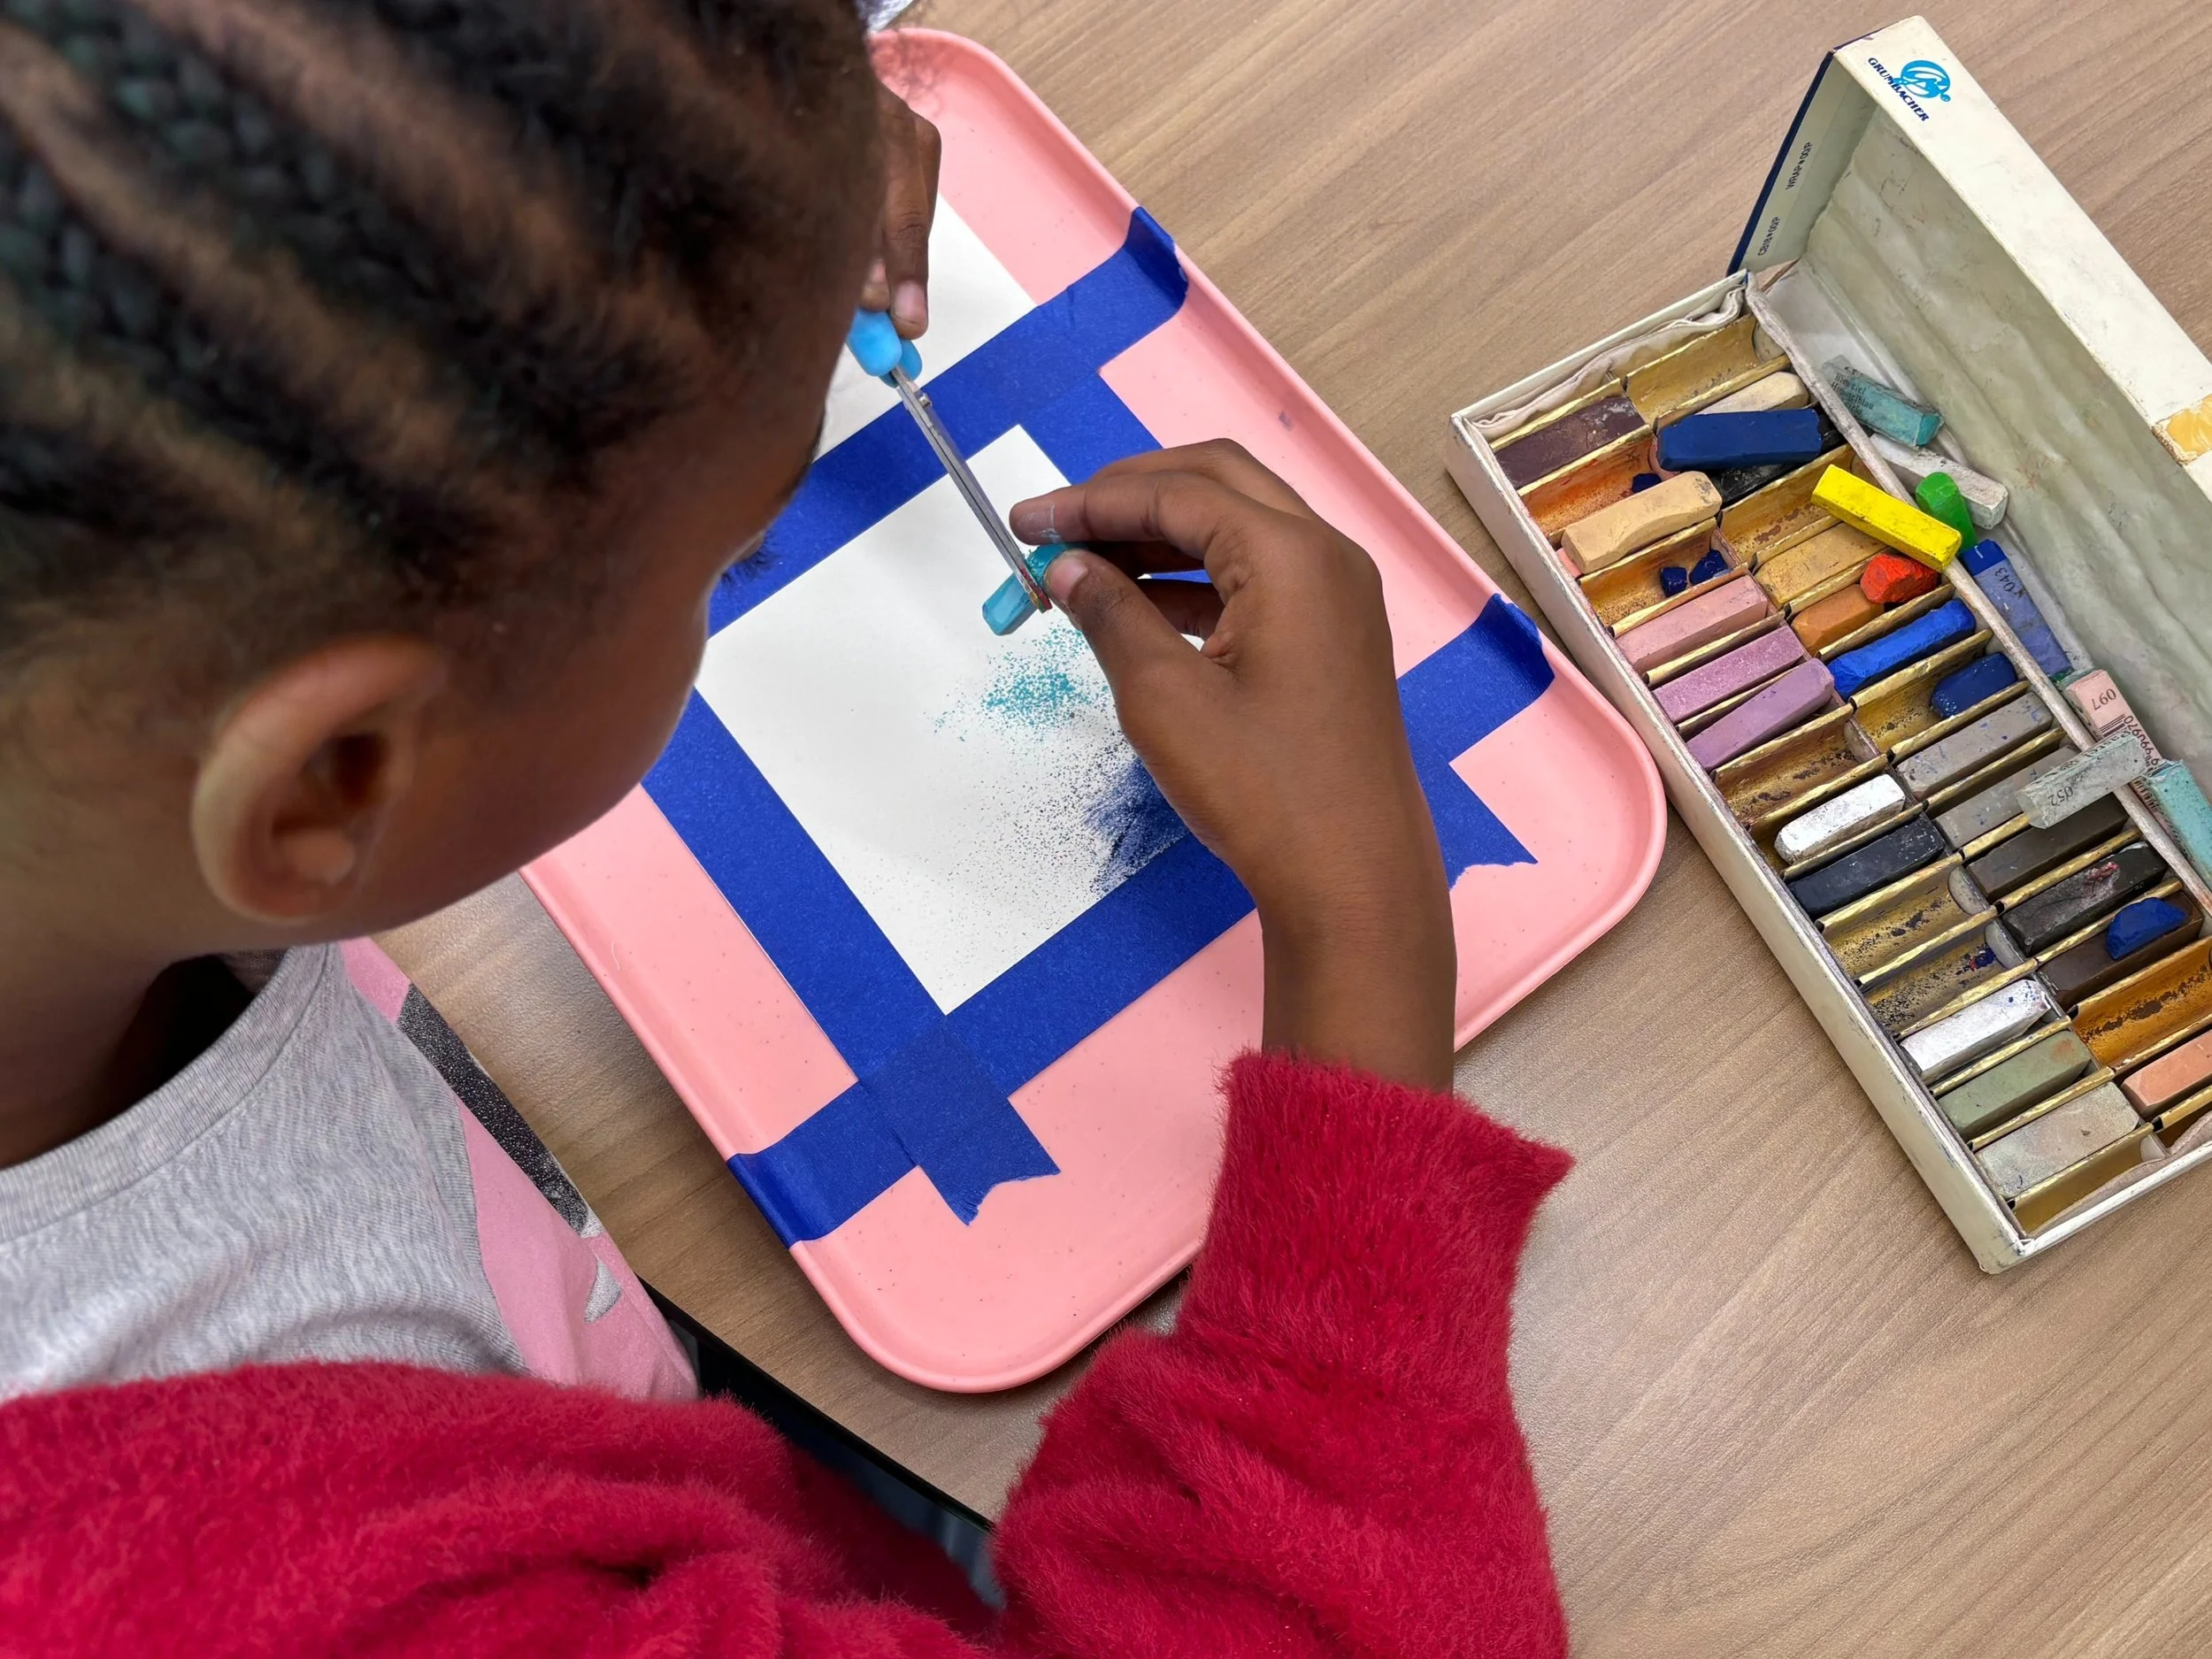
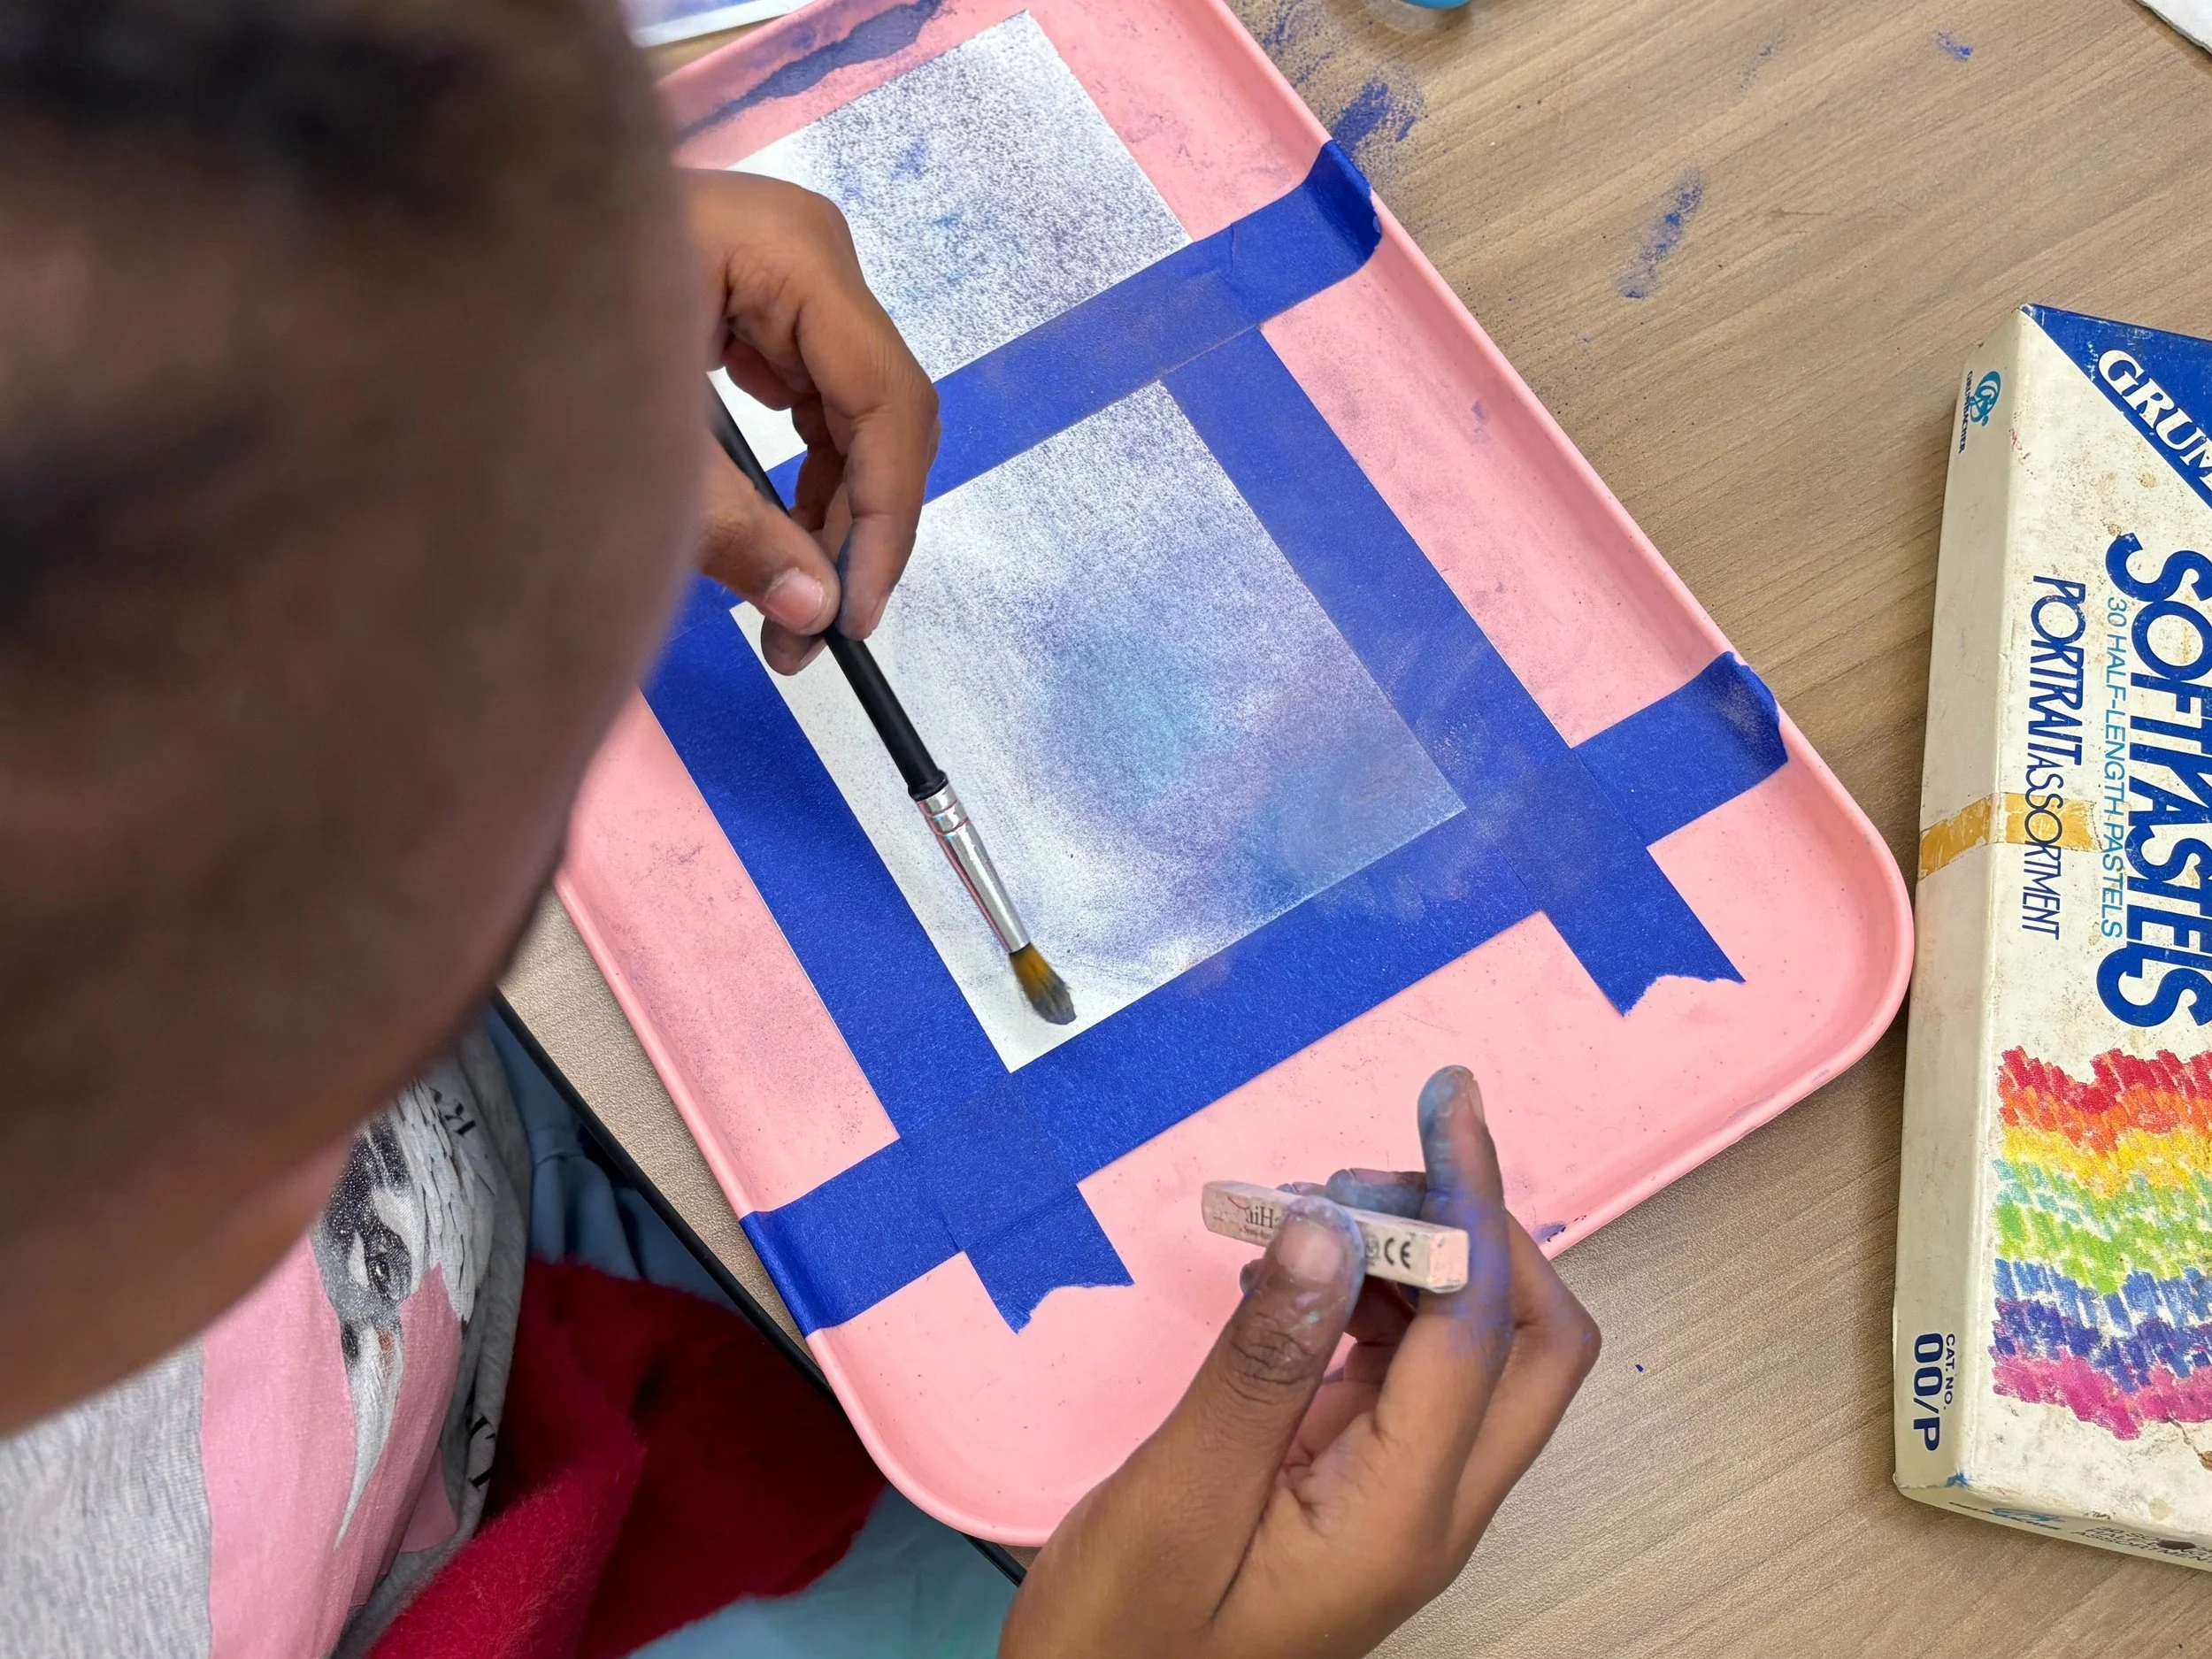
Soft pastels (variety of colors)
Scissors
Blending tools (cotton swabs, tissue, fingers, brushes)
Visuals of Monet’s sky-themed paintings
Lesson Outline
Introduction (10minutes):
1. Show a picture of Claude Monet and introduce him as a famous French painter and one of the founders of Impressionism.
2. Explain that Impressionist artists tried to paint how things looked and felt in the moment — especially light, color, and fleeting moments in a nature.
3. Show 2–3 of Monet’s sky or landscape paintings
4. Discuss Question:
- “What do you notice about the colors in the sky?”- “Does this look like a real photo, or more like a feeling?”
- “How do these colors make you feel?”
Demonstration (5 minutes): Painting the Sky with Claude Monet
1. How to gently apply soft pastel to paper using the side of the pastel for large areas and the tip for details.
2. How to blend colors using fingers, tissues, brushes or cotton swabs to create a soft, cloudy look.
3. Examples of Blending two or more colors together
Hands-On Activity (30 minutes):
1. Give each student a paper and blending tools.
2. Applying and blending soft pastels to create a colorful, expressive sky.
3. Experimenting with colors — for example, using unexpected tones like purples in clouds or greens in the sky.
Sharing and Appreciation (10 minutes):
1. Students appreciate the completed path together, allowing them to feel that their individual pieces are part of a greater whole.
2.Reflection Questions:
- What kind of sky they made
- What colors they used and why
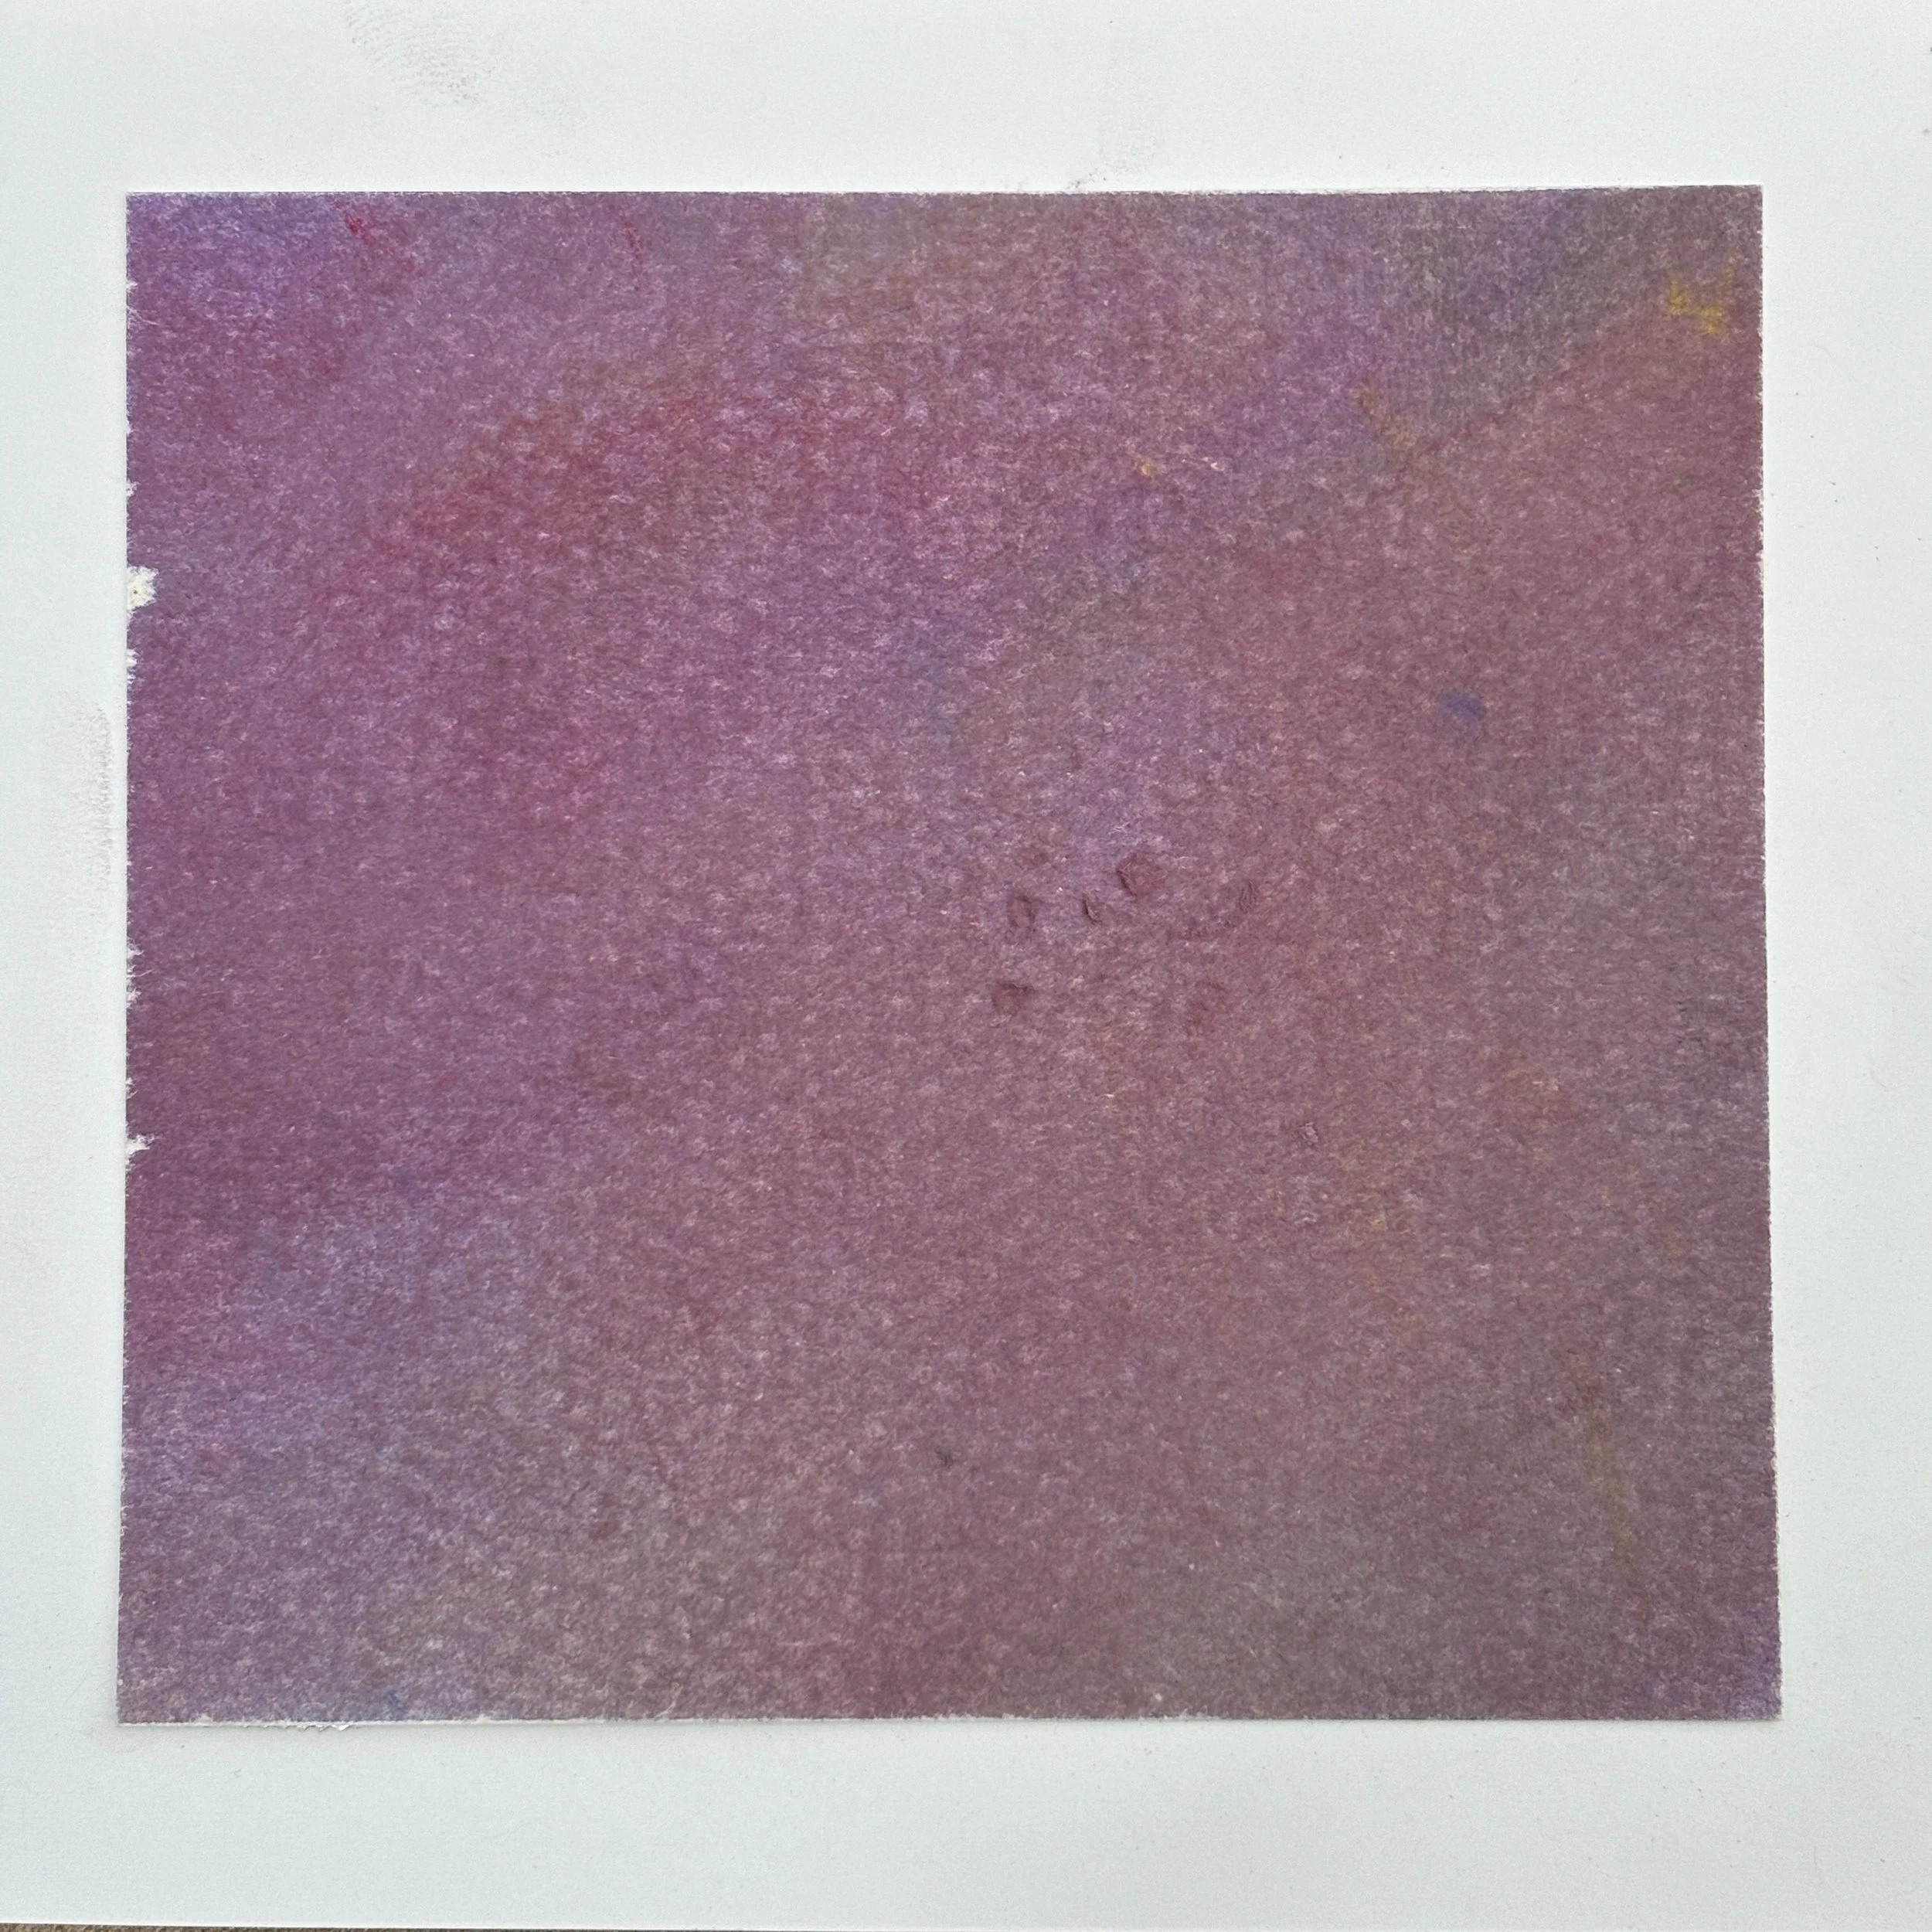
Let's Learn About Artist!: YAYOI KUSAMA
Let’s Learn About Artist:
YAYOI KUSAMA
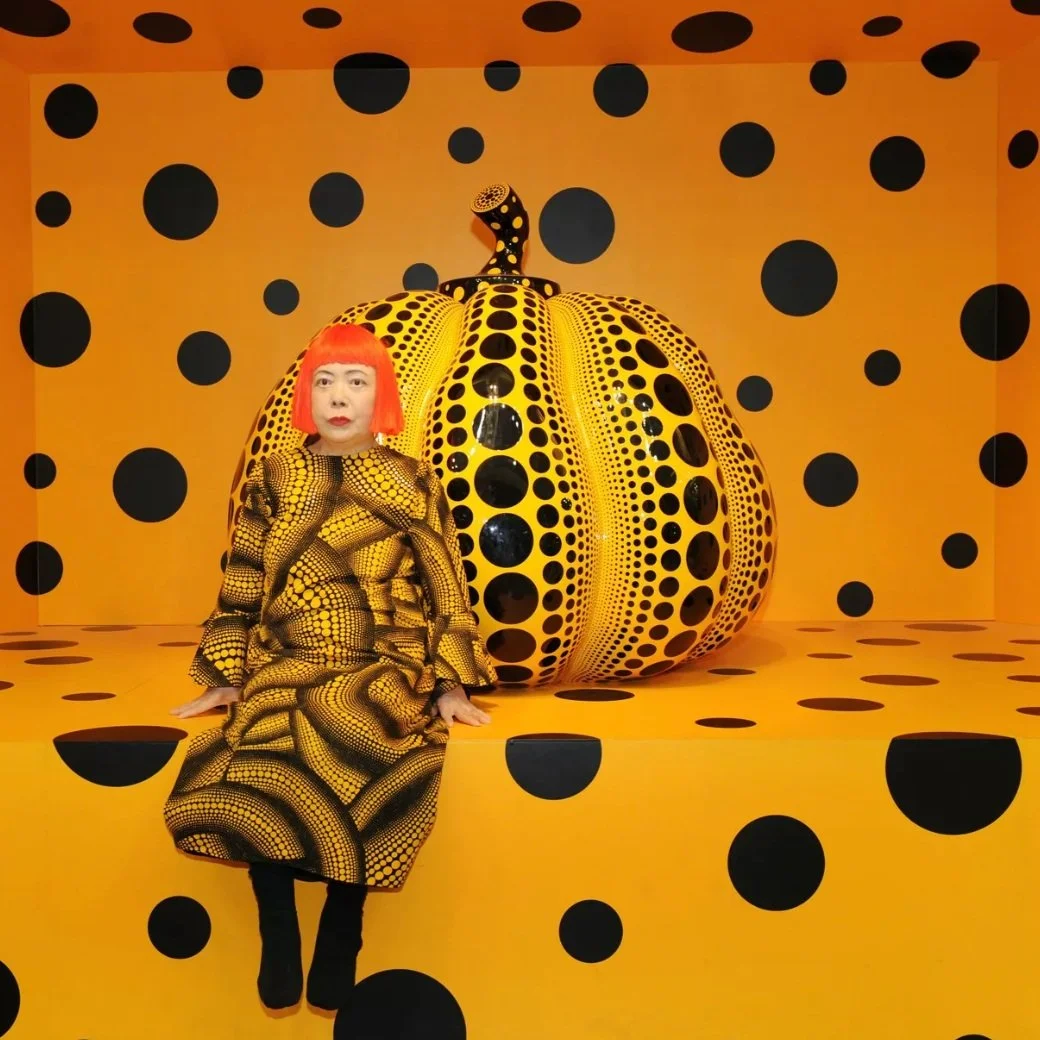
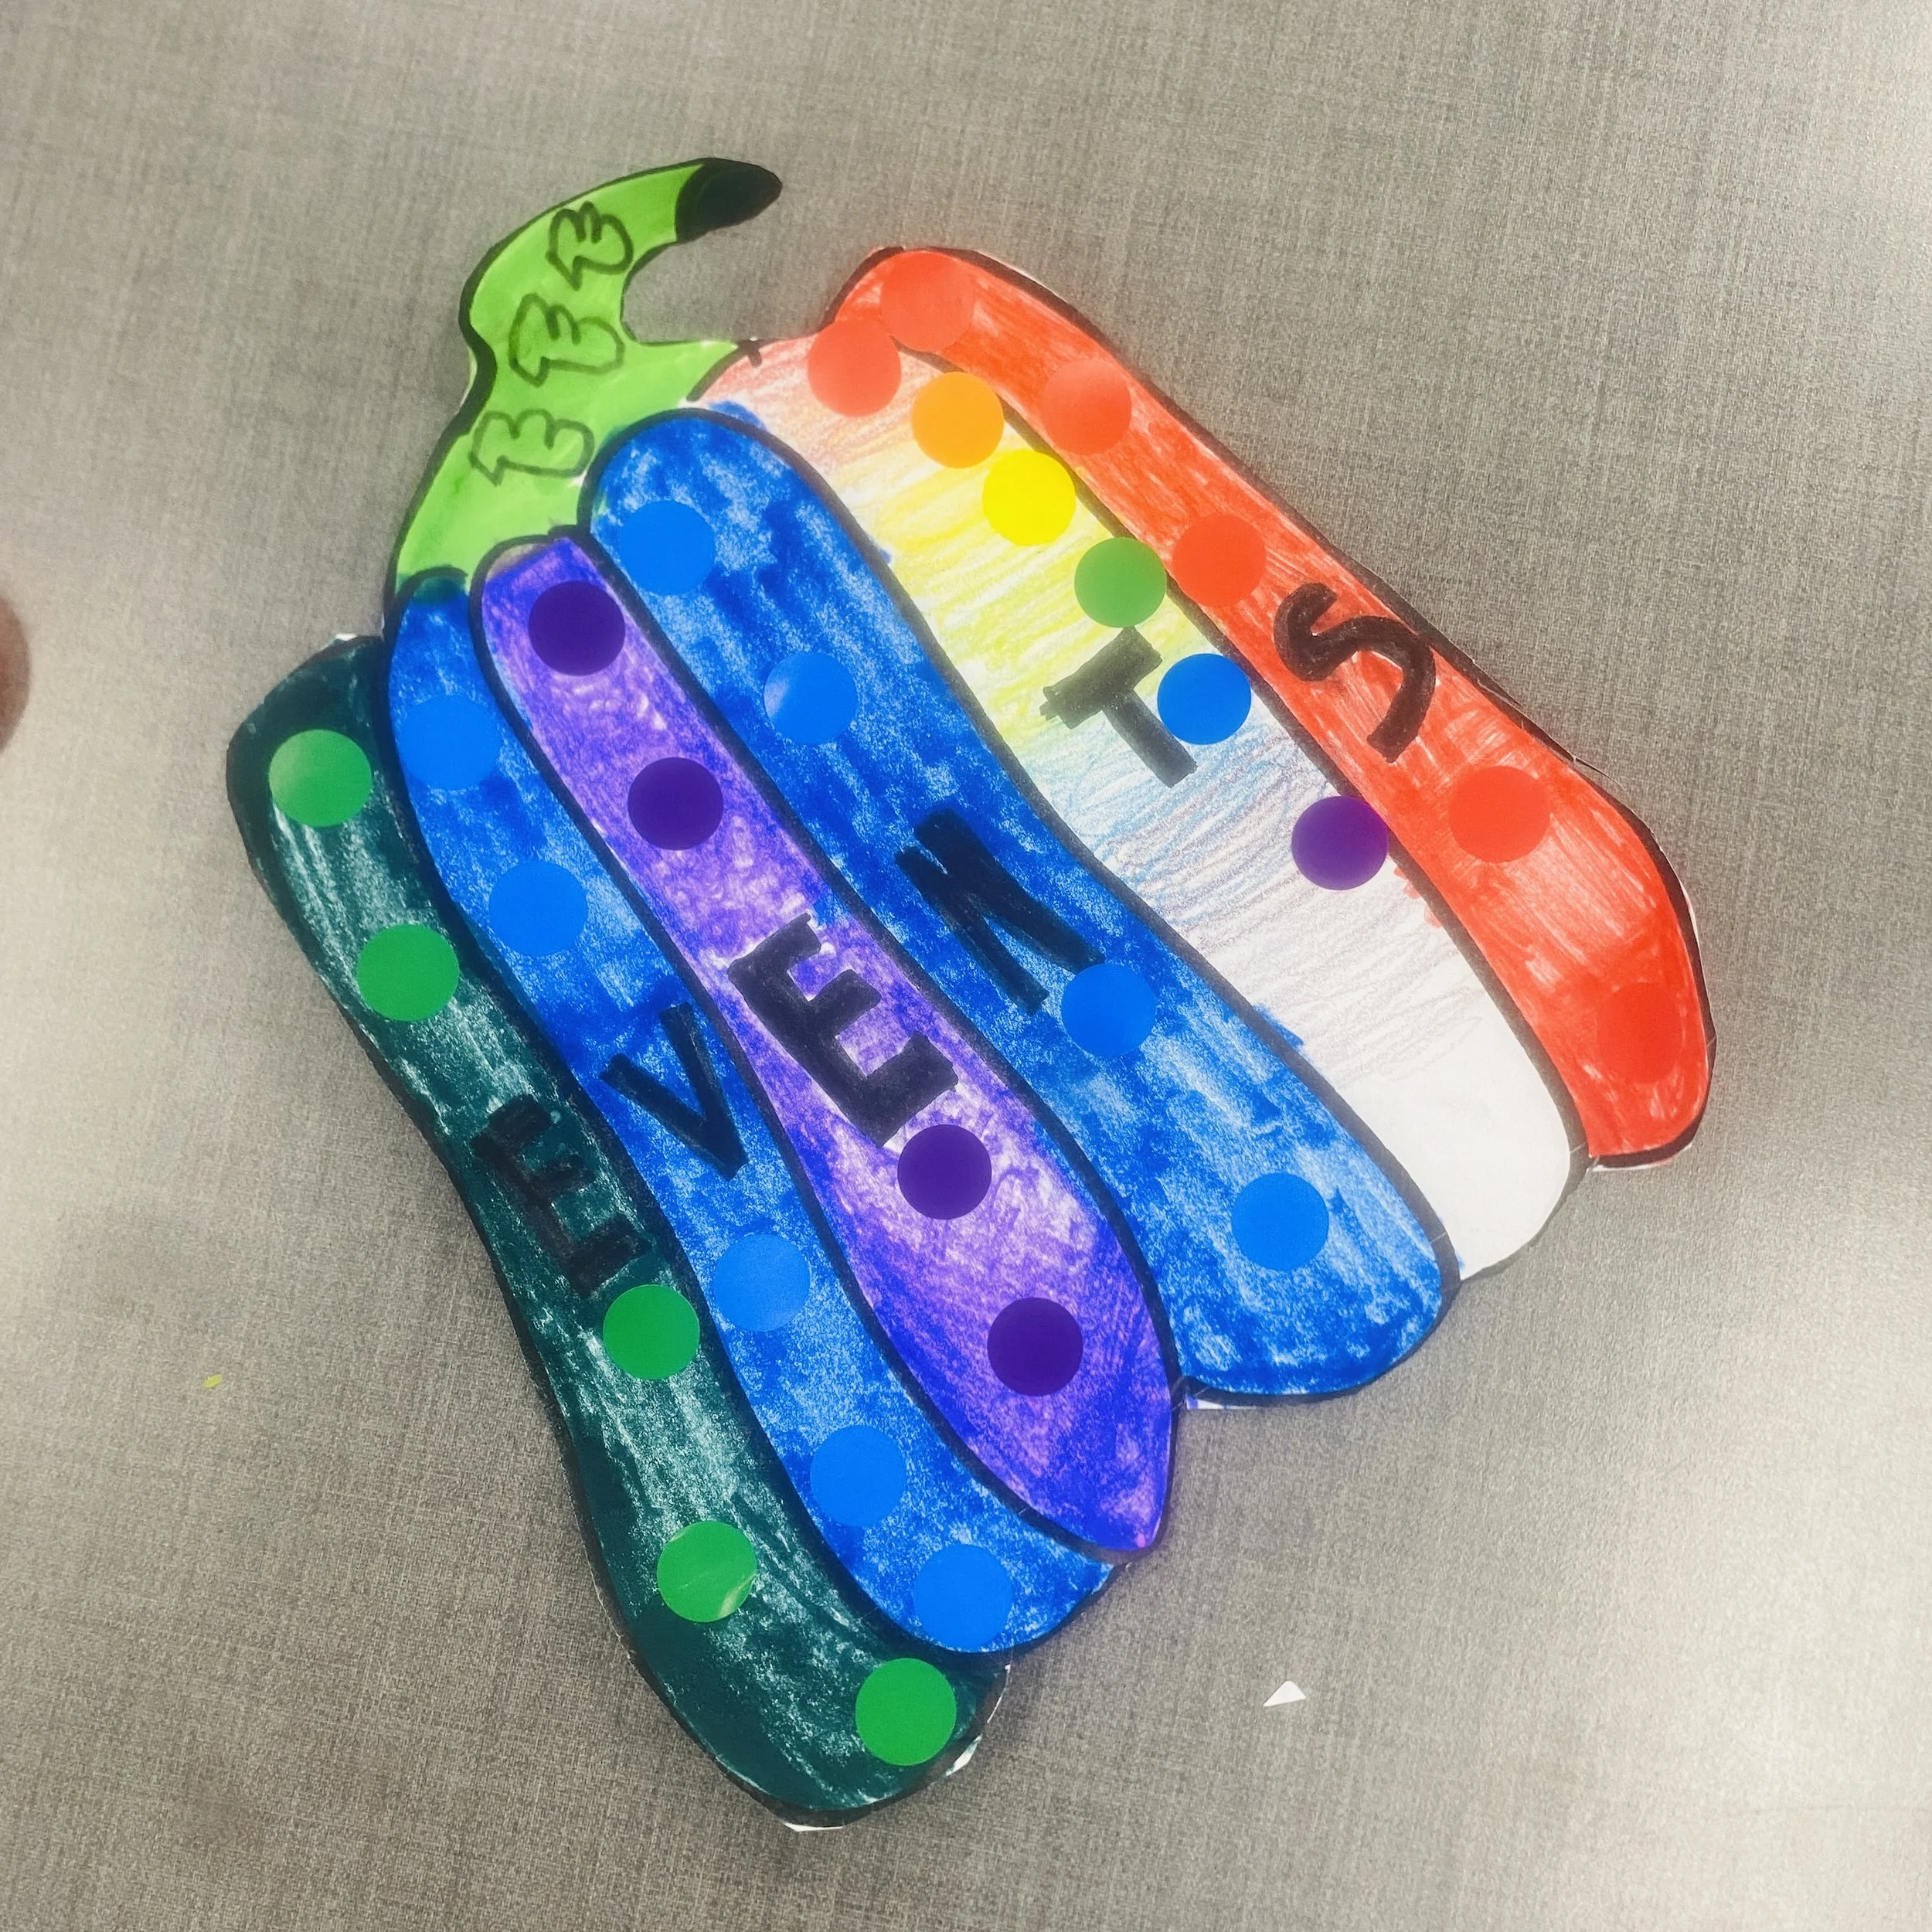
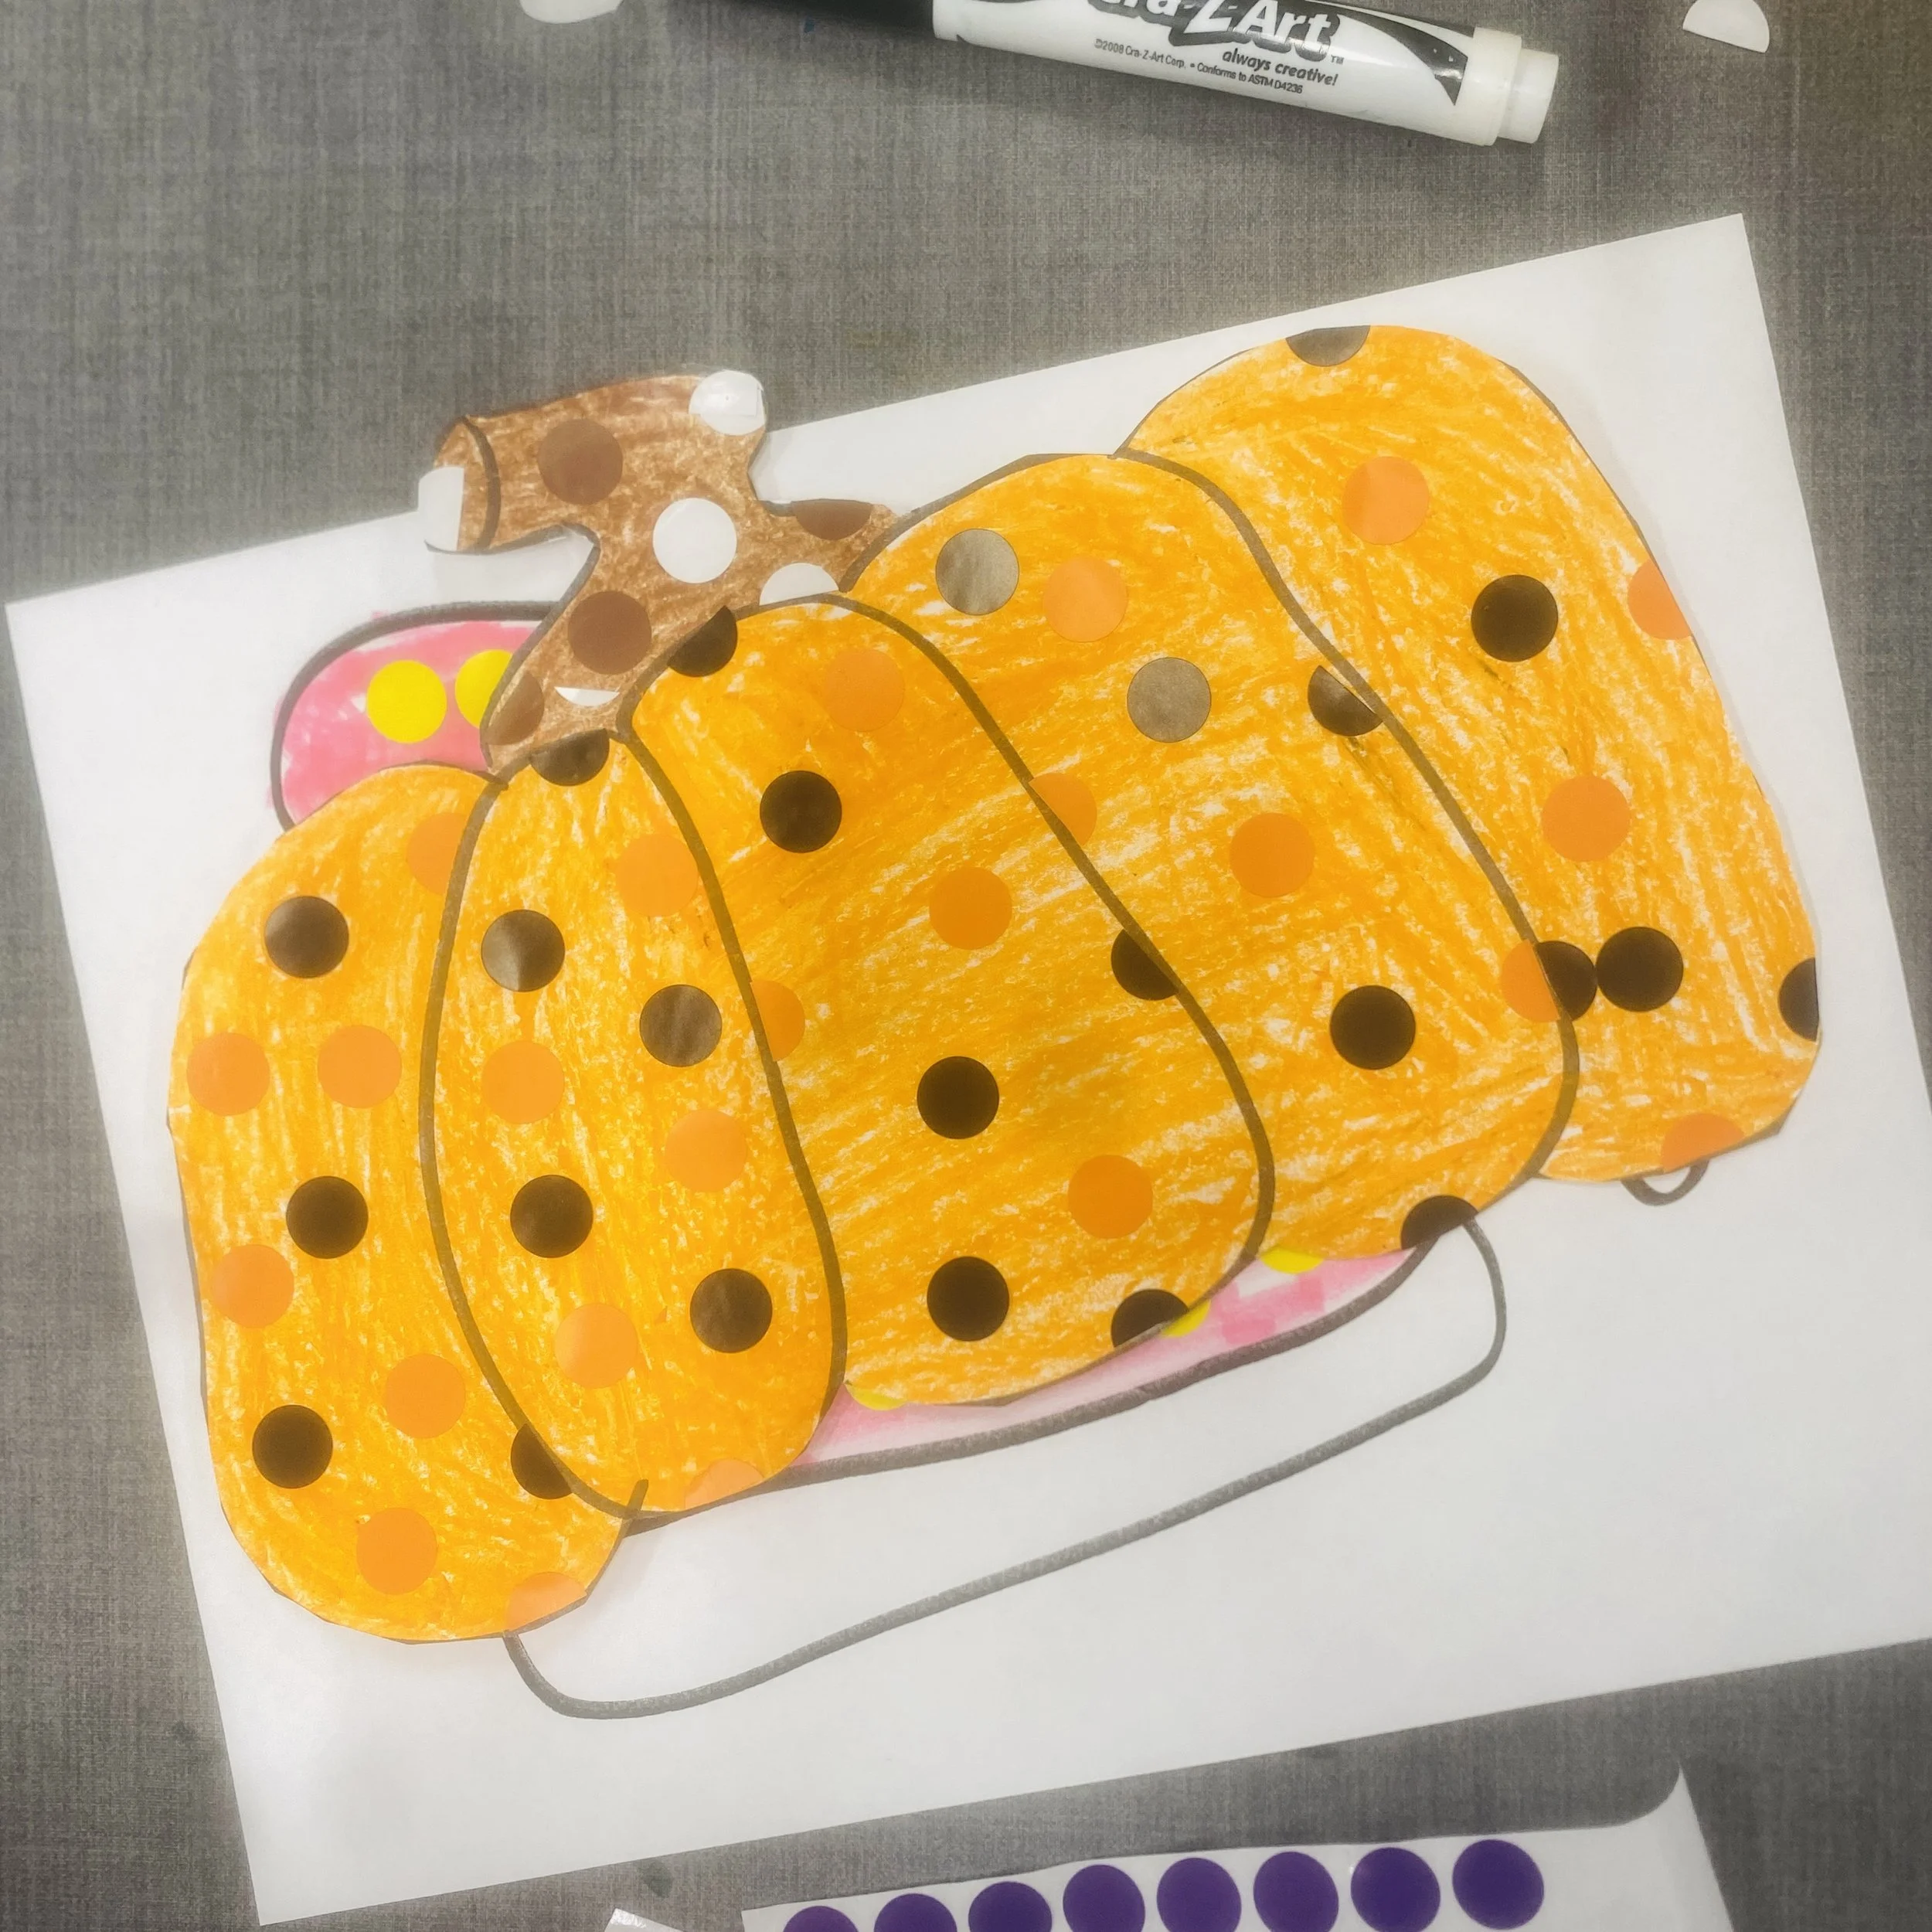
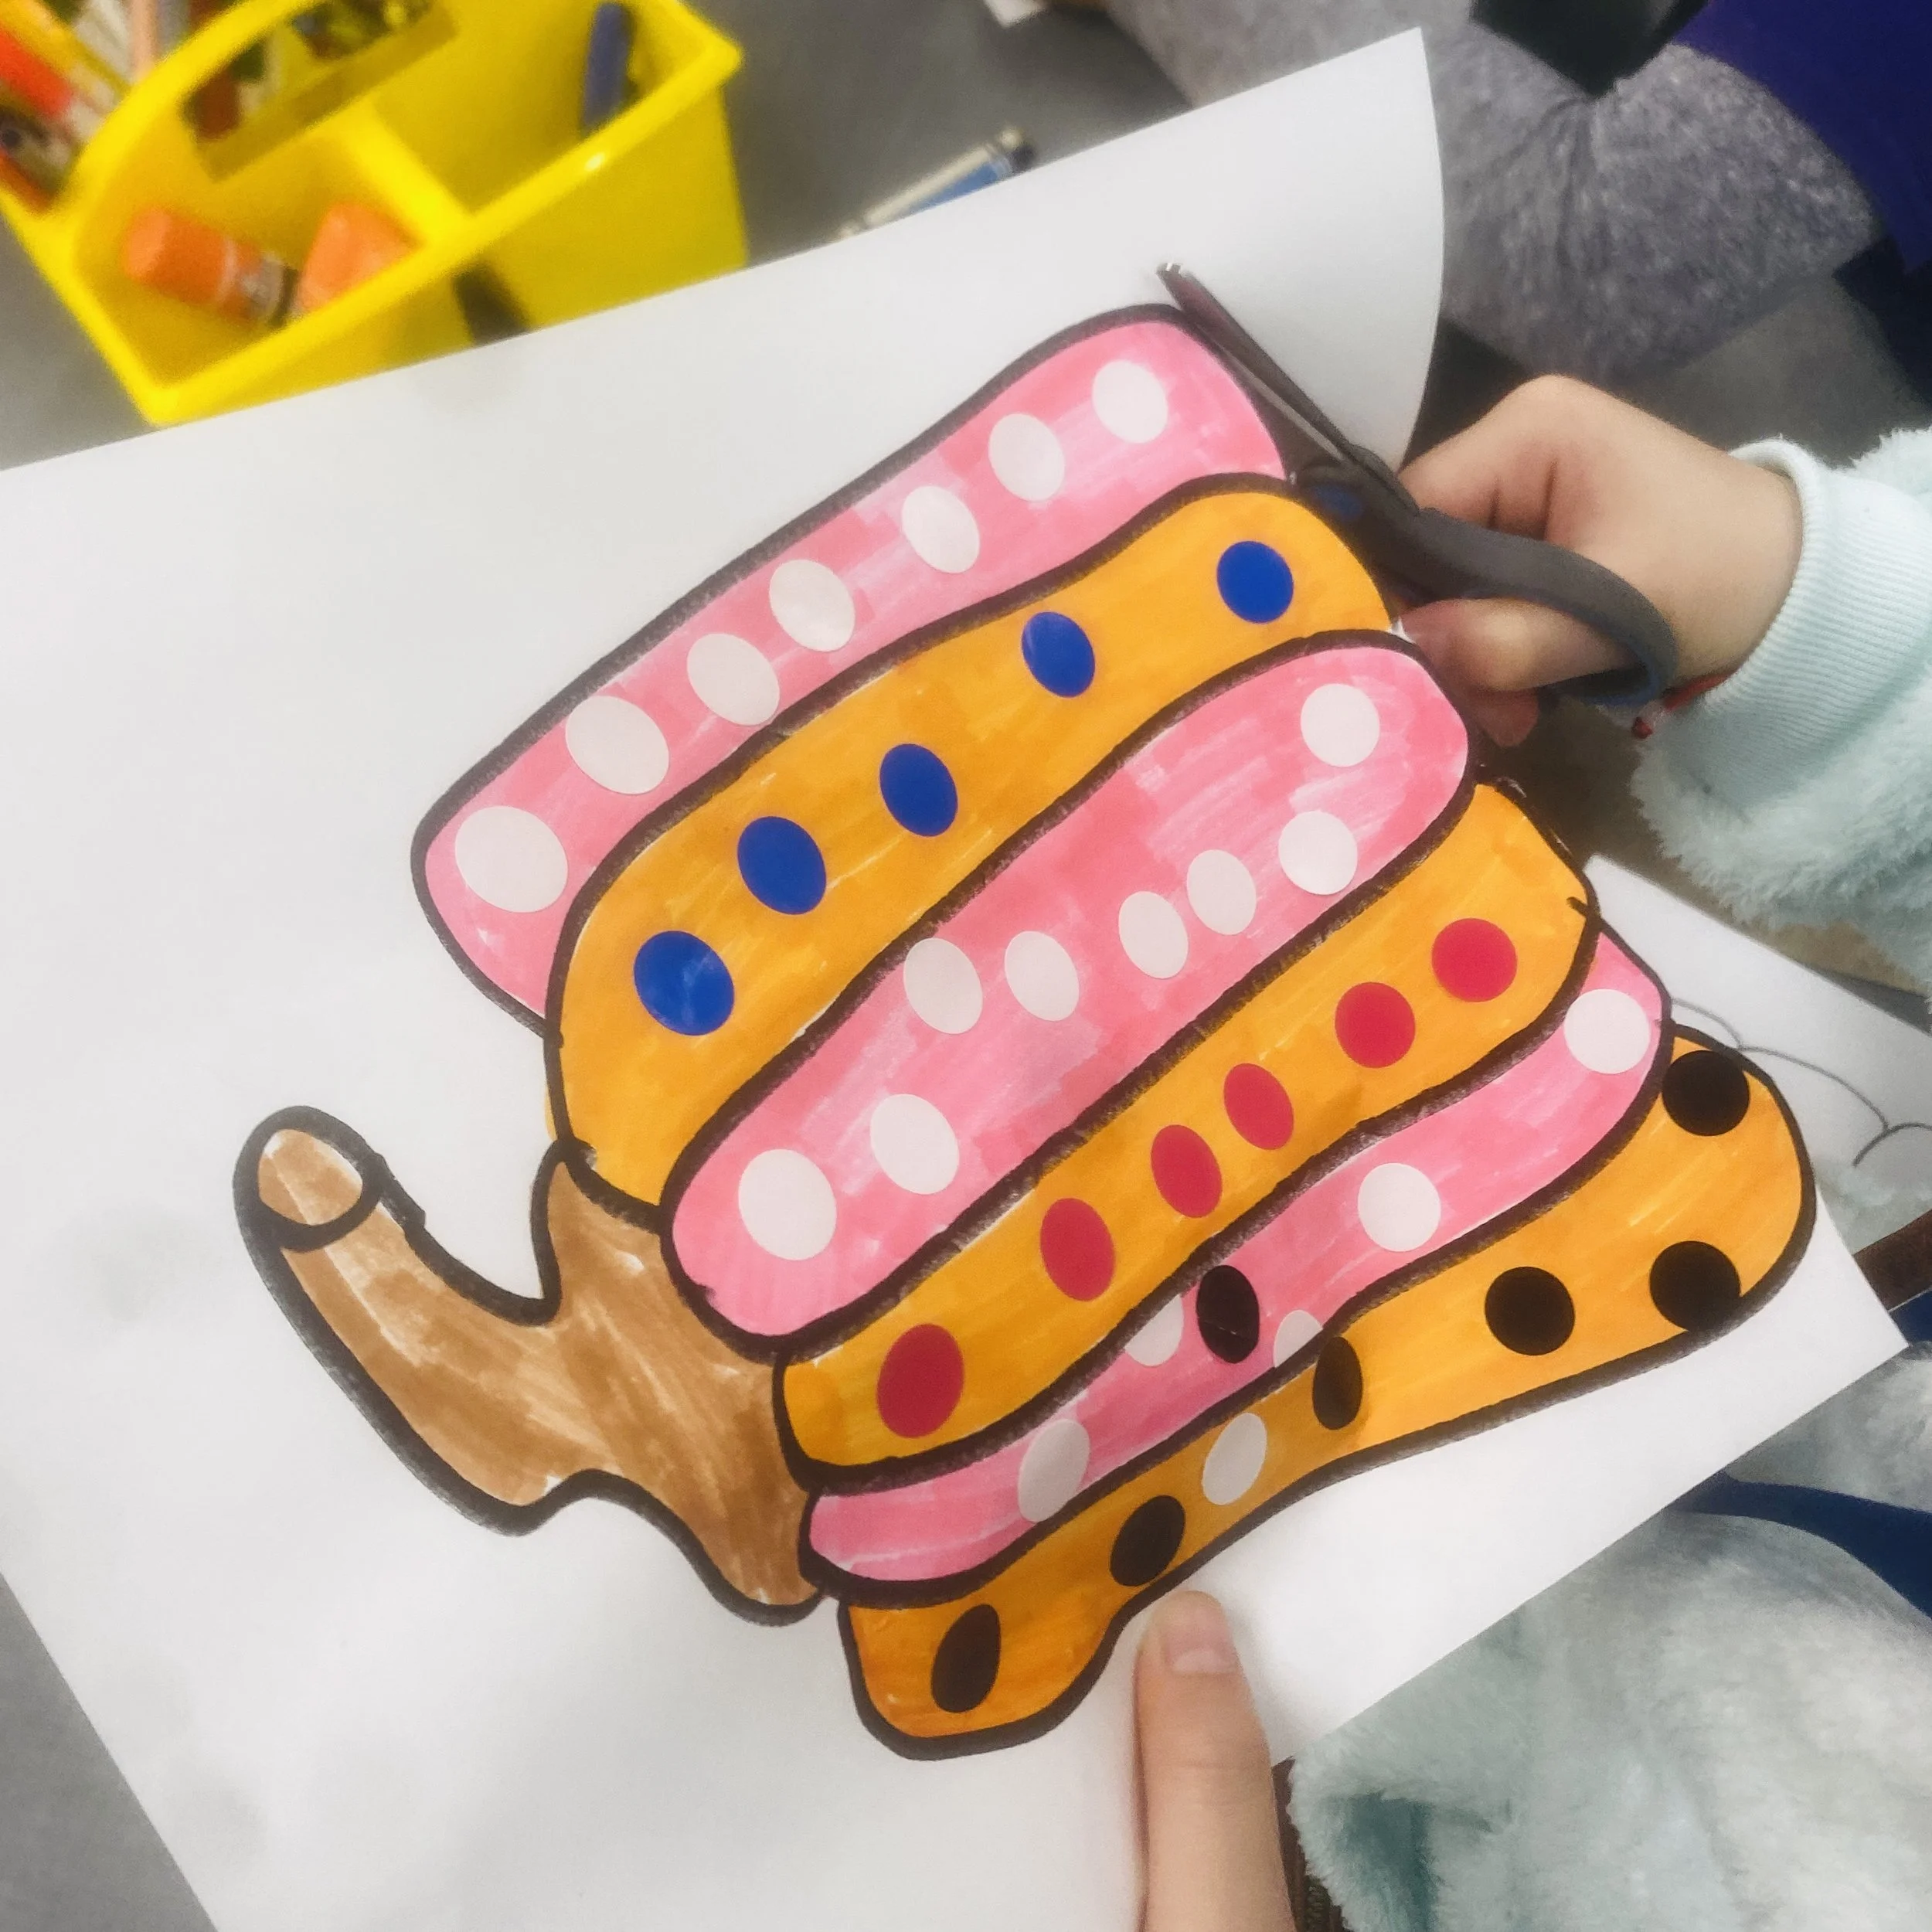
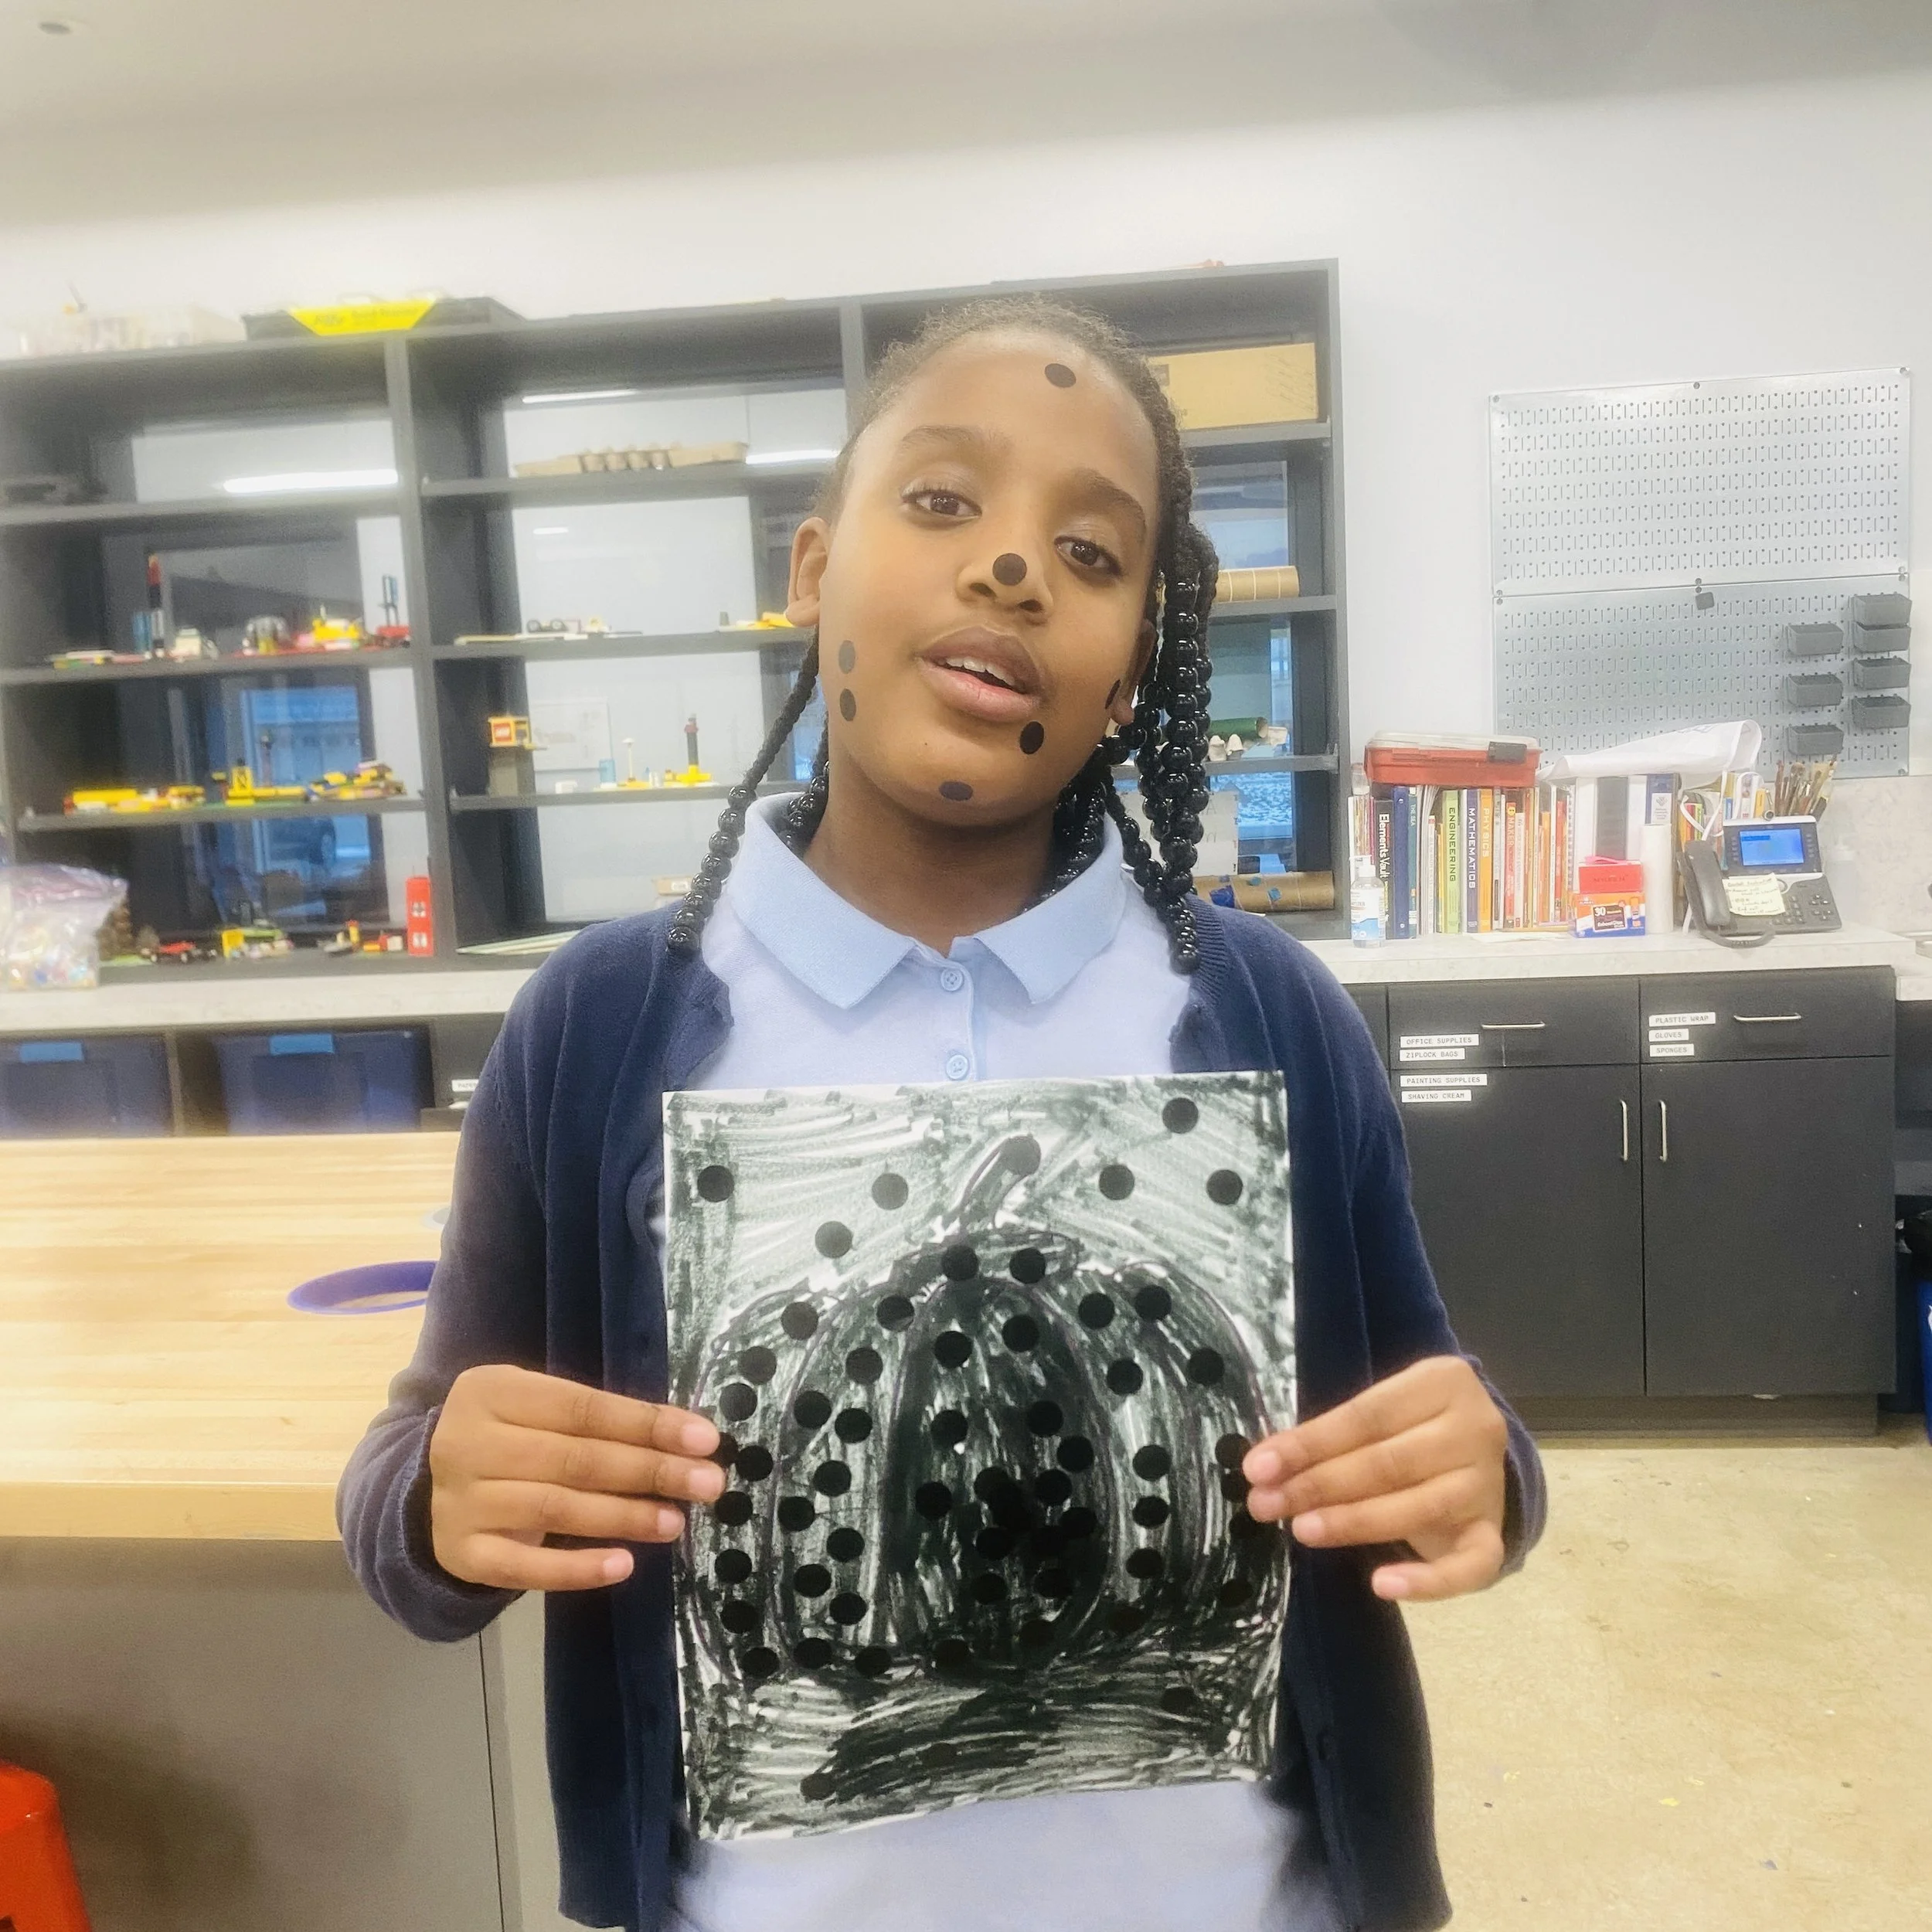
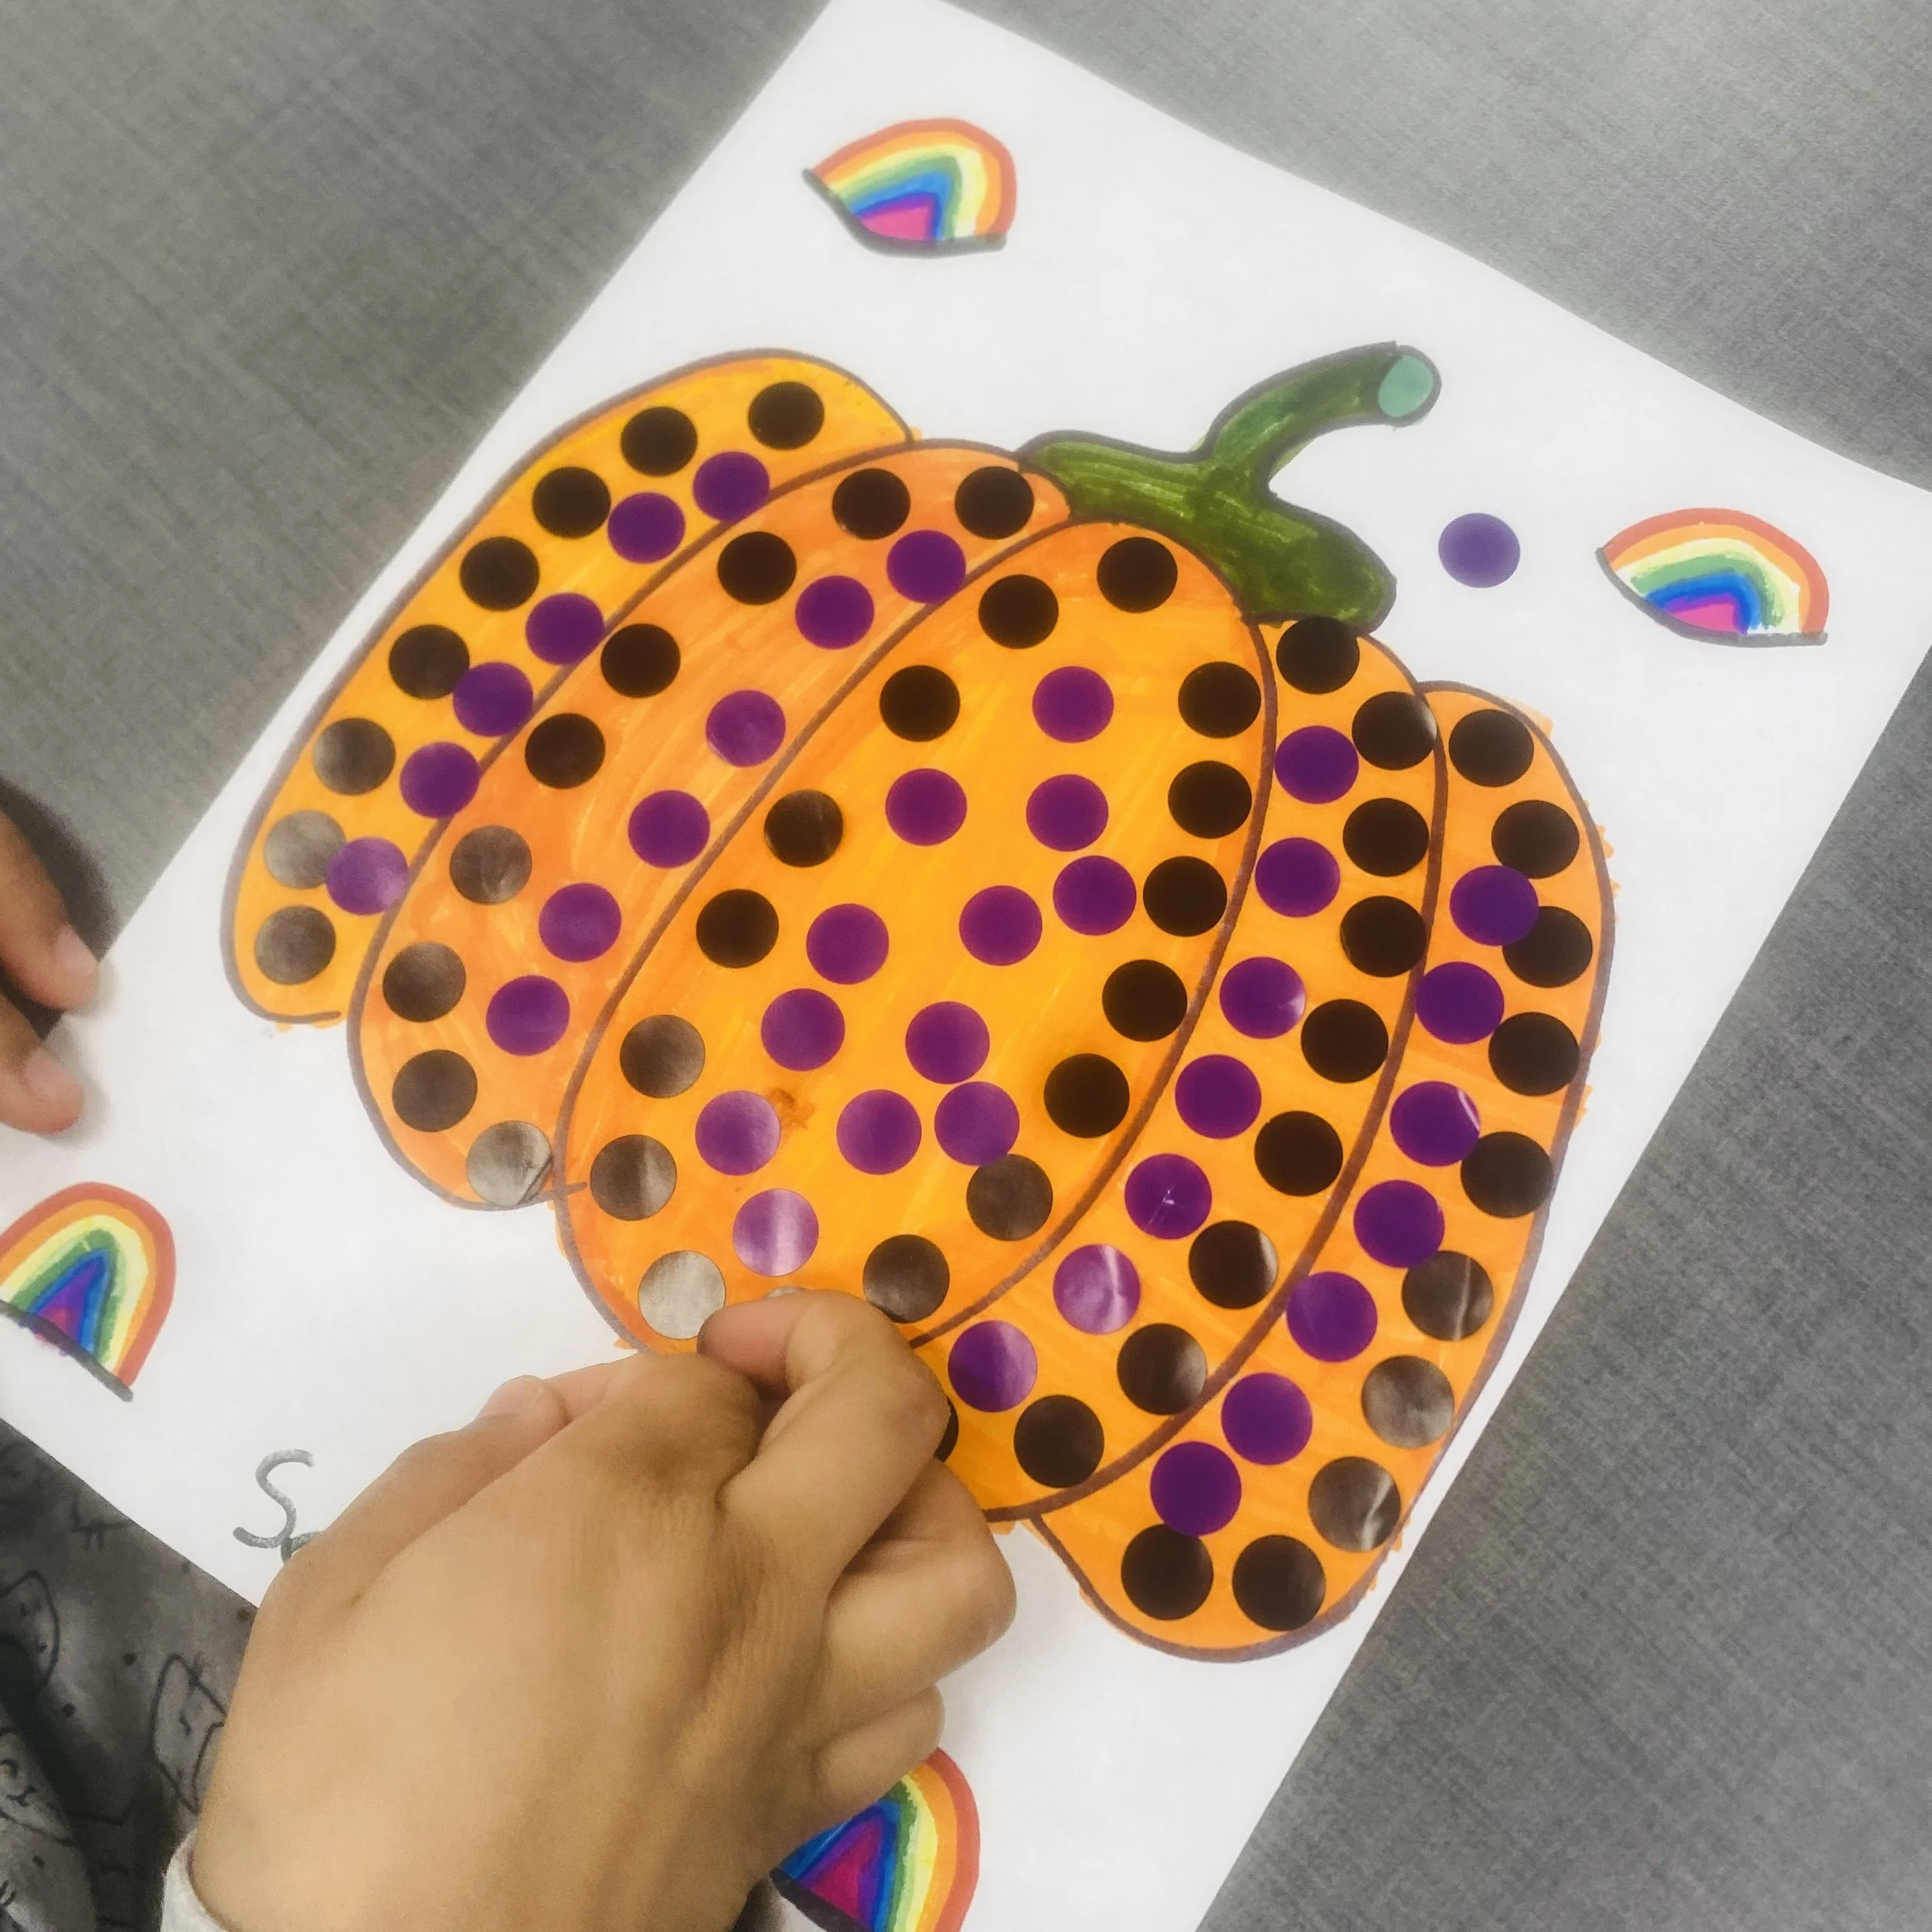
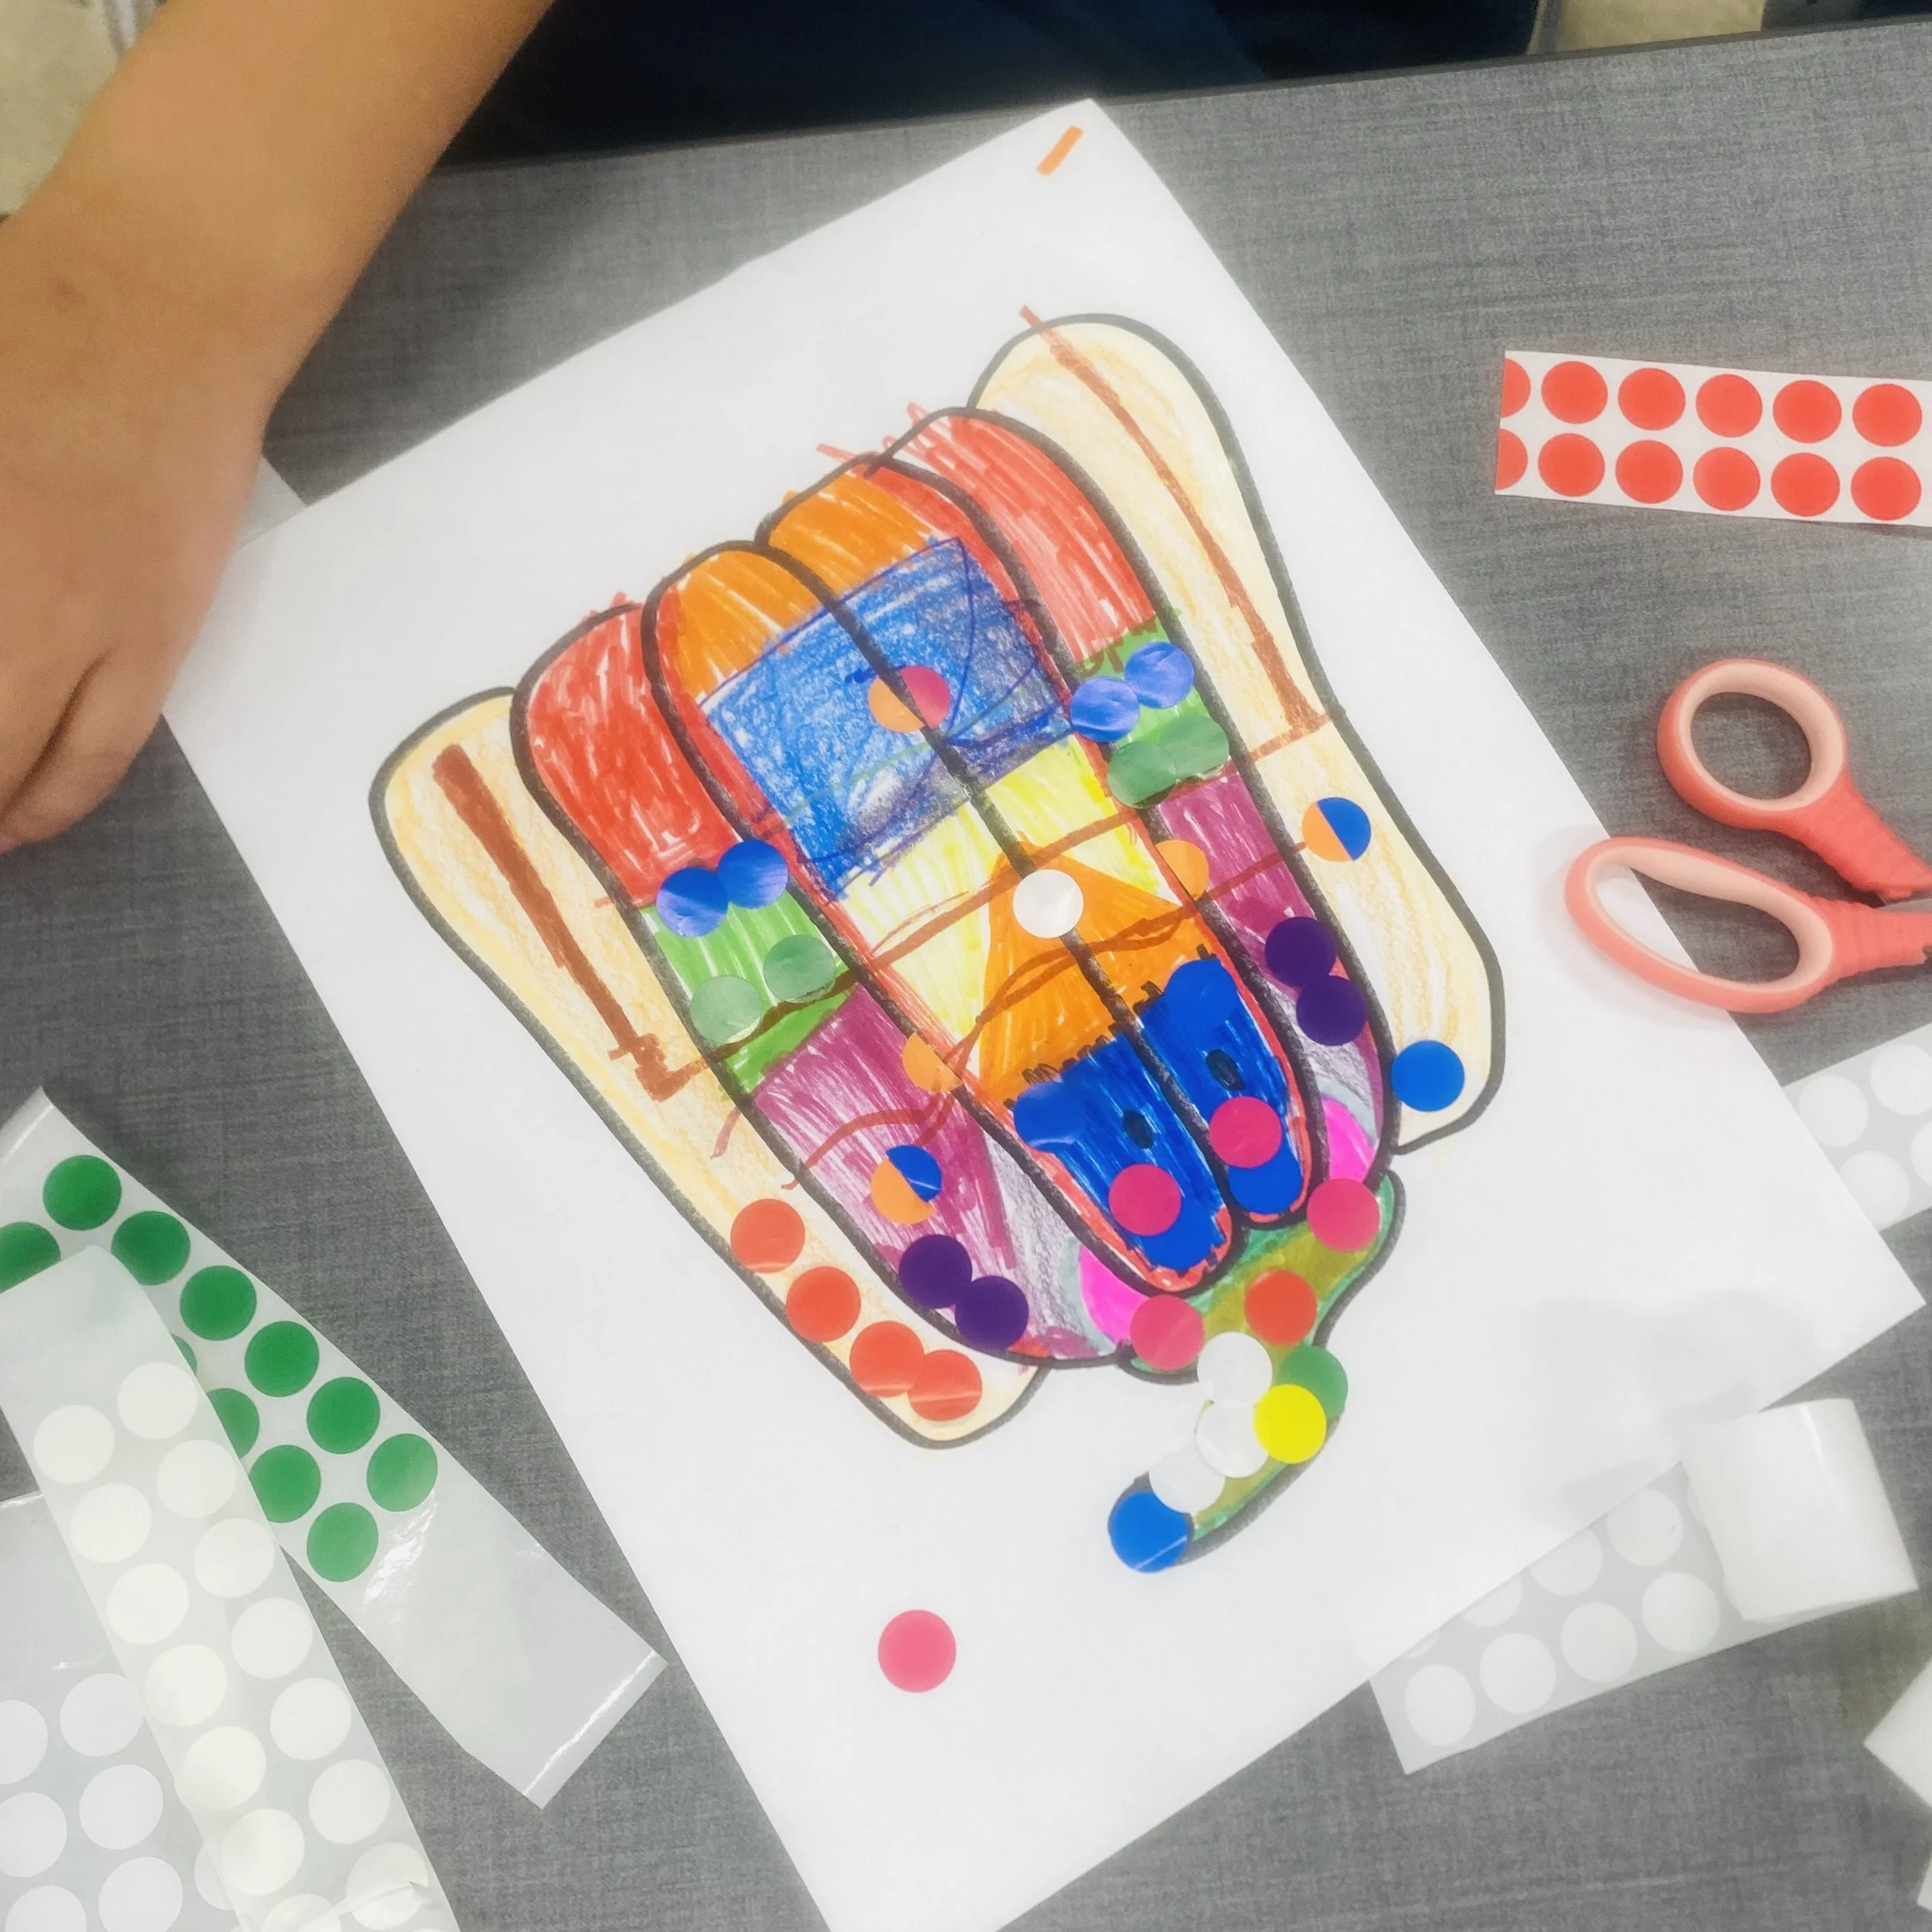
By the end of this lesson, students will gain an understanding of the life and artistic style of Japanese female artist Yayoi Kusama, focusing on her use of patterns and colors. Through a hands-on activity, students will decorate pumpkin drawing with colored-dot stickers, learning about color composition and pattern making inspired by Kusama's work.
Materials
Pumpkin drawings
Dot stickers in various colors
Markers or colored pencils
Lesson Outline
Introduction (10minutes):
1. Introduce Yayoi Kusama as a renowned Japanese female artist known for her unique art style characterized by repetitive patterns and vibrant colors.
2. Provide a brief overview of Kusama's life, including her struggles with mental health and her journey as an artist.
3. Show examples of Kusama's artworks, focusing on her pumpkin-themed pieces and the use of dots and patterns.
Biography and Artistic Journey (10 minutes):
1. Discuss Kusama's artistic characteristics, including her fascination with repetition, infinity, and the concept of "obliteration" through dots.
2. Explore Kusama's use of vibrant colors and how she creates dynamic compositions through the repetition of patterns.
3. Highlight the significance of pumpkins in Kusama's work as symbols of fertility, growth, and the cycle of life.
Hands-On Activity (30 minutes): Pumpkin Decoration.
1. Provide each student with pumpkin drawing.
2. Instruct students to decorate their pumpkin drawing using dot stickers in various colors, inspired by Kusama's use of repetitive patterns.
3. Encourage students to experiment with different color combinations and placement of dots to create visually interesting compositions.
4. Allow students to outline their pumpkin drawing with markers or colored pencils to enhance the contrast with the dot stickers.
5. Once completed, students can share their decorated pumpkins with the class and discuss their creative process.
Sharing and Appreciation (10 minutes):
1. Lead a group discussion on the students' experiences with the activity, focusing on their color choices, pattern making, and the influence of Yayoi Kusama's art.
2. Encourage students to reflect on how they incorporated Kusama's artistic characteristics into their own artwork and what they learned about color composition and pattern making.
3. Discuss the significance of pumpkins as symbols in art and culture, drawing connections to Kusama's thematic motifs.
4. Summarize key points about Yayoi Kusama's art and her influence on contemporary art.
5. Emphasize the importance of experimentation, creativity, and self-expression in art.
Assessment:
I found the pumpkin decoration activity to be an enriching and engaging experience for my students. The activity not only allowed them to express their creativity but also provided an opportunity for them to learn about the art of Yayoi Kusama and experiment with color composition and pattern making.
One special moment during the activity occurred when a student with ADHD enthusiastically engaged with the task. This student, who often struggled to focus for extended periods, was captivated by the process of decorating their pumpkin drawing with dot stickers. As they meticulously placed each sticker, their focus and attention seemed to sharpen, and they became fully immersed in the creative process.
What struck me most about this moment was the sense of calm and concentration that washed over the student. Despite the distractions that typically hindered their ability to stay on task, they found solace in the repetitive and tactile nature of the activity. It was heartening to witness how art provided a therapeutic outlet for this student, allowing them to channel their energy into a productive and fulfilling endeavor.
Moreover, the pumpkin decoration activity served as a reminder of the transformative power of art in fostering inclusivity and supporting students with diverse learning needs. By providing a hands-on and sensory-rich experience, I was able to create an environment where all students, regardless of their abilities, could participate and thrive.
Overall, the pumpkin decoration activity was not only a memorable artistic experience for my students but also a testament to the profound impact that art can have on individuals' well-being and sense of belonging. It reaffirmed my commitment to creating an inclusive and supportive learning environment where every student has the opportunity to shine.

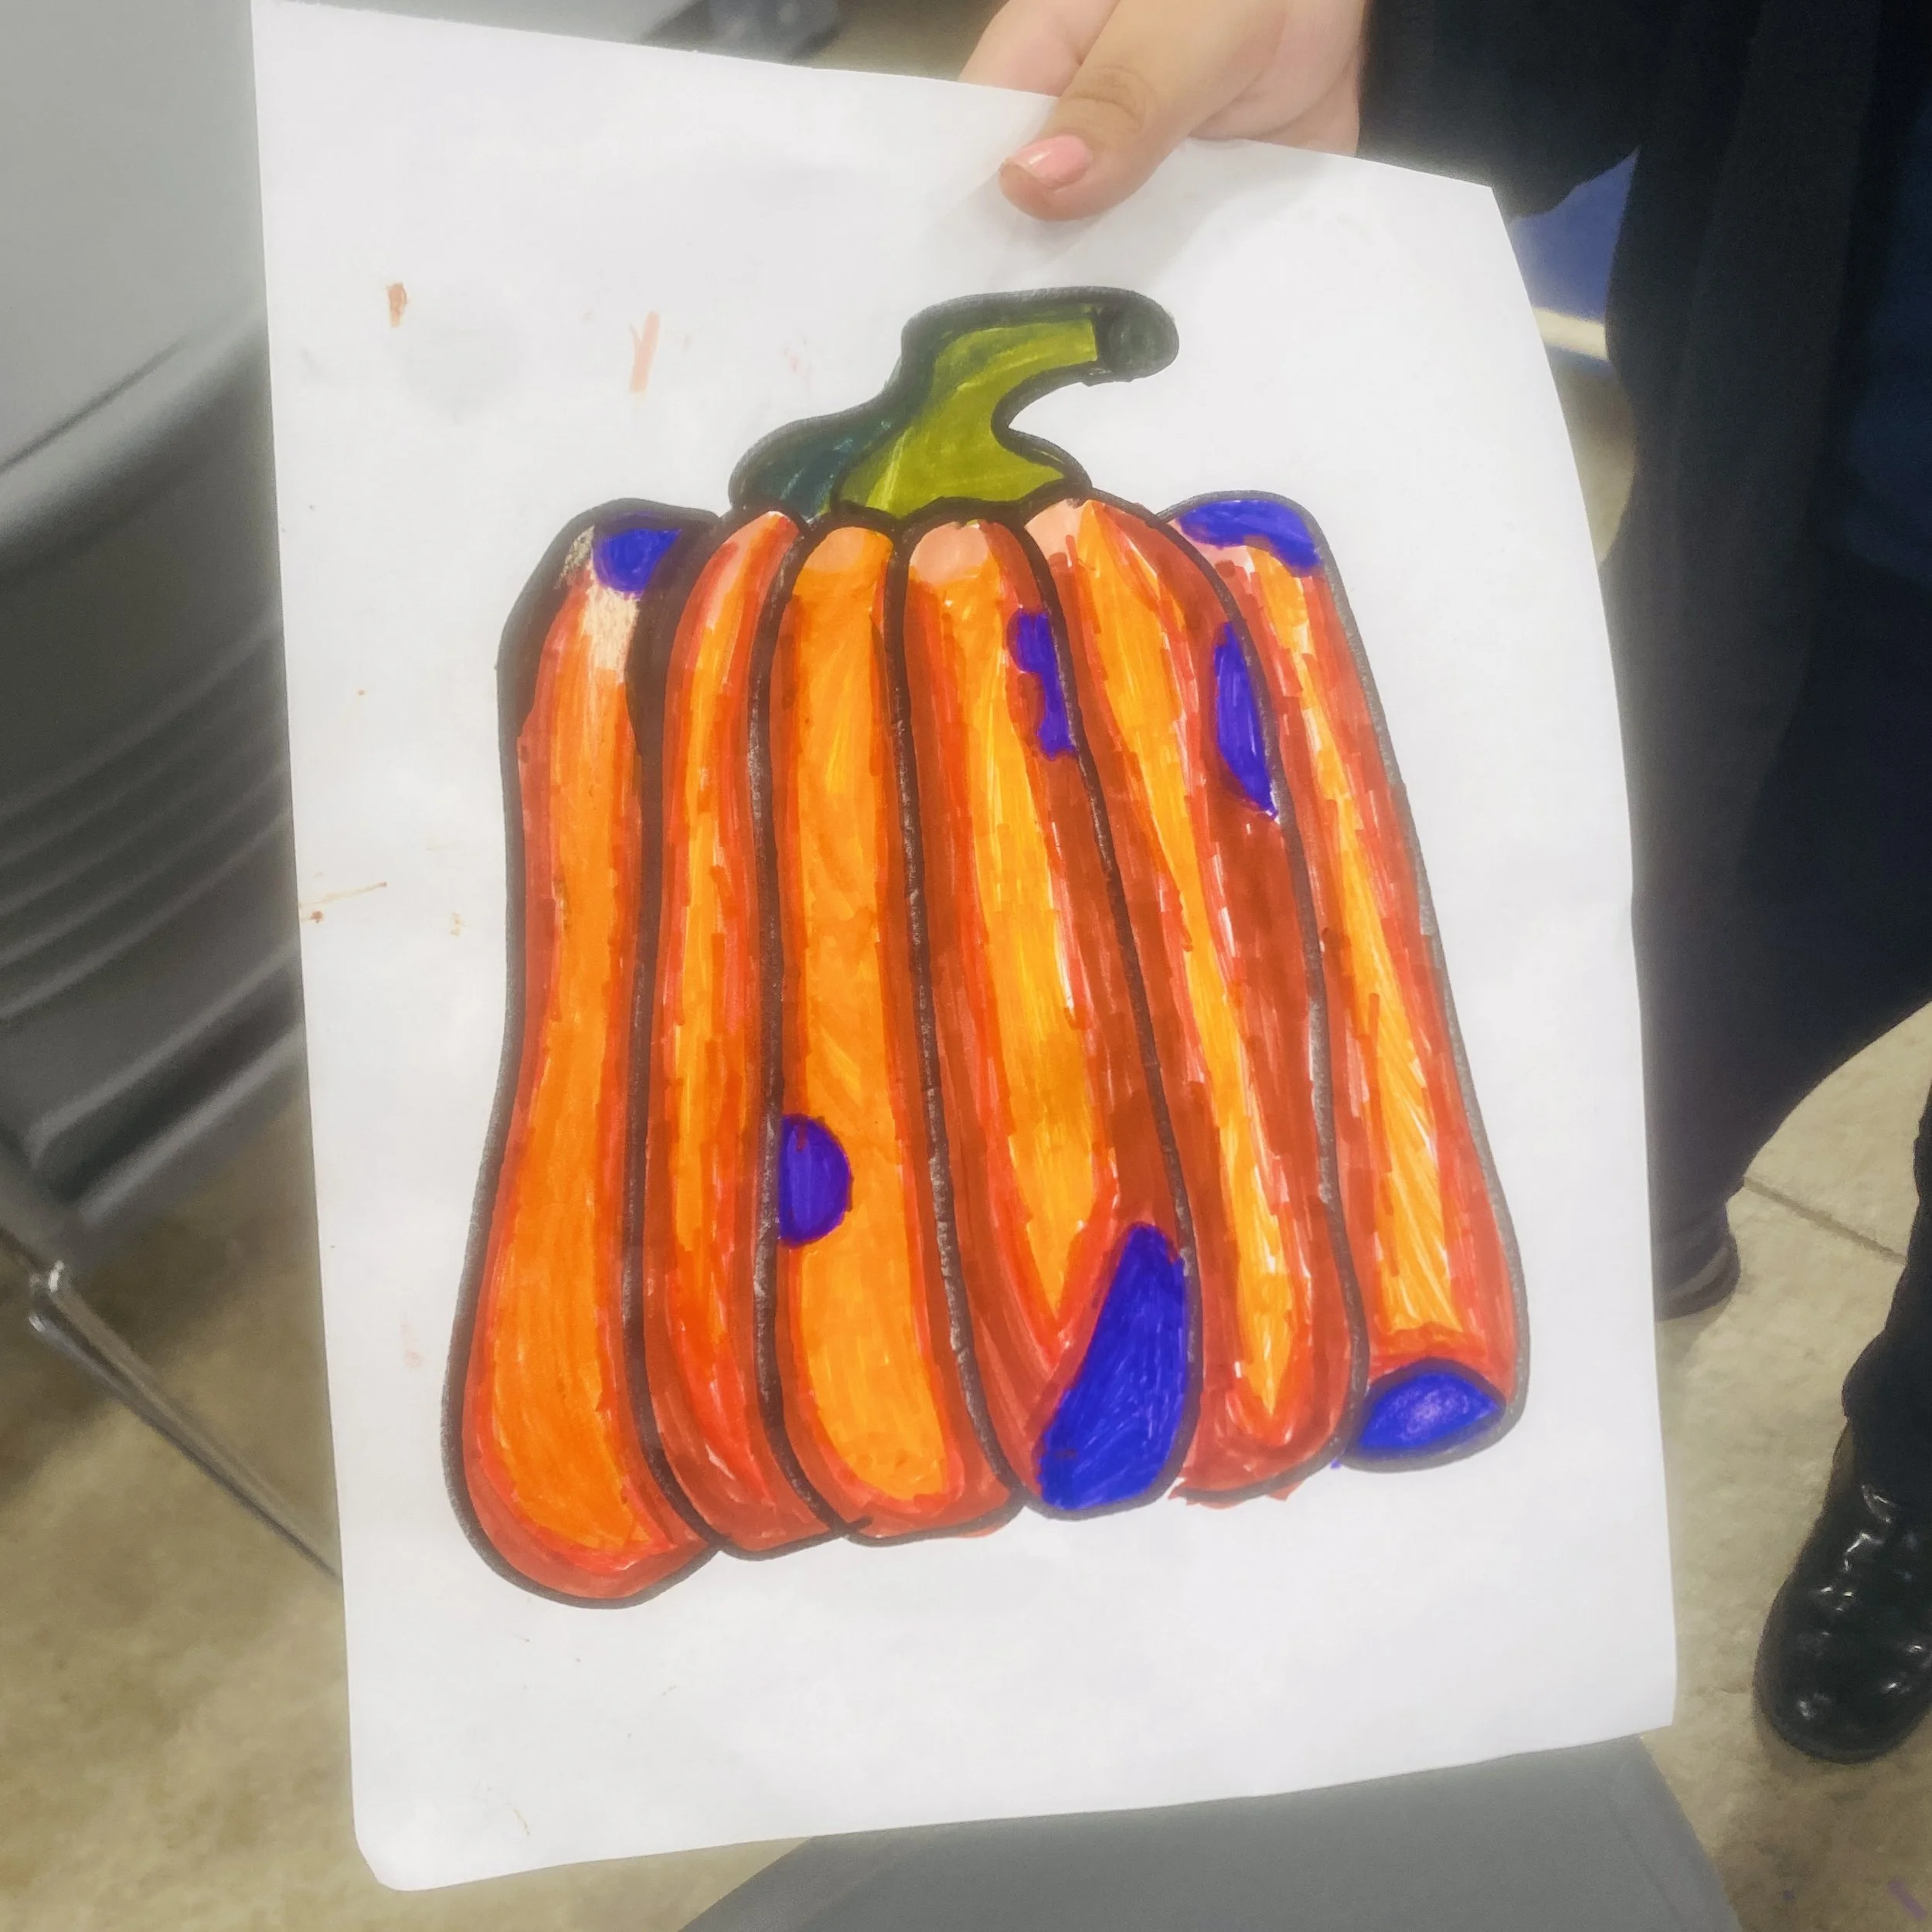
Students’ Works


Let's Learn About Artist!: CLAUDE MONET
Let’s Learn About Artist:
CLAUDE MONET
By the end of this lesson, students will gain an understanding of Claude Monet's life, artistic style, and contributions to the Impressionist movement, and create their own artwork inspired by his color choice.
Materials
Makers or Colored Pencils
Pencils
Scissors
Glues
Acrylic Paints
Paper Plates
Ziploc Bags
Lesson Outline
Introduction (10minutes):
1. Briefly introduce Claude Monet and his significance in the art world as a leader of the Impressionist movement.
2. Show a selection of Monet's artworks, focusing on his use of light, color, and brushwork.
3. Discuss the characteristics of Impressionism and its departure from traditional artistic techniques.
Biography and Artistic Journey (10 minutes):
1. Provide a brief overview of Monet's life, including his upbringing, influences, and artistic journey.
2. Explore Monet's signature techniques such as plein air painting, loose brushwork, and capturing light and atmosphere.
3. Discuss the themes commonly found in Monet's work, such as landscapes, gardens, and water lilies.
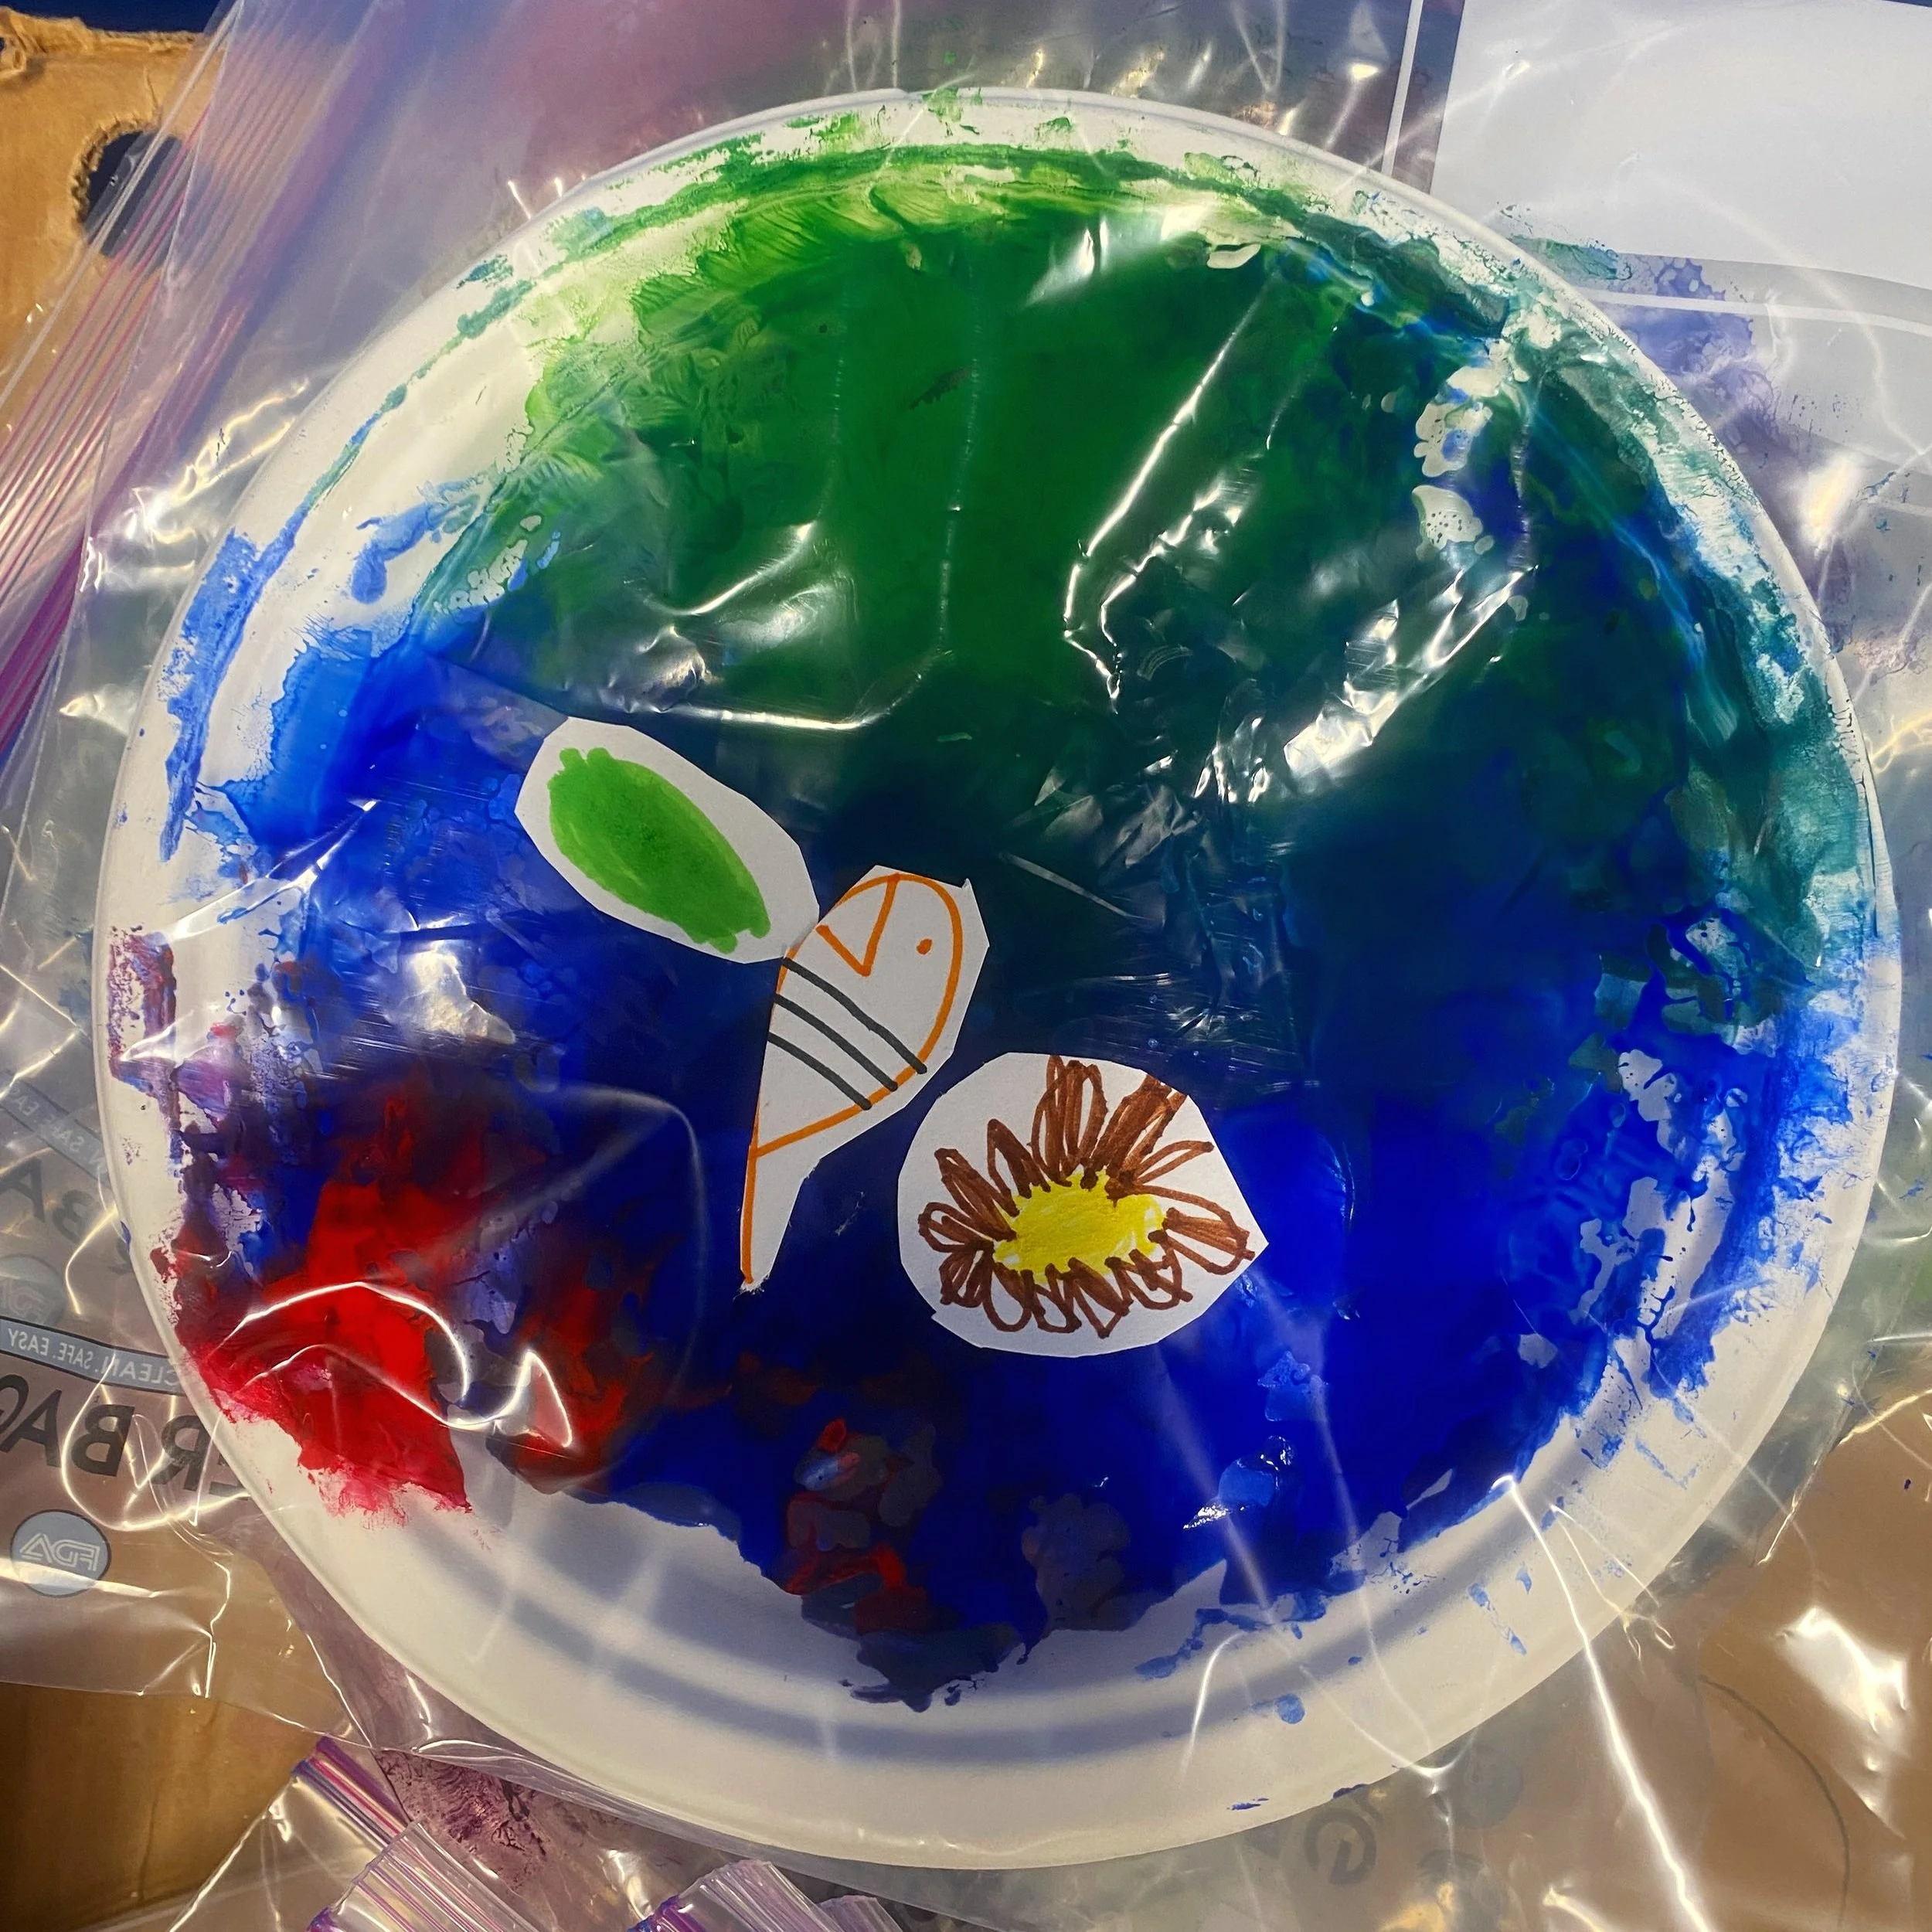
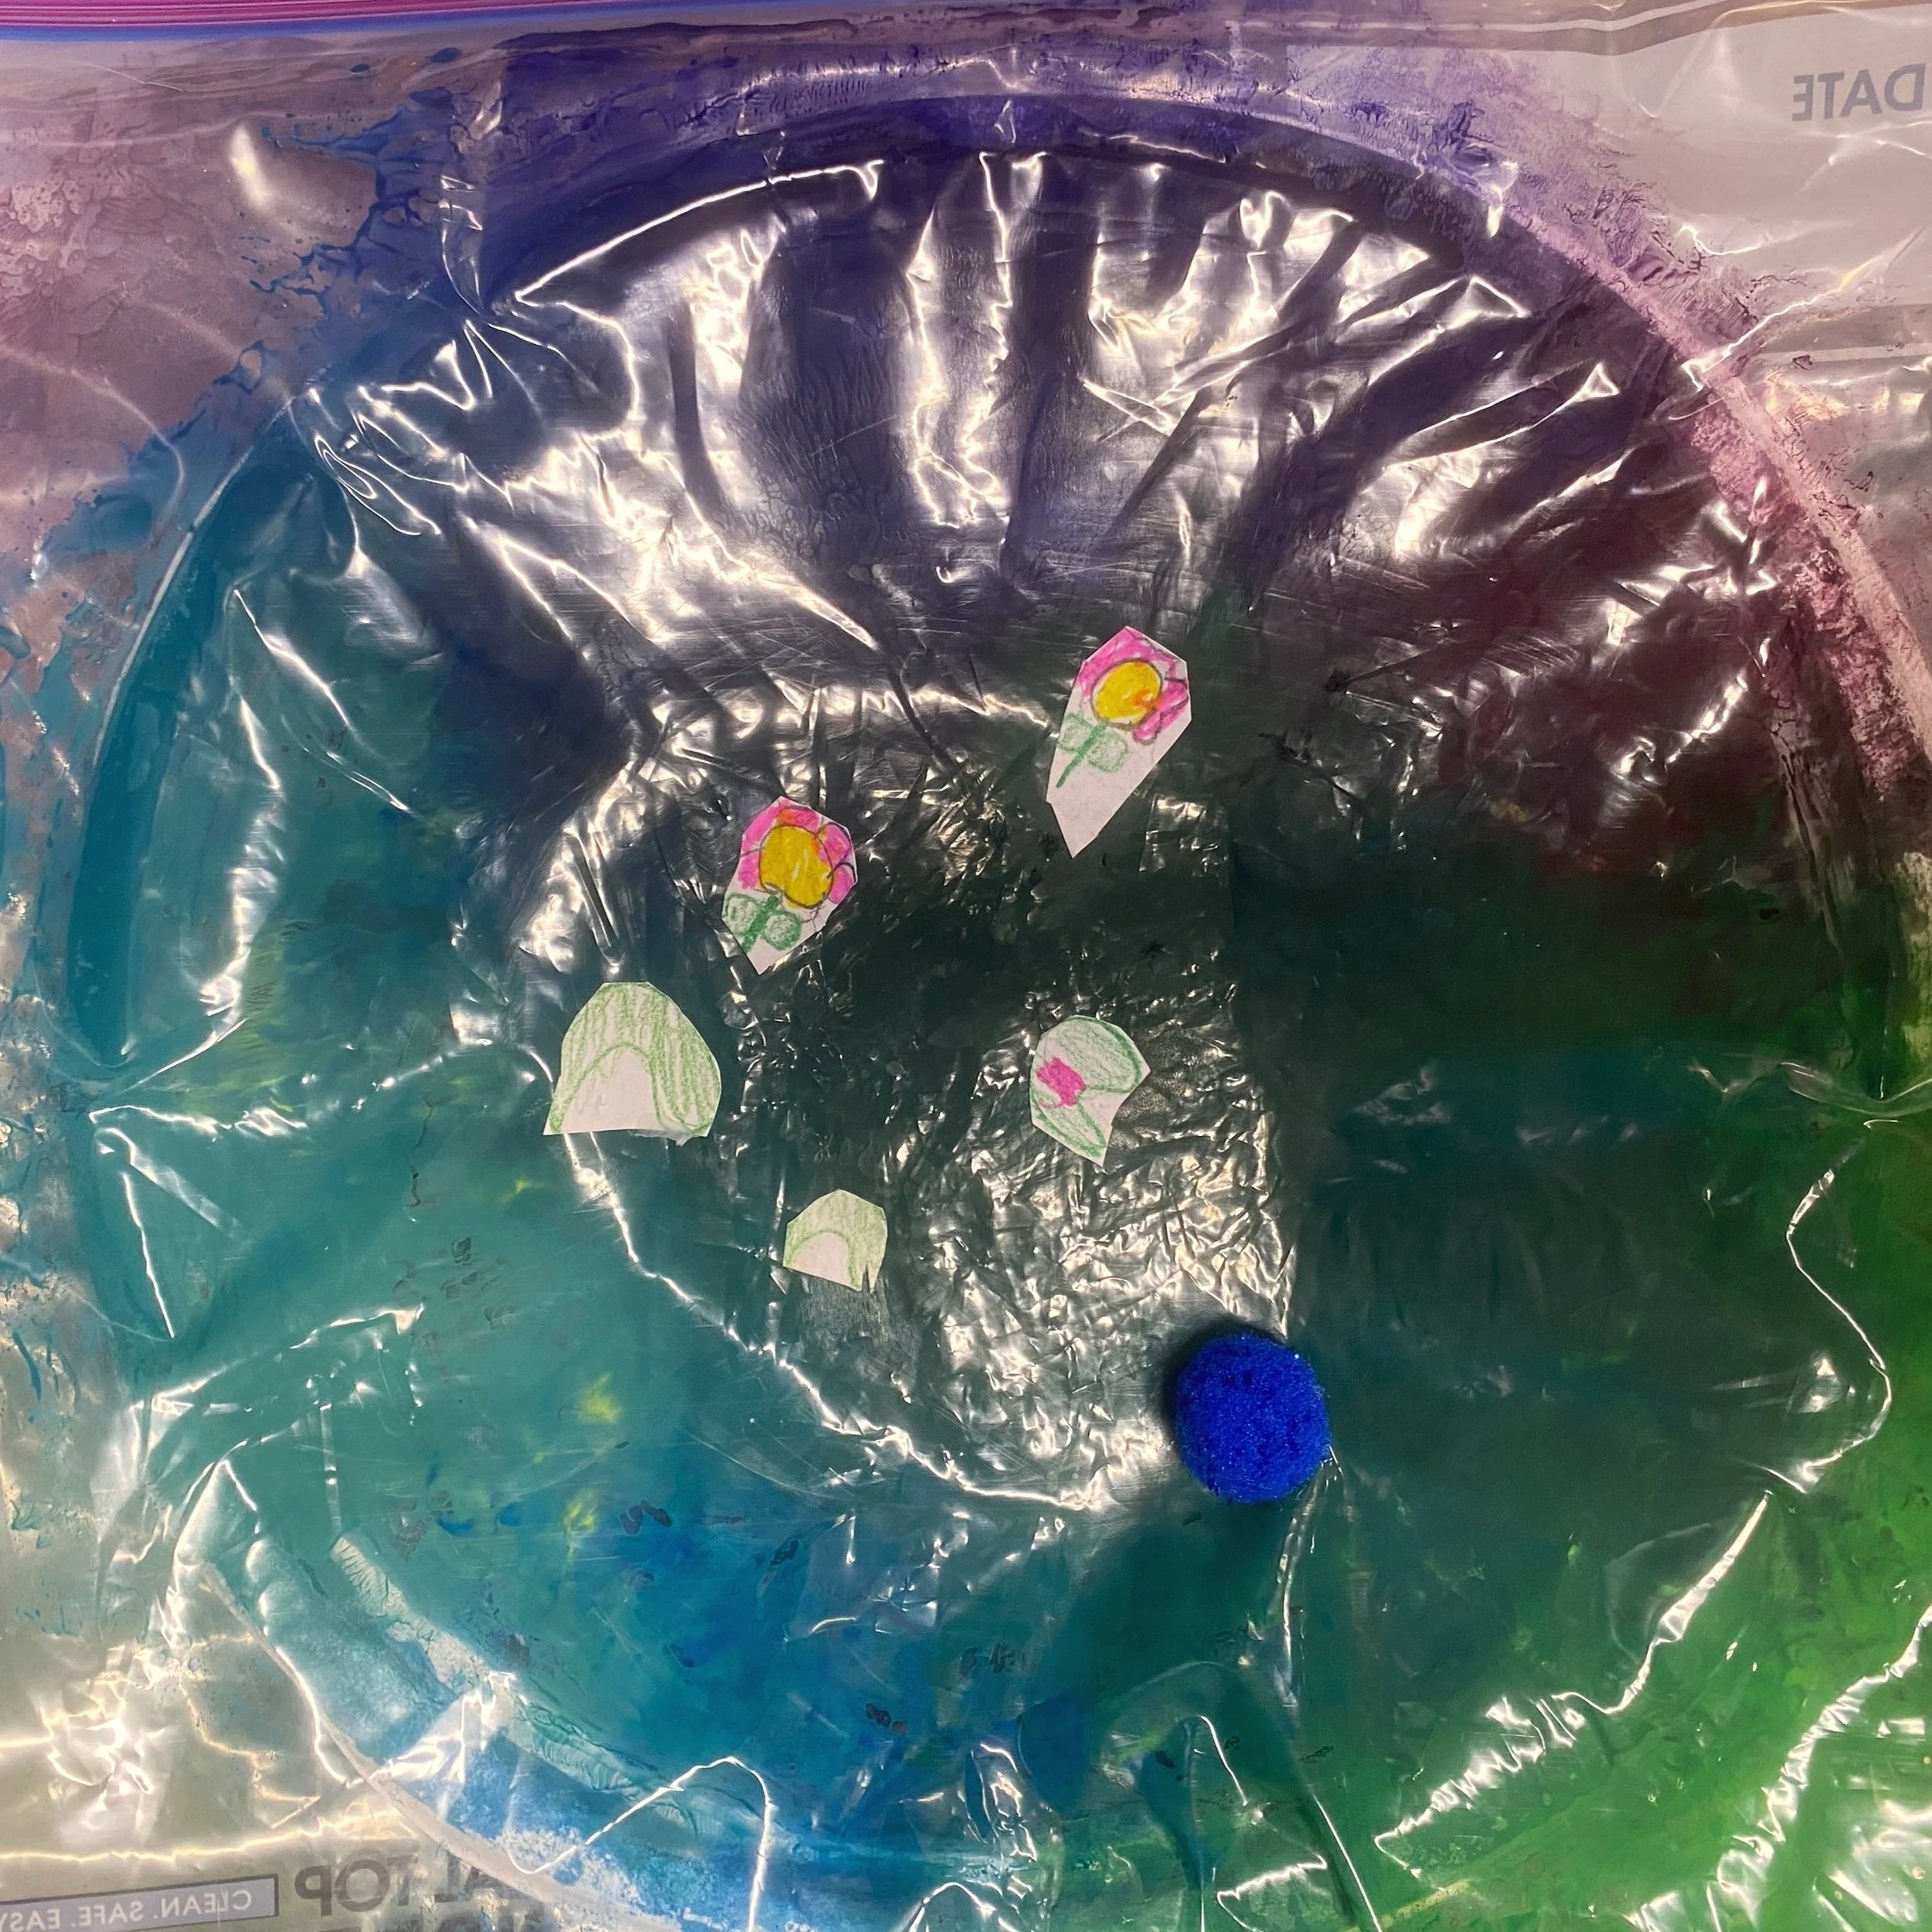
Hands-On Activity (30 minutes): Design your own Water Lily Pond.
1. Squeeze acrylic paint of desired colors onto a paper plate, and place the paper plate inside a ziplock bag.
2. Close the ziplock bag and gently rub the surface with their fingers to allow the paint to mix together and to create unique colors.
3. Encourage students to use different strokes and pressure to create texture and depth in the painting.
4. Once the paint is thoroughly mixed to create a pond-like appearance, design lily pads, lotus flowers, fish, etc., that can be seen at the edge of a pond and attach them onto the surface of the ziplock bag.
4. Remind students appreciate the beauty of nature and find inspiration in their surroundings.
Sharing and Appreciation (10 minutes):
1. Have students share their artworks with the class and encourage to reflect on how Monet's artistic style influenced their own approach to painting.
2. Emphasize they will gain insight into Impressionist techniques such as capturing light and atmosphere, using loose brushstrokes, and embracing spontaneity
Assessment:
This painting activity of designing their own water lily pond was a journey filled with discovery, creativity, and appreciation for the beauty of nature. As they squeezed acrylic paint onto paper plates and observed the colors blend inside ziplock bags, they were captivated by the magical transformation taking place before their eyes. The tactile experience of gently rubbing the paint to mix unique colors allowed them to feel connected to their artwork, fostering a sense of ownership and pride in their creative process.
Encouraged to use different strokes and pressure to create texture and depth in their paintings, students embraced the opportunity to experiment and express themselves artistically. With each brushstroke, they infused their paintings with a sense of movement and life, capturing the essence of a tranquil water lily pond. As the paint took on a pond-like appearance, students eagerly designed lily pads, lotus flowers, and fish to adorn the edge of the pond, allowing their imaginations to soar and their creativity to flourish.
During the sharing and appreciation session, students eagerly showcased their artworks to their classmates, eager to share their unique interpretations of nature's beauty. Reflecting on how Claude Monet's artistic style influenced their own approach to painting, students gained a deeper understanding of Impressionist techniques and the importance of capturing the fleeting moments of light and atmosphere. Emphasizing the beauty of embracing randomness and experimenting with unconventional artistic approaches, students were inspired to trust their instincts and explore new possibilities in their artwork.
Through this painting activity, the students not only developed their painting skills but also cultivated a deeper appreciation for the beauty of nature and the transformative power of art. As they reflected on their artwork and shared their experiences with their classmates, they celebrated the joy of creativity and the limitless possibilities of artistic expression.
*Resources:
- Artworks:
Monet, Claude. The Water Lily Pond. 1900.
Monet, Claude. The Water Lilies. 1906.
Monet, Claude. The Water Lily Pond. 1917/19.
-Bio:

STUDENTS’
WORK


Storytelling 101: MAKE A ZINE
MAKE A ZINE
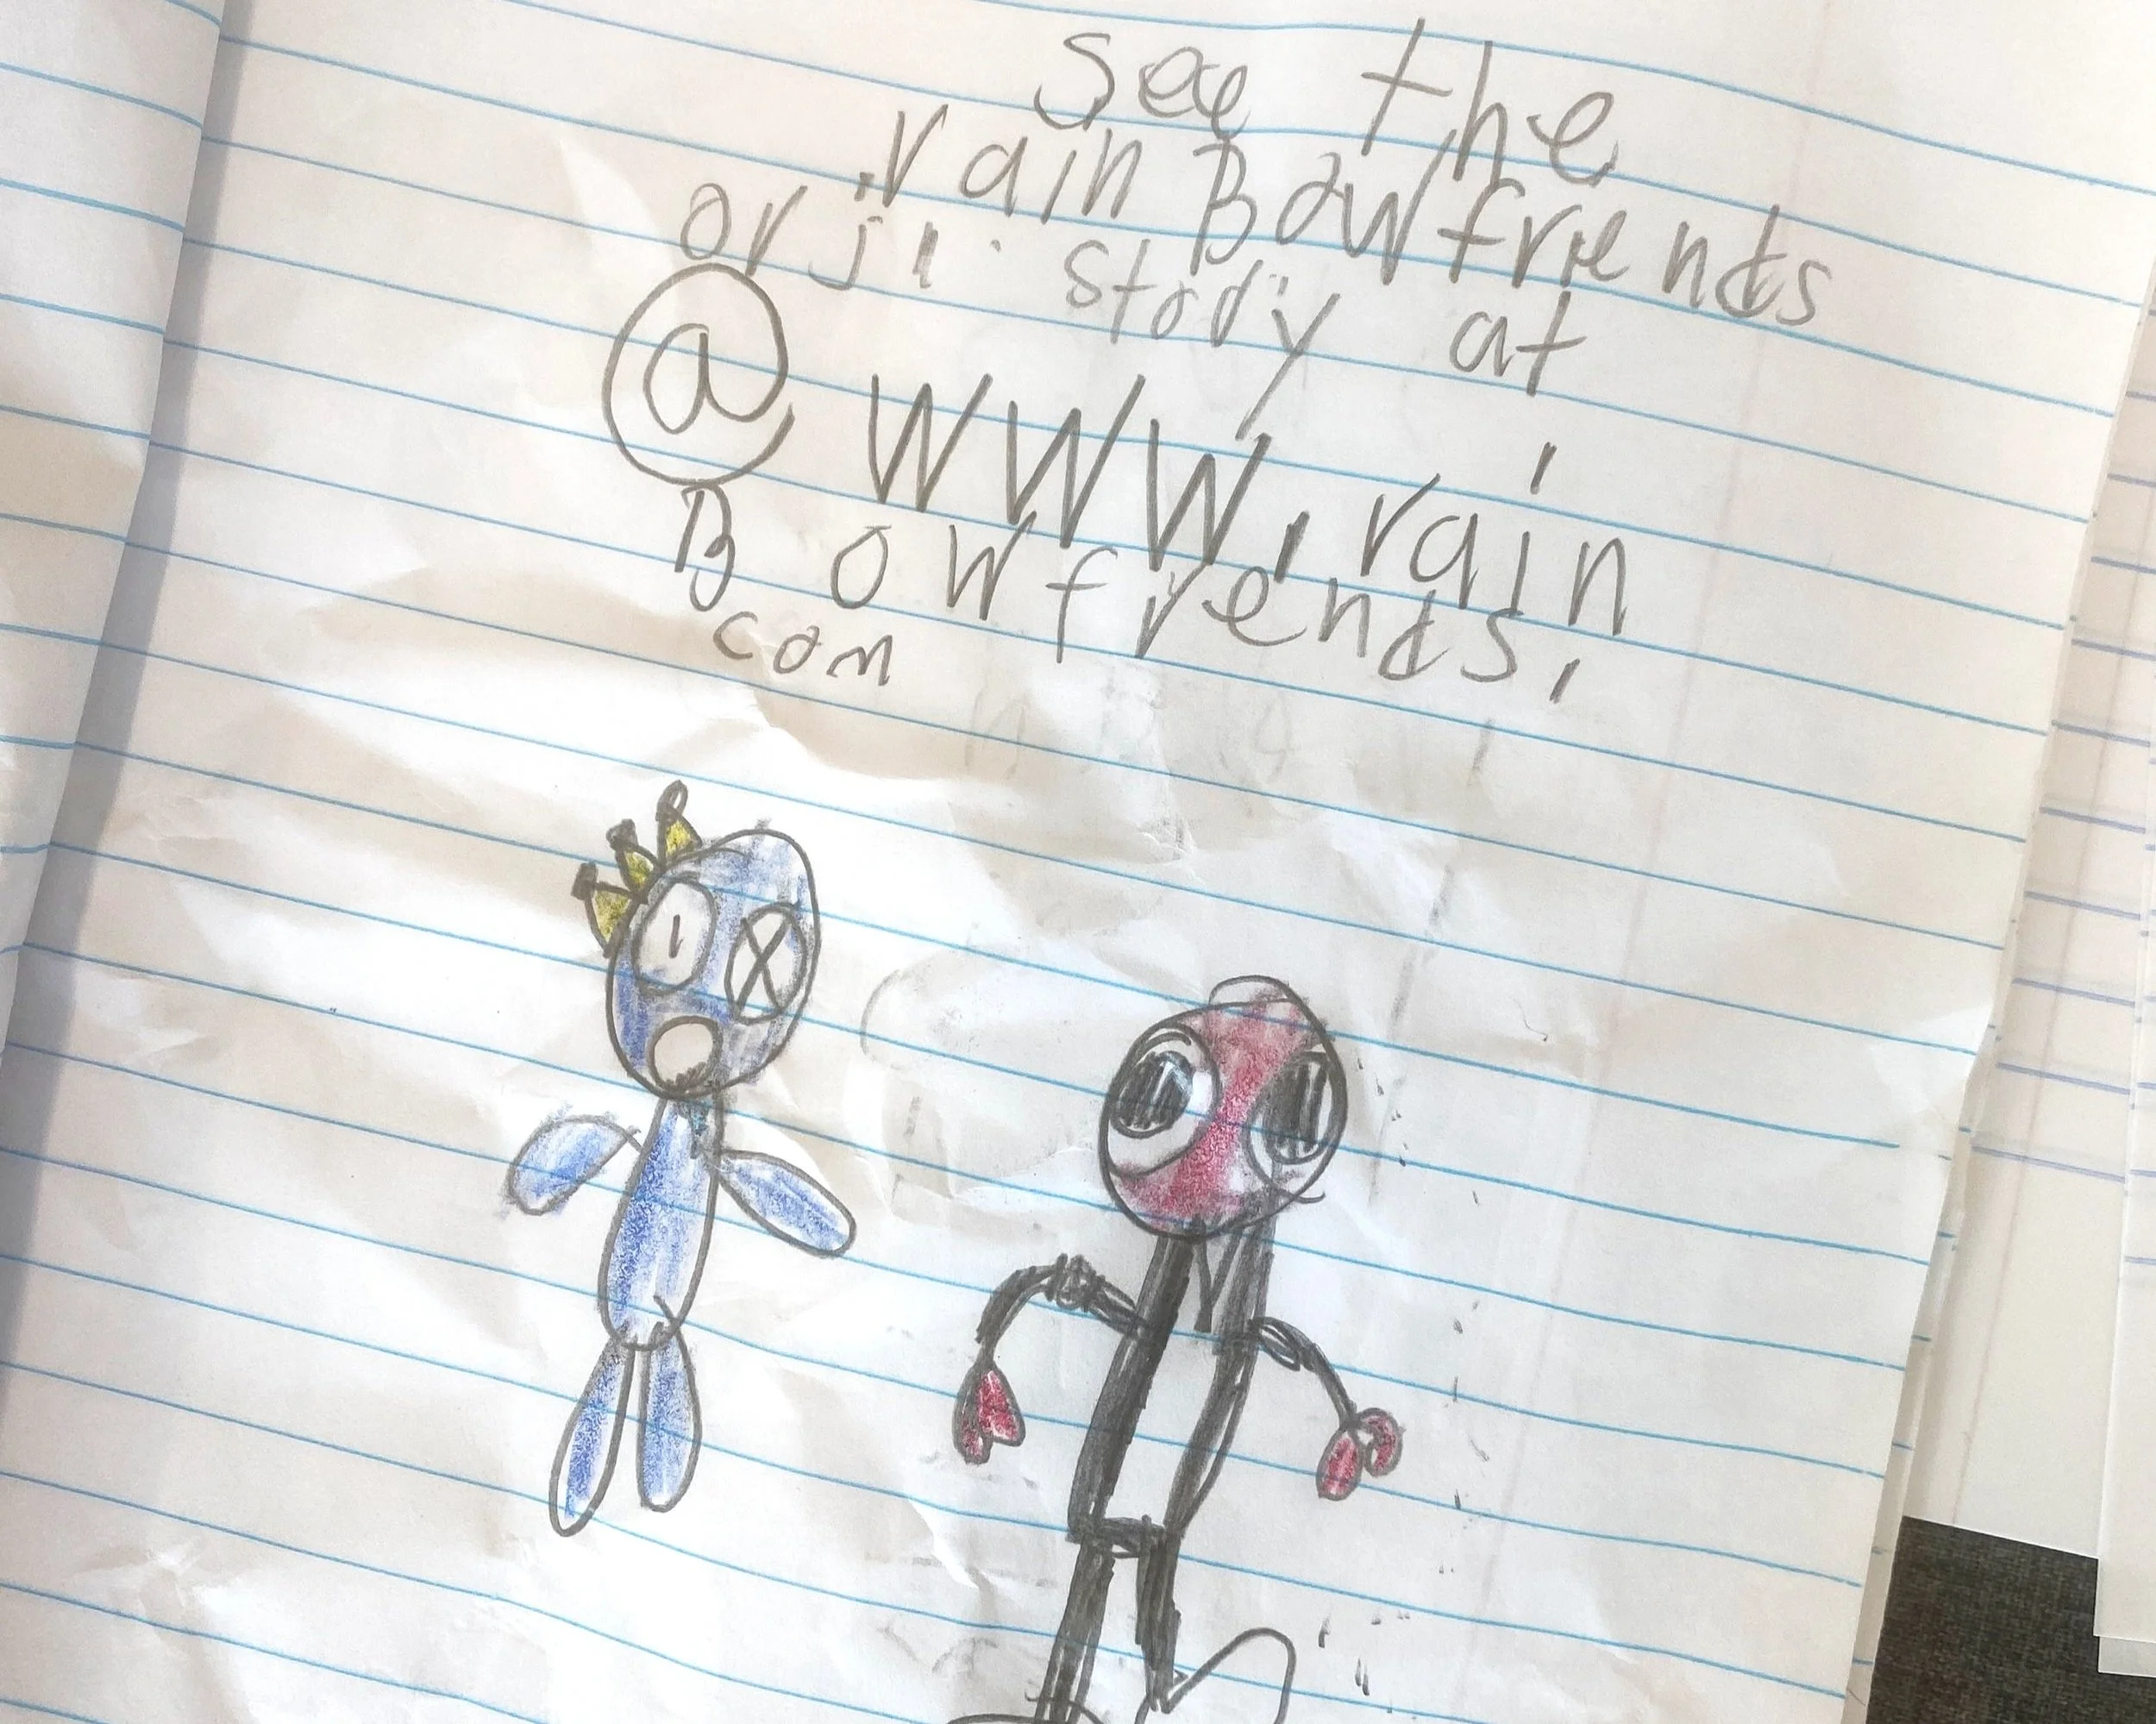
Students will understand the basics of storytelling through the creation of a zine, utilizing visual and written elements to convey a narrative.
Materials
Tabloid paper (11x17)
Markers, Colored pencils, and Pencils
Scissors
Visual references of zines and storytelling examples
Lesson Outline
Introduction (15 minutes):
1. Define what a zine is and its historical context as a self-published, small-circulation publication.
2. Discuss the power of storytelling in conveying emotions, experiences, and ideas.
3. Show examples of zines that effectively combine visuals and storytelling.
4. Introduce key elements of storytelling: characters, setting, plot, conflict, and resolution.
5. Discuss narrative structure, including the beginning, middle, and end.
Zine Structure and Format (10 minutes):
1. Explain the format of a zine (folding a single sheet of paper into a small booklet) and its potential pages.
2. Discuss how visual elements can enhance storytelling in a zine, such as illustrations, collages, and handwritten text.
3. Provide examples of different zine layouts and formats for inspiration.
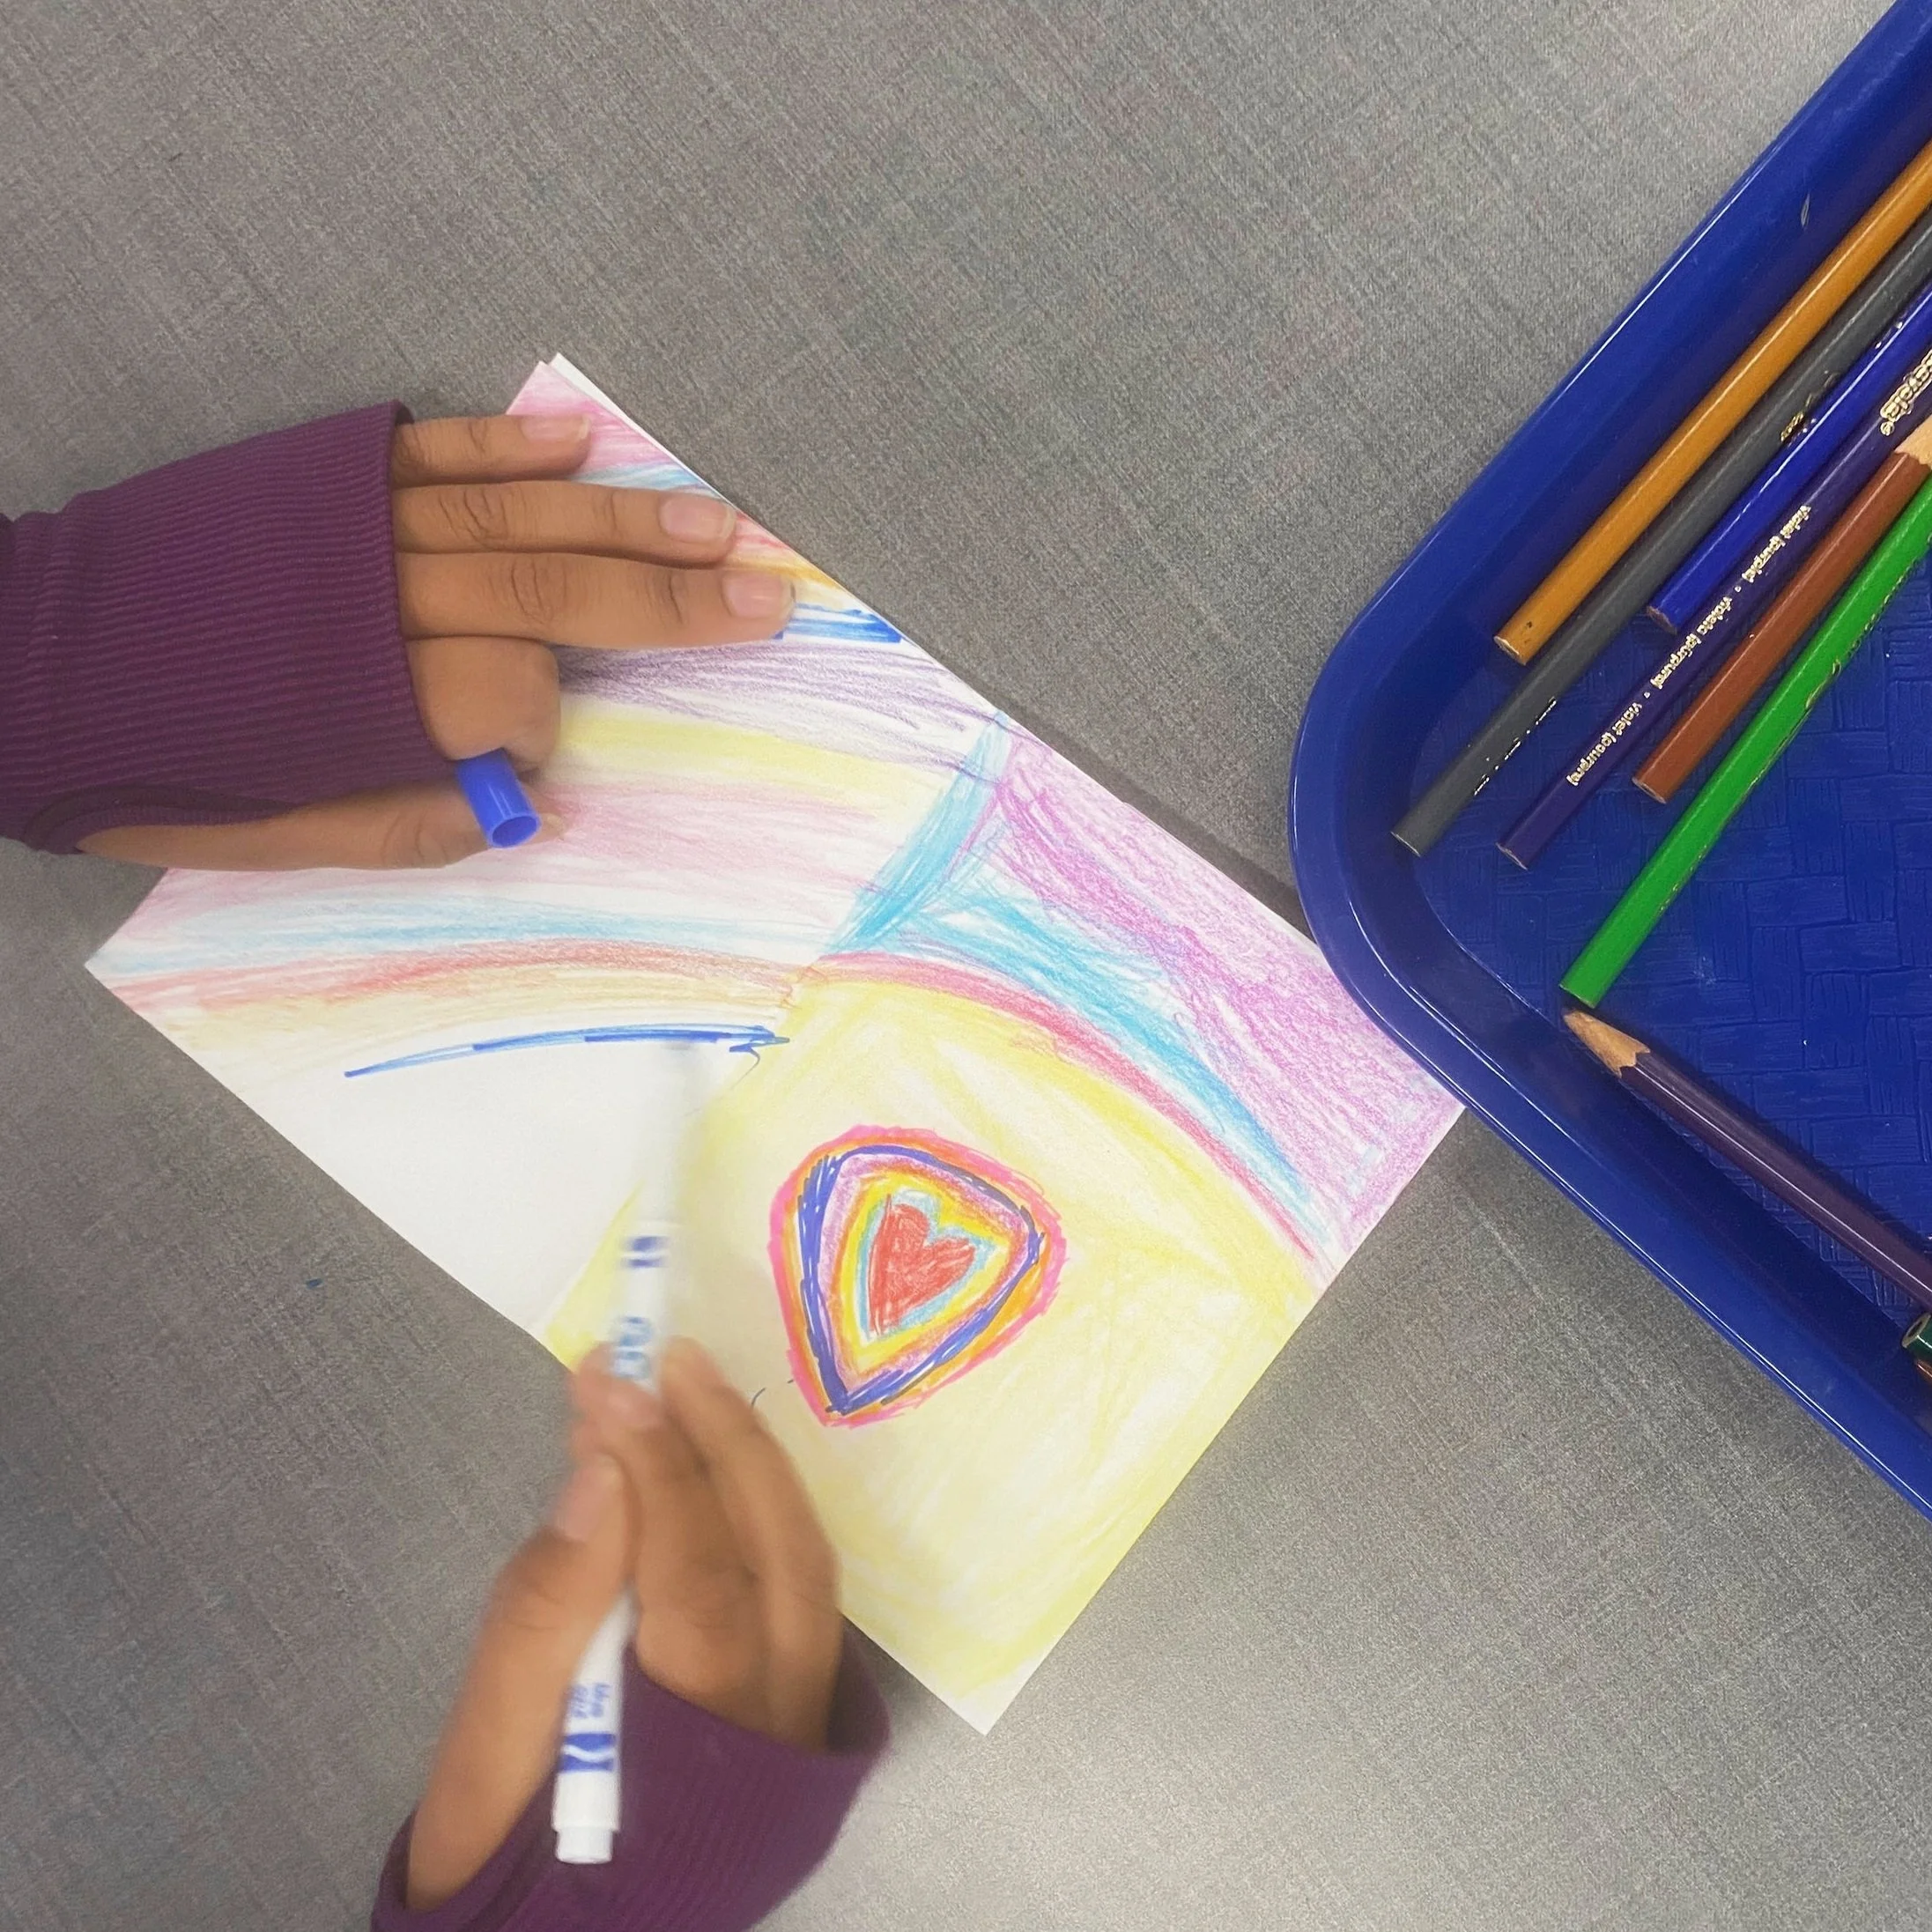
Hands-On Activity (20 minutes):
1. Instruct students to brainstorm and outline a short story or personal narrative they want to convey in their zine.
2. Guide them in creating a draft of their zine, emphasizing the use of both images and text to tell their story.
3. Encourage experimentation with different materials and styles to enhance visual storytelling.
4. Once the drafts are complete, allow time for revisions and improvements.
Sharing and Appreciation (10 minutes):
1. Have students share their zines with the class, explaining the narrative and artistic choices they made.
2. Summarize the key points about storytelling and zine creation.
3. Ask students to reflect on the challenges and joys of combining visual and written elements in their zine.
Assessment:
Evaluate students based on their understanding of storytelling elements, creativity in zine composition, and effective use of visuals to convey a narrative. This lesson aims to empower students to explore storytelling in a creative and accessible format, fostering self-expression and artistic storytelling through the medium of zines.
The majority of 1st-grade students faced challenges in conceptualizing concrete and step-by-step stories and expressing them through drawings or writing. They tended to focus on using pictures to represent characters and key words. Further support and guidance may be needed to help them develop more structured narratives.
On the other hand, 3rd to 5th-grade students demonstrated a more advanced understanding of storytelling elements. They showcased well-developed characters with depth, and their narratives flowed naturally. One student, in particular, exhibited a strong affinity for creating stories and comics, effectively utilizing the zine format to unfold a plot seamlessly. This student's ability to create a cohesive plot using the zine medium was noteworthy. Continued encouragement and challenges can further nurture their storytelling skills.
Students’ Work


Let's Learn About Artist!: PABLO PICASSO
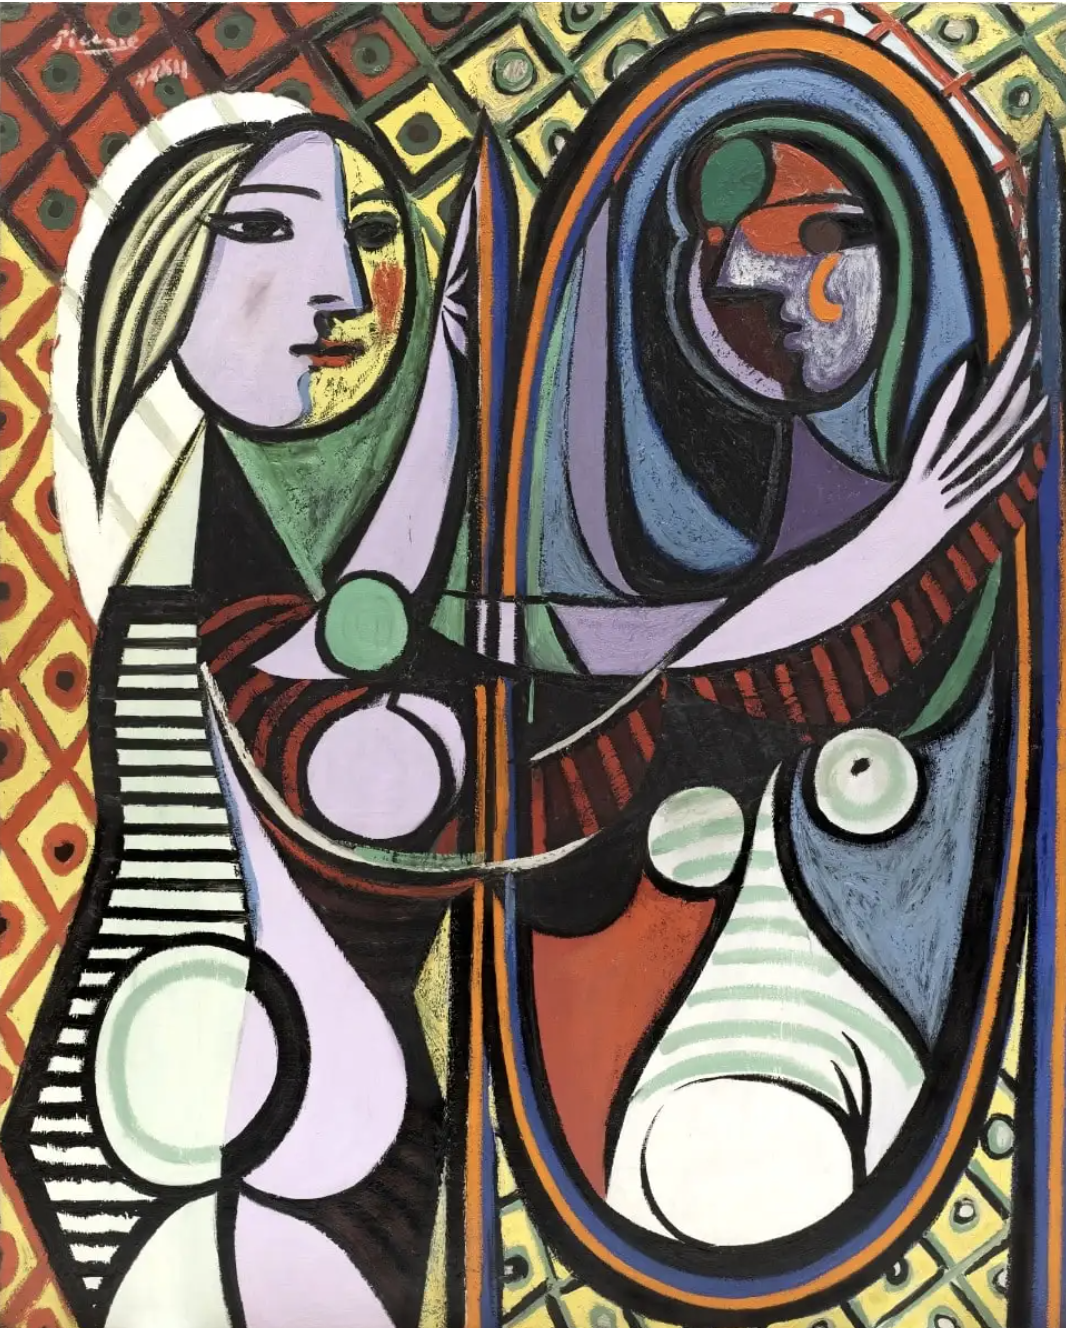
Let’s Learn About Artist:
PABLO PICASSO
Students will explore the revolutionary artistry of Pablo Picasso, gaining insights into Cubism and unconventional expression, and apply these elements in their own creations inspired by his unique approach to art.
Materials
Makers or Colored Pencils
Pencils
Dice
Let’s draw like Pablo Picasso! printout from Metropolitan Library System.
Lesson Outline
Introduction (10minutes):
1. Briefly introduce Pablo Picasso and his significance in the art world.
2. Highlight Picasso's role as a pioneer of Cubism and his ability to express emotions and ideas in unconventional ways.
3. Emphasize the use of geometric shapes, distorted forms, and multiple perspectives in Cubist artworks.
Biography and Artistic Journey (10 minutes):
1. Provide a concise overview of Picasso's life, including his early years, Blue and Rose periods, African art influence, and later works.
2. Discuss his collaborations, impact on modern art, and the evolution of his style over time.
3. Encourage students to ask questions and express their initial thoughts on Picasso's art.
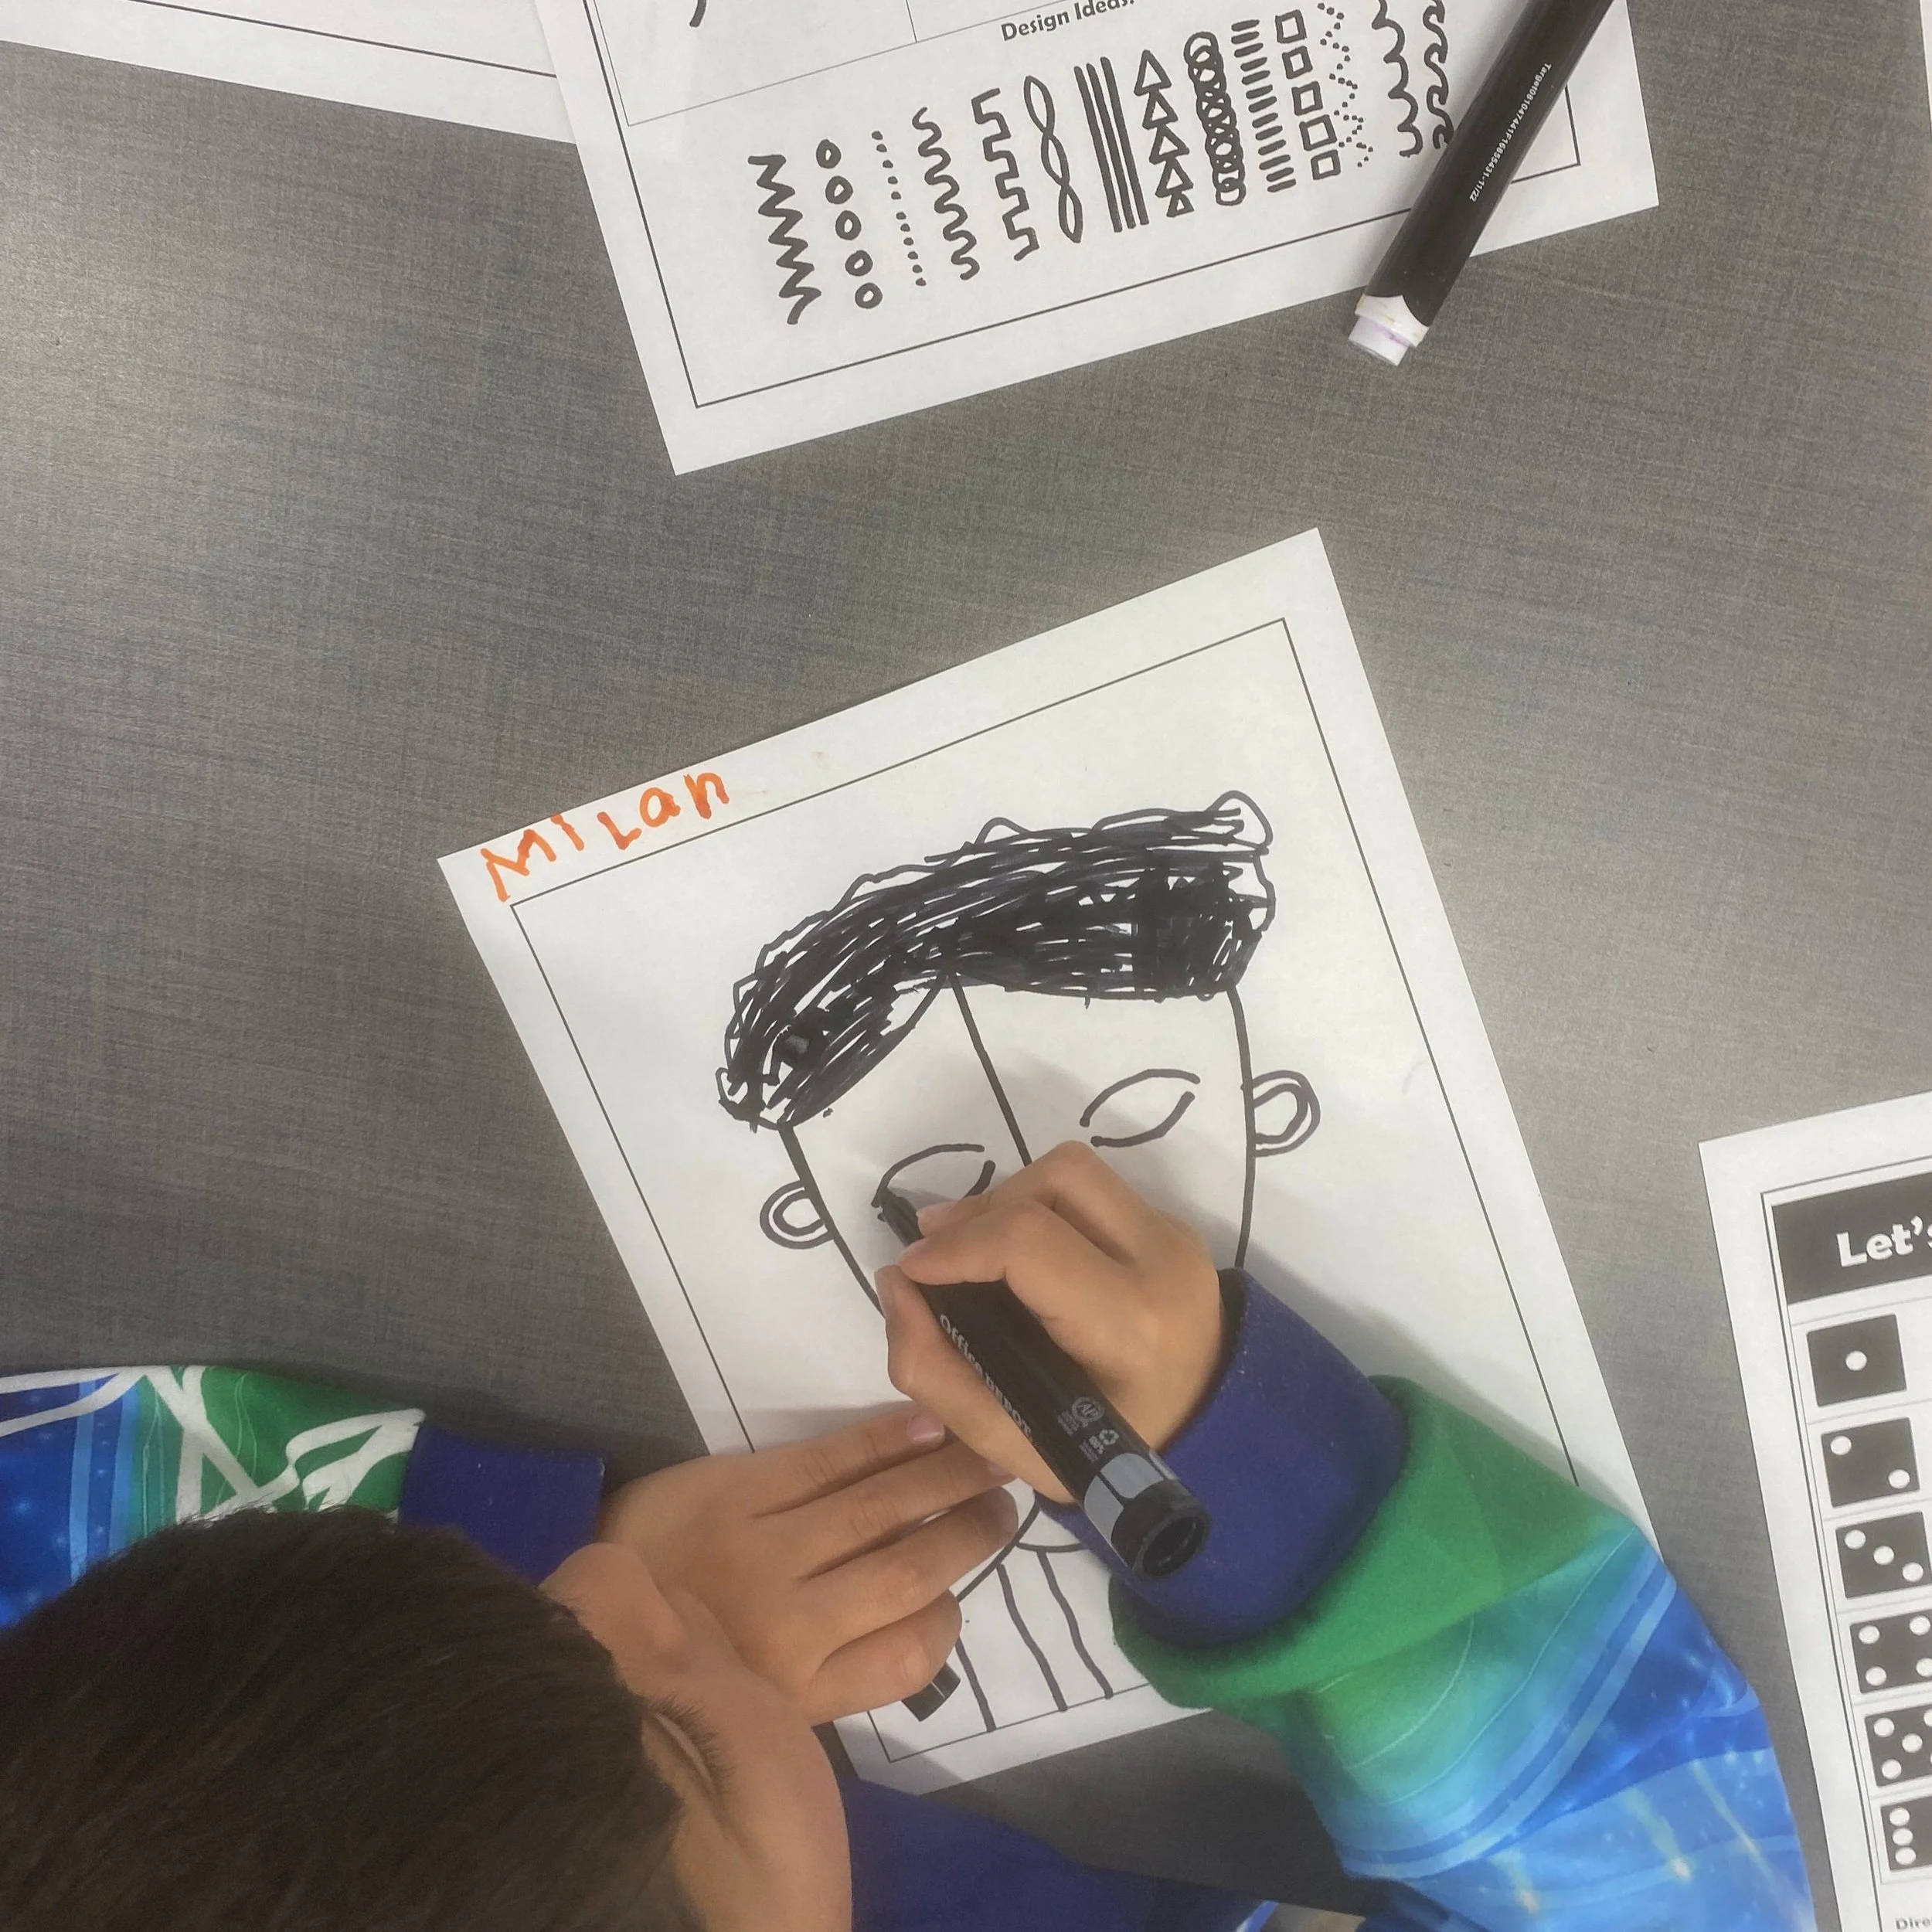
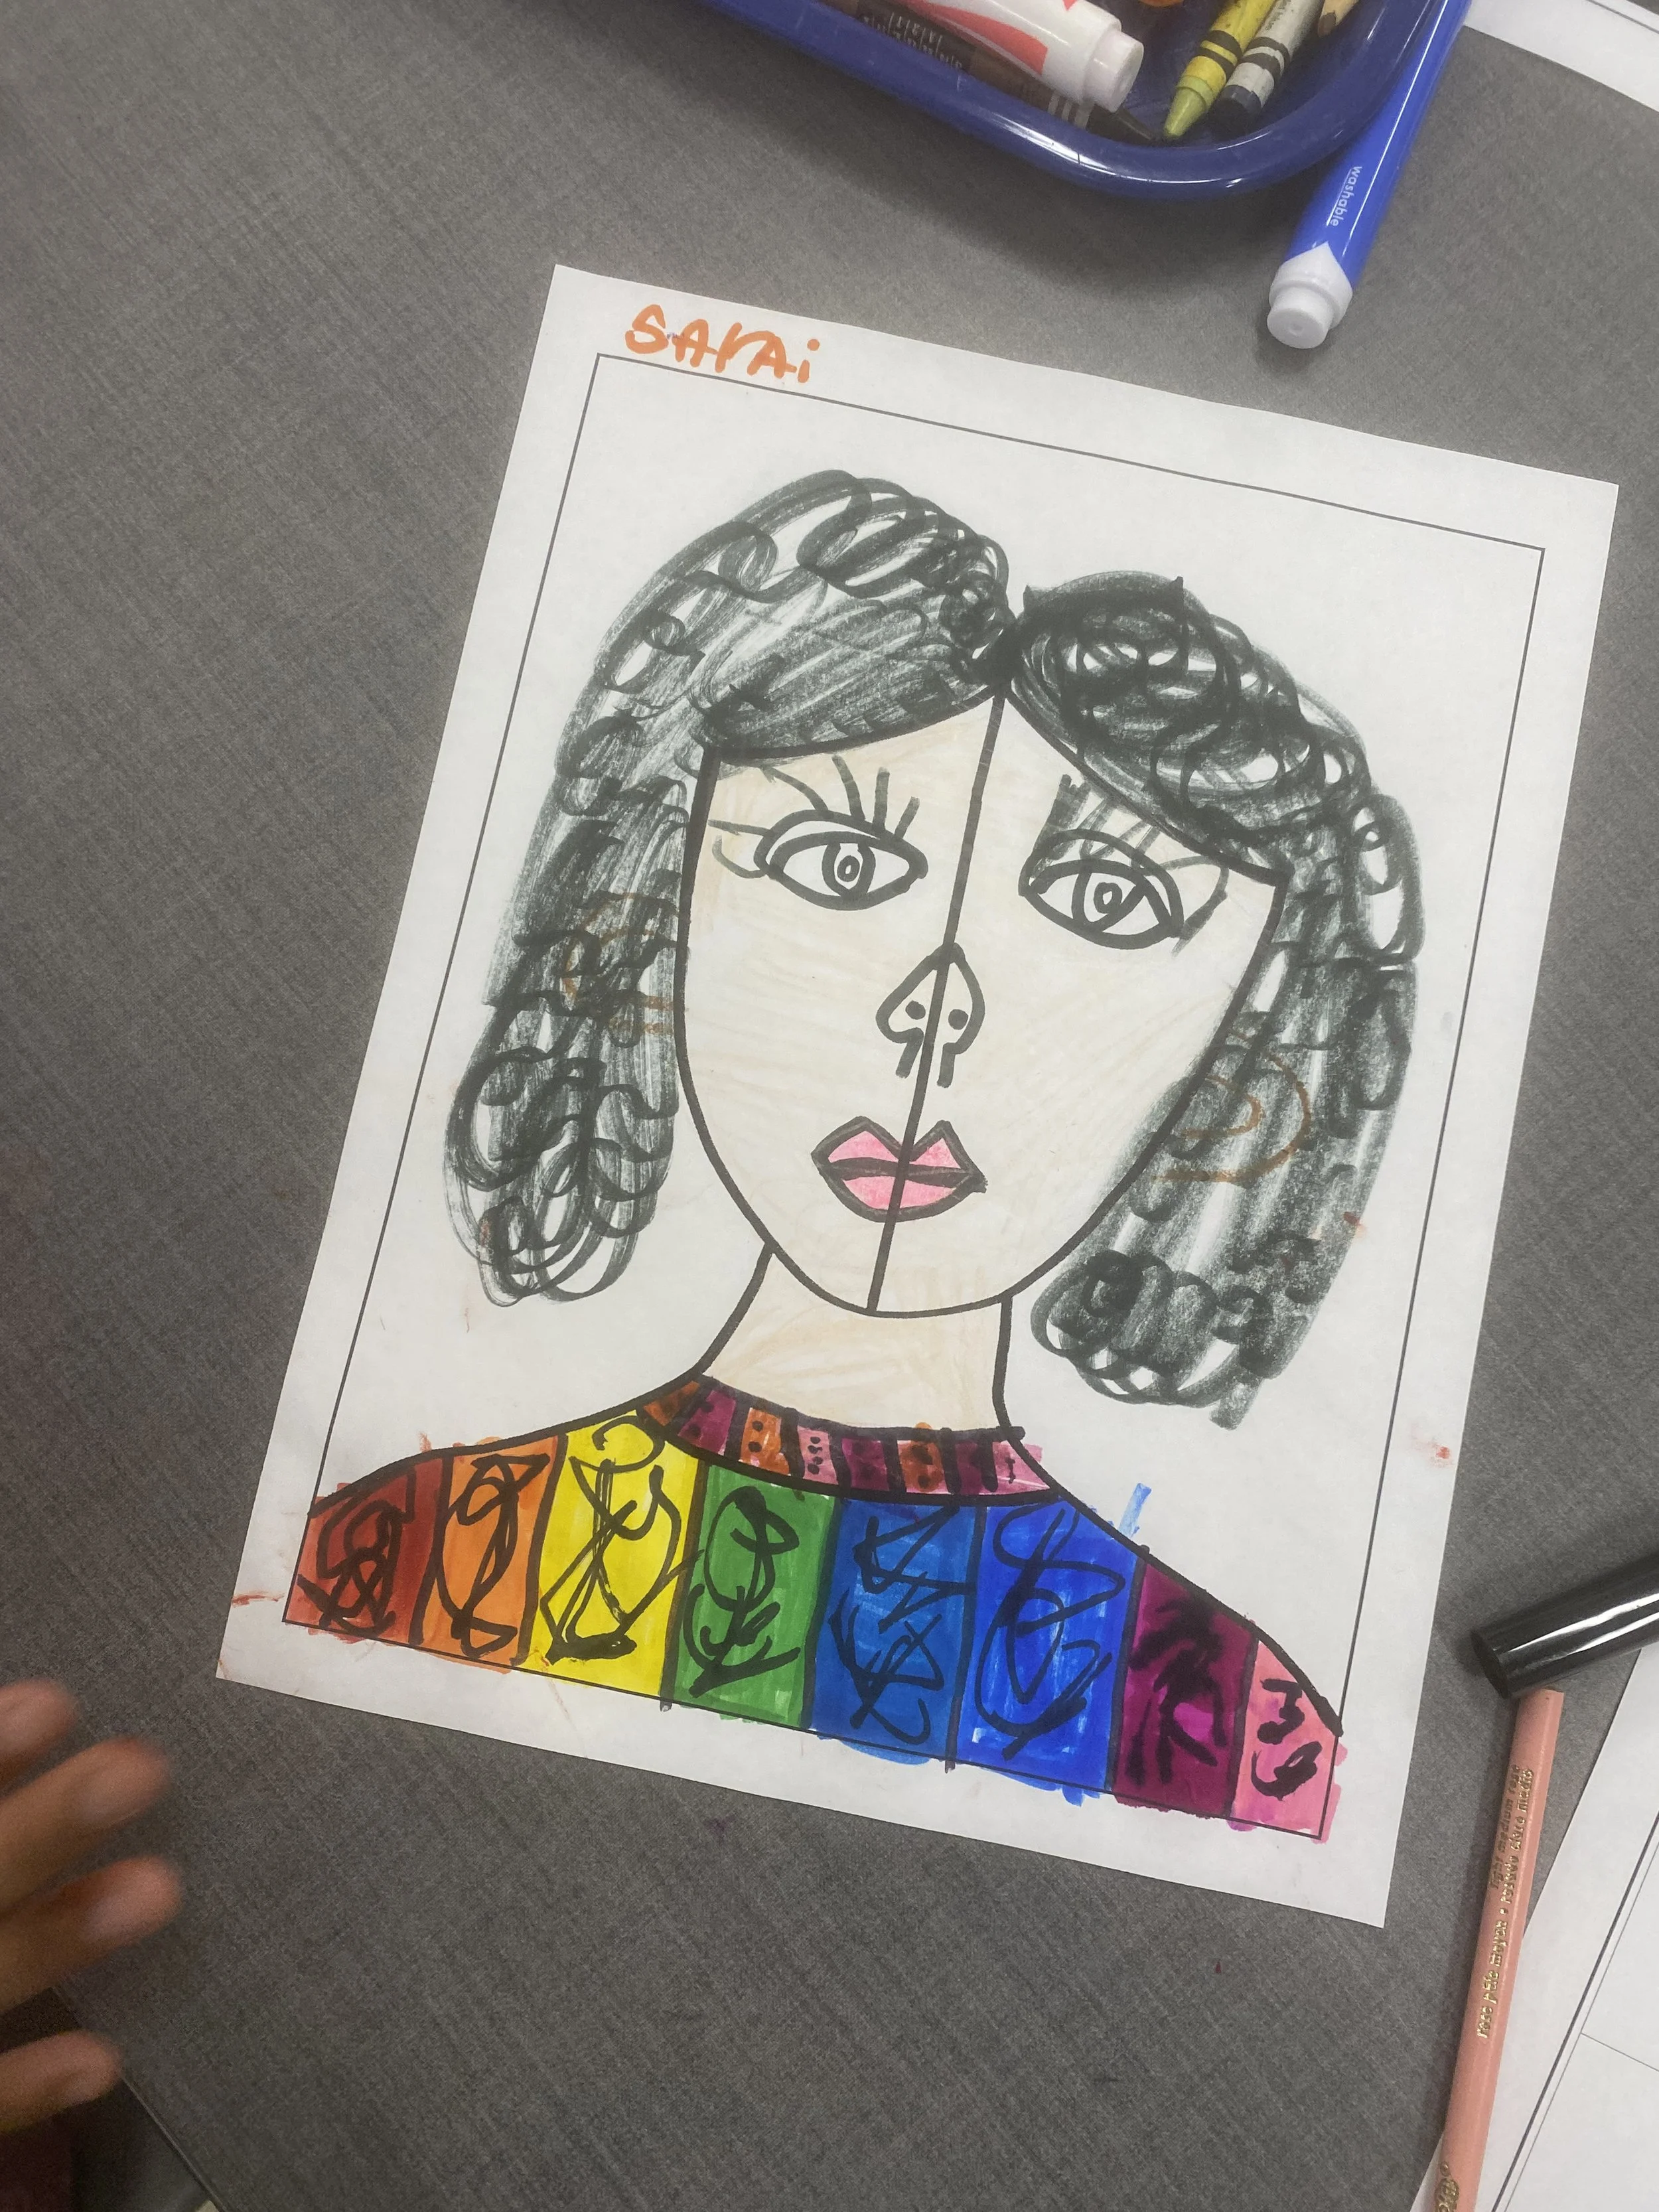
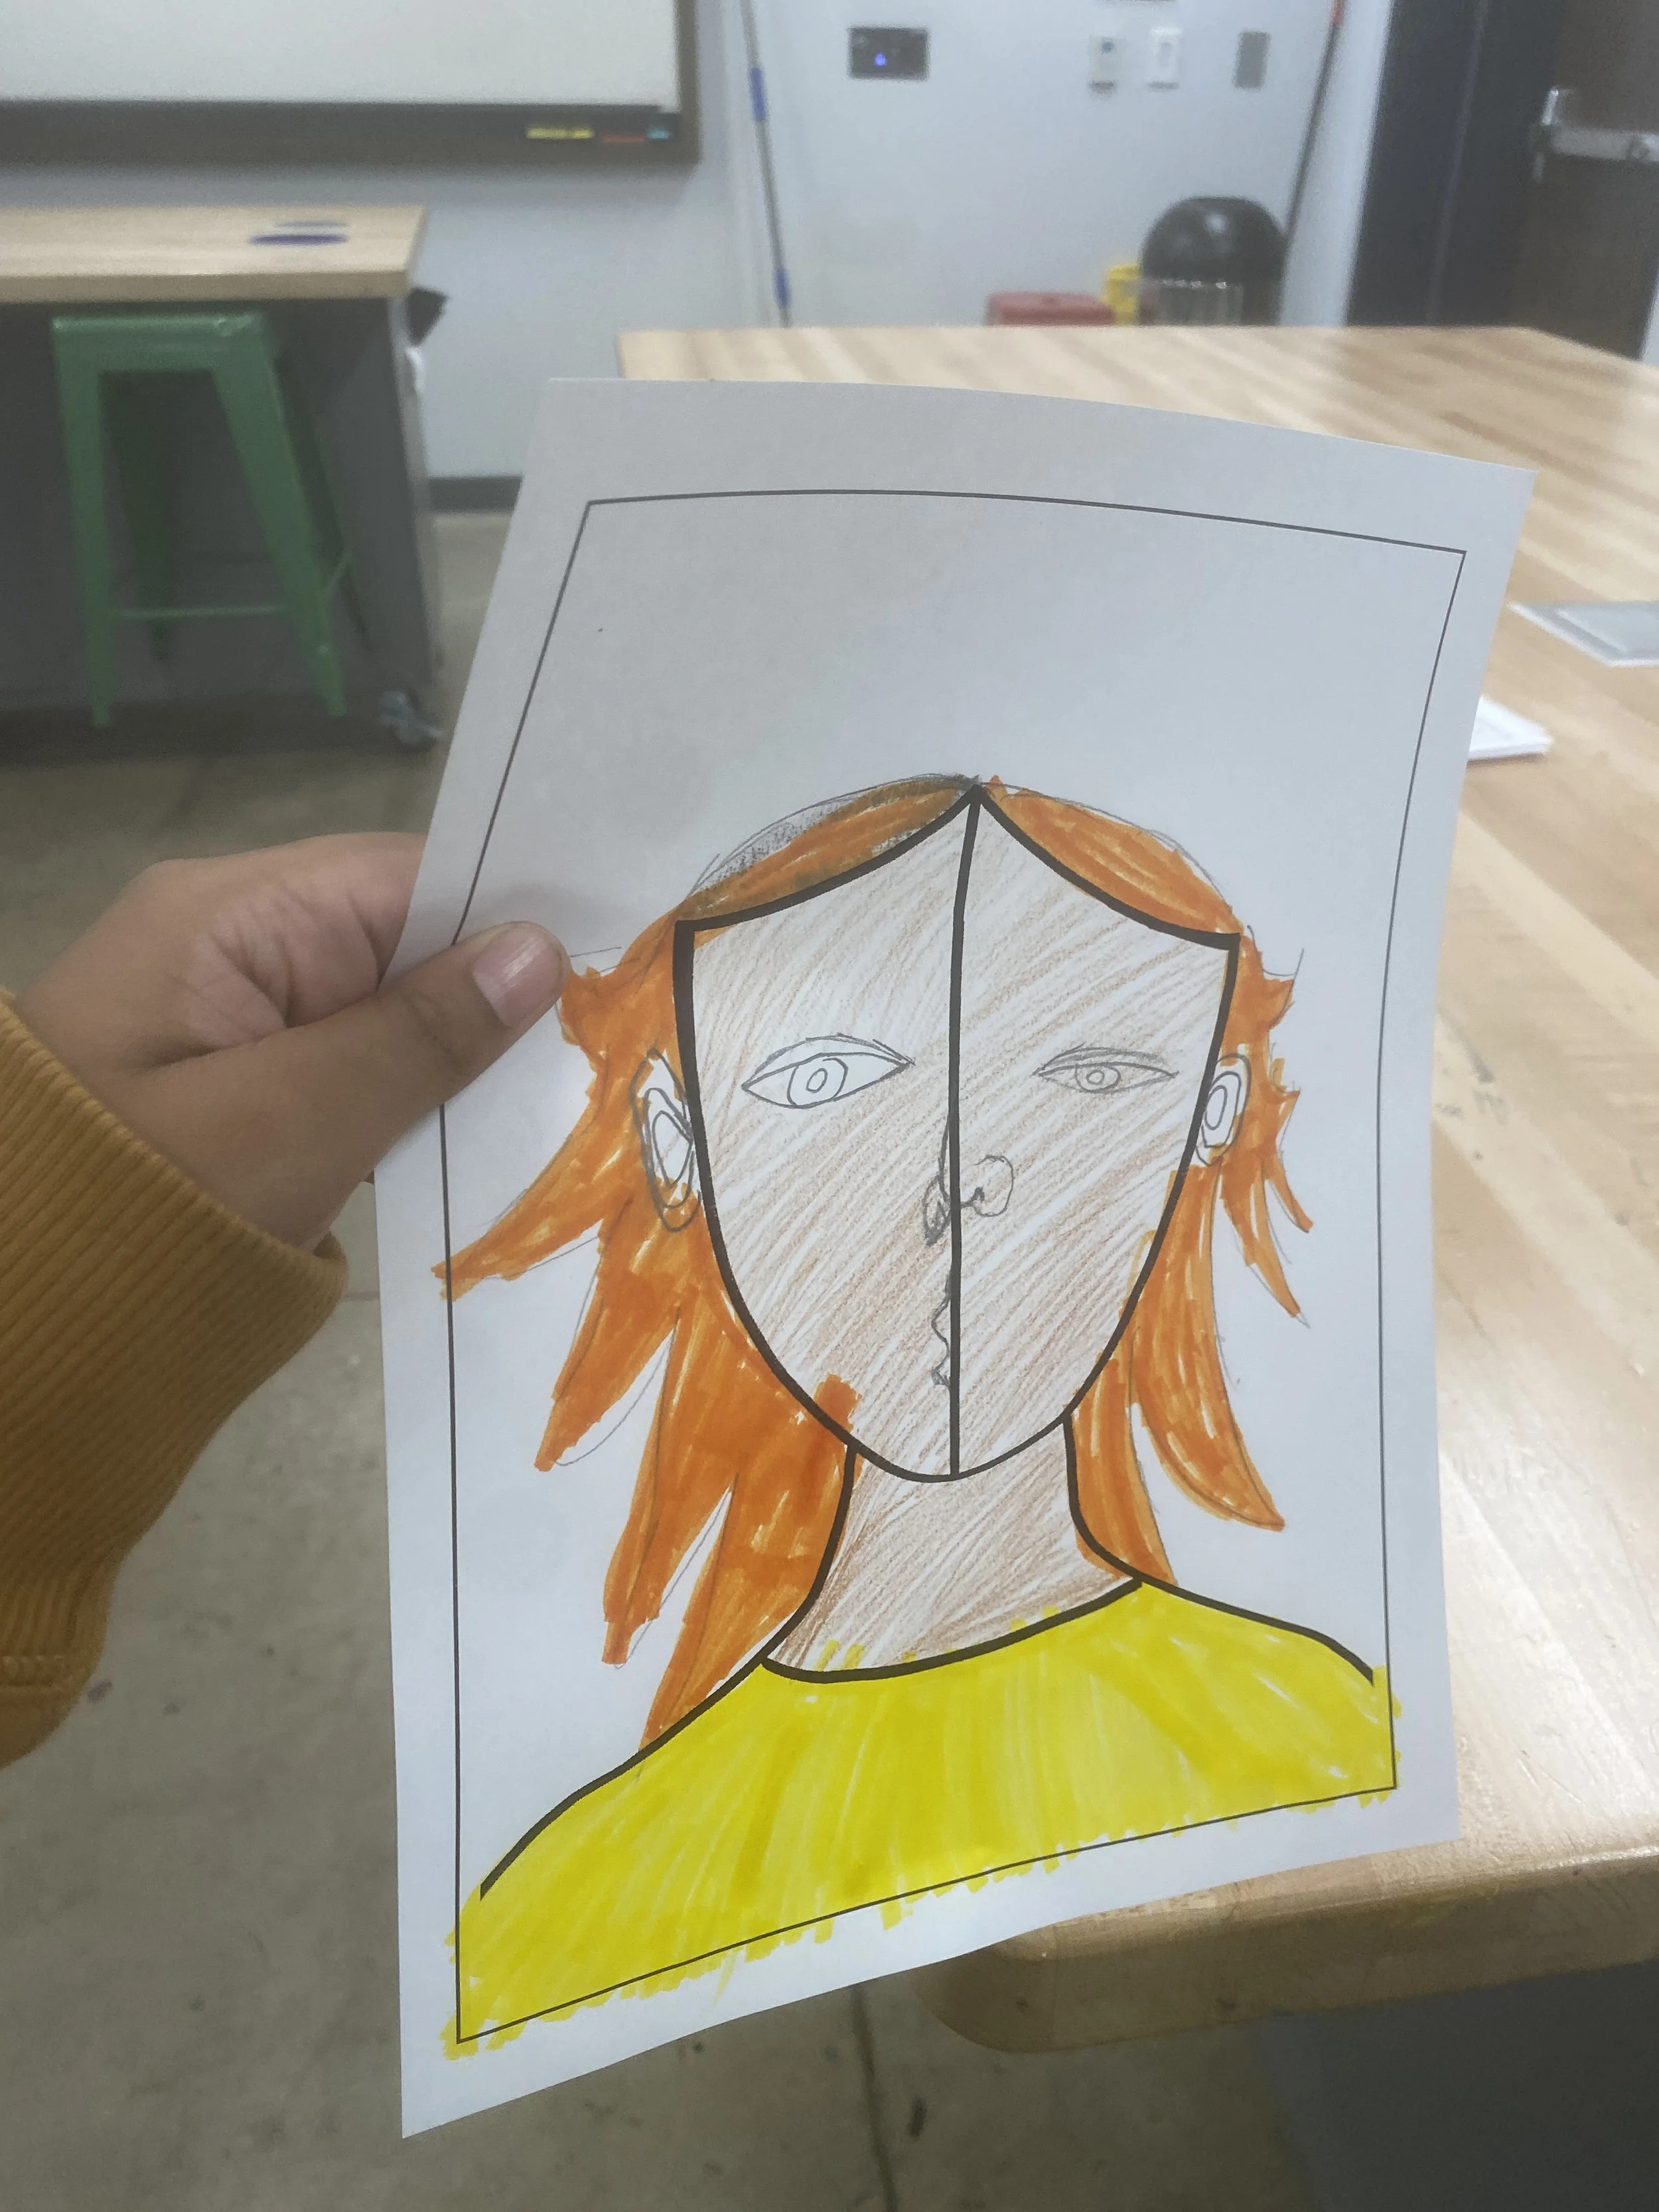
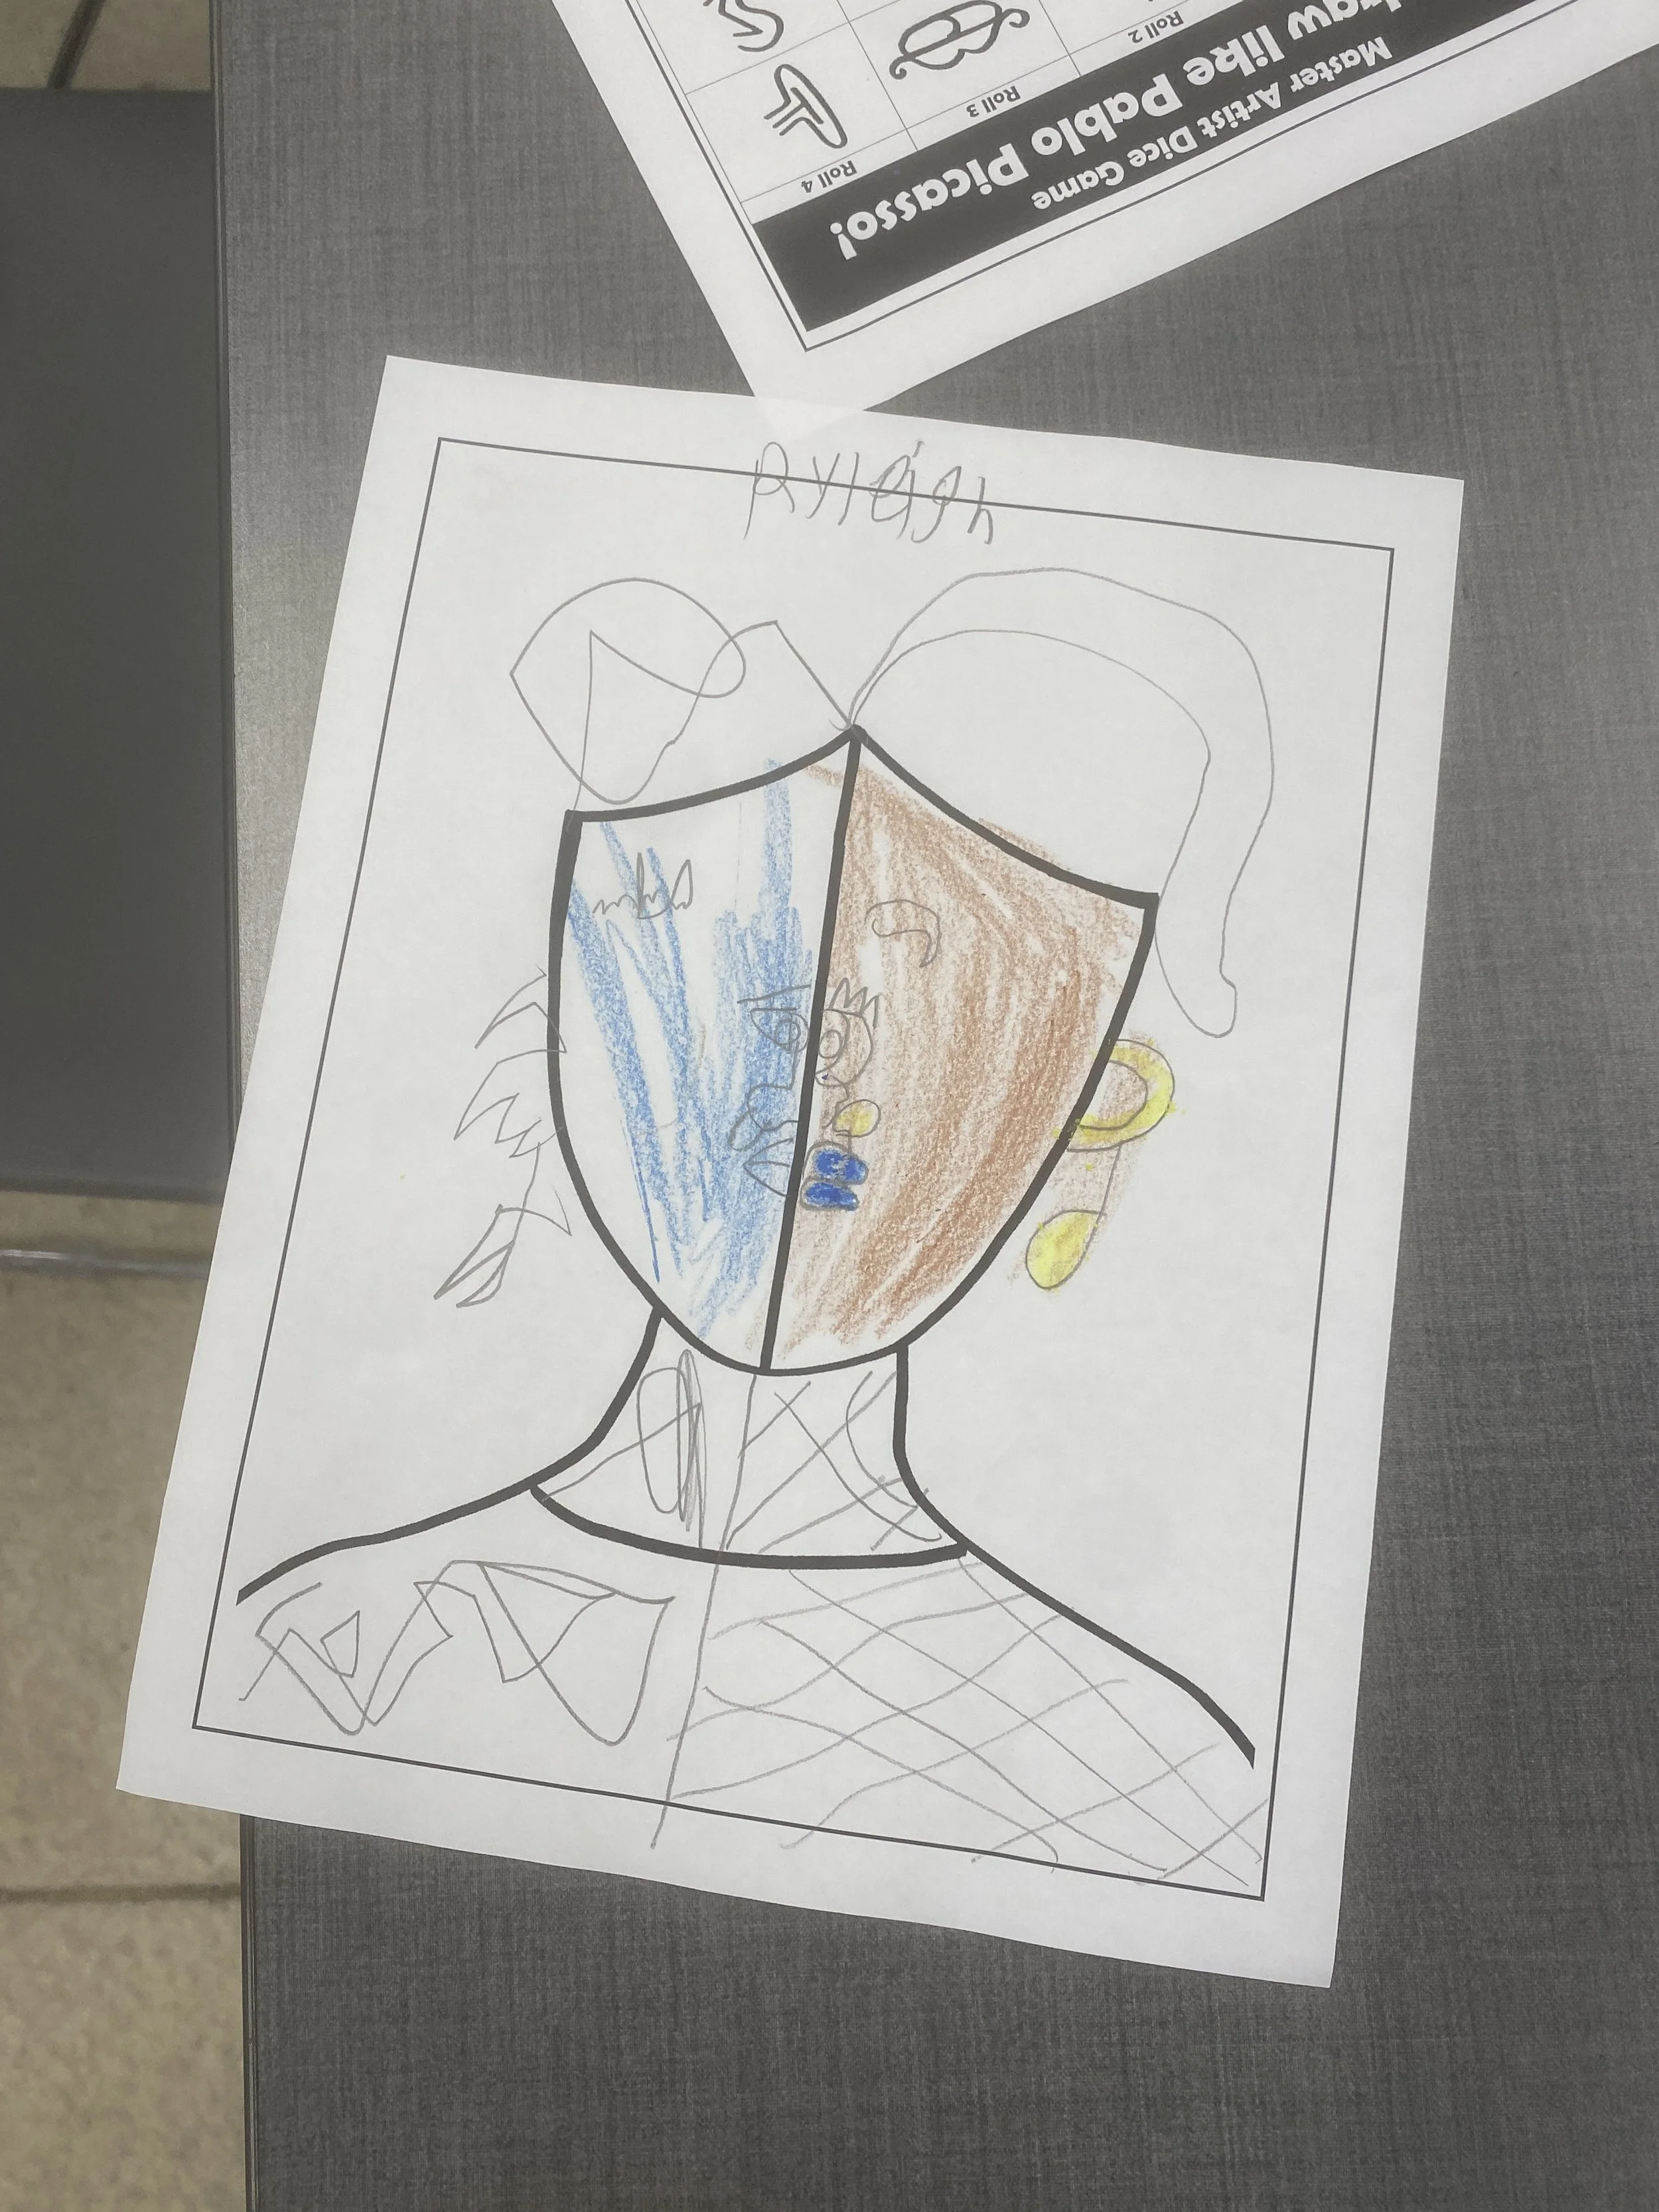
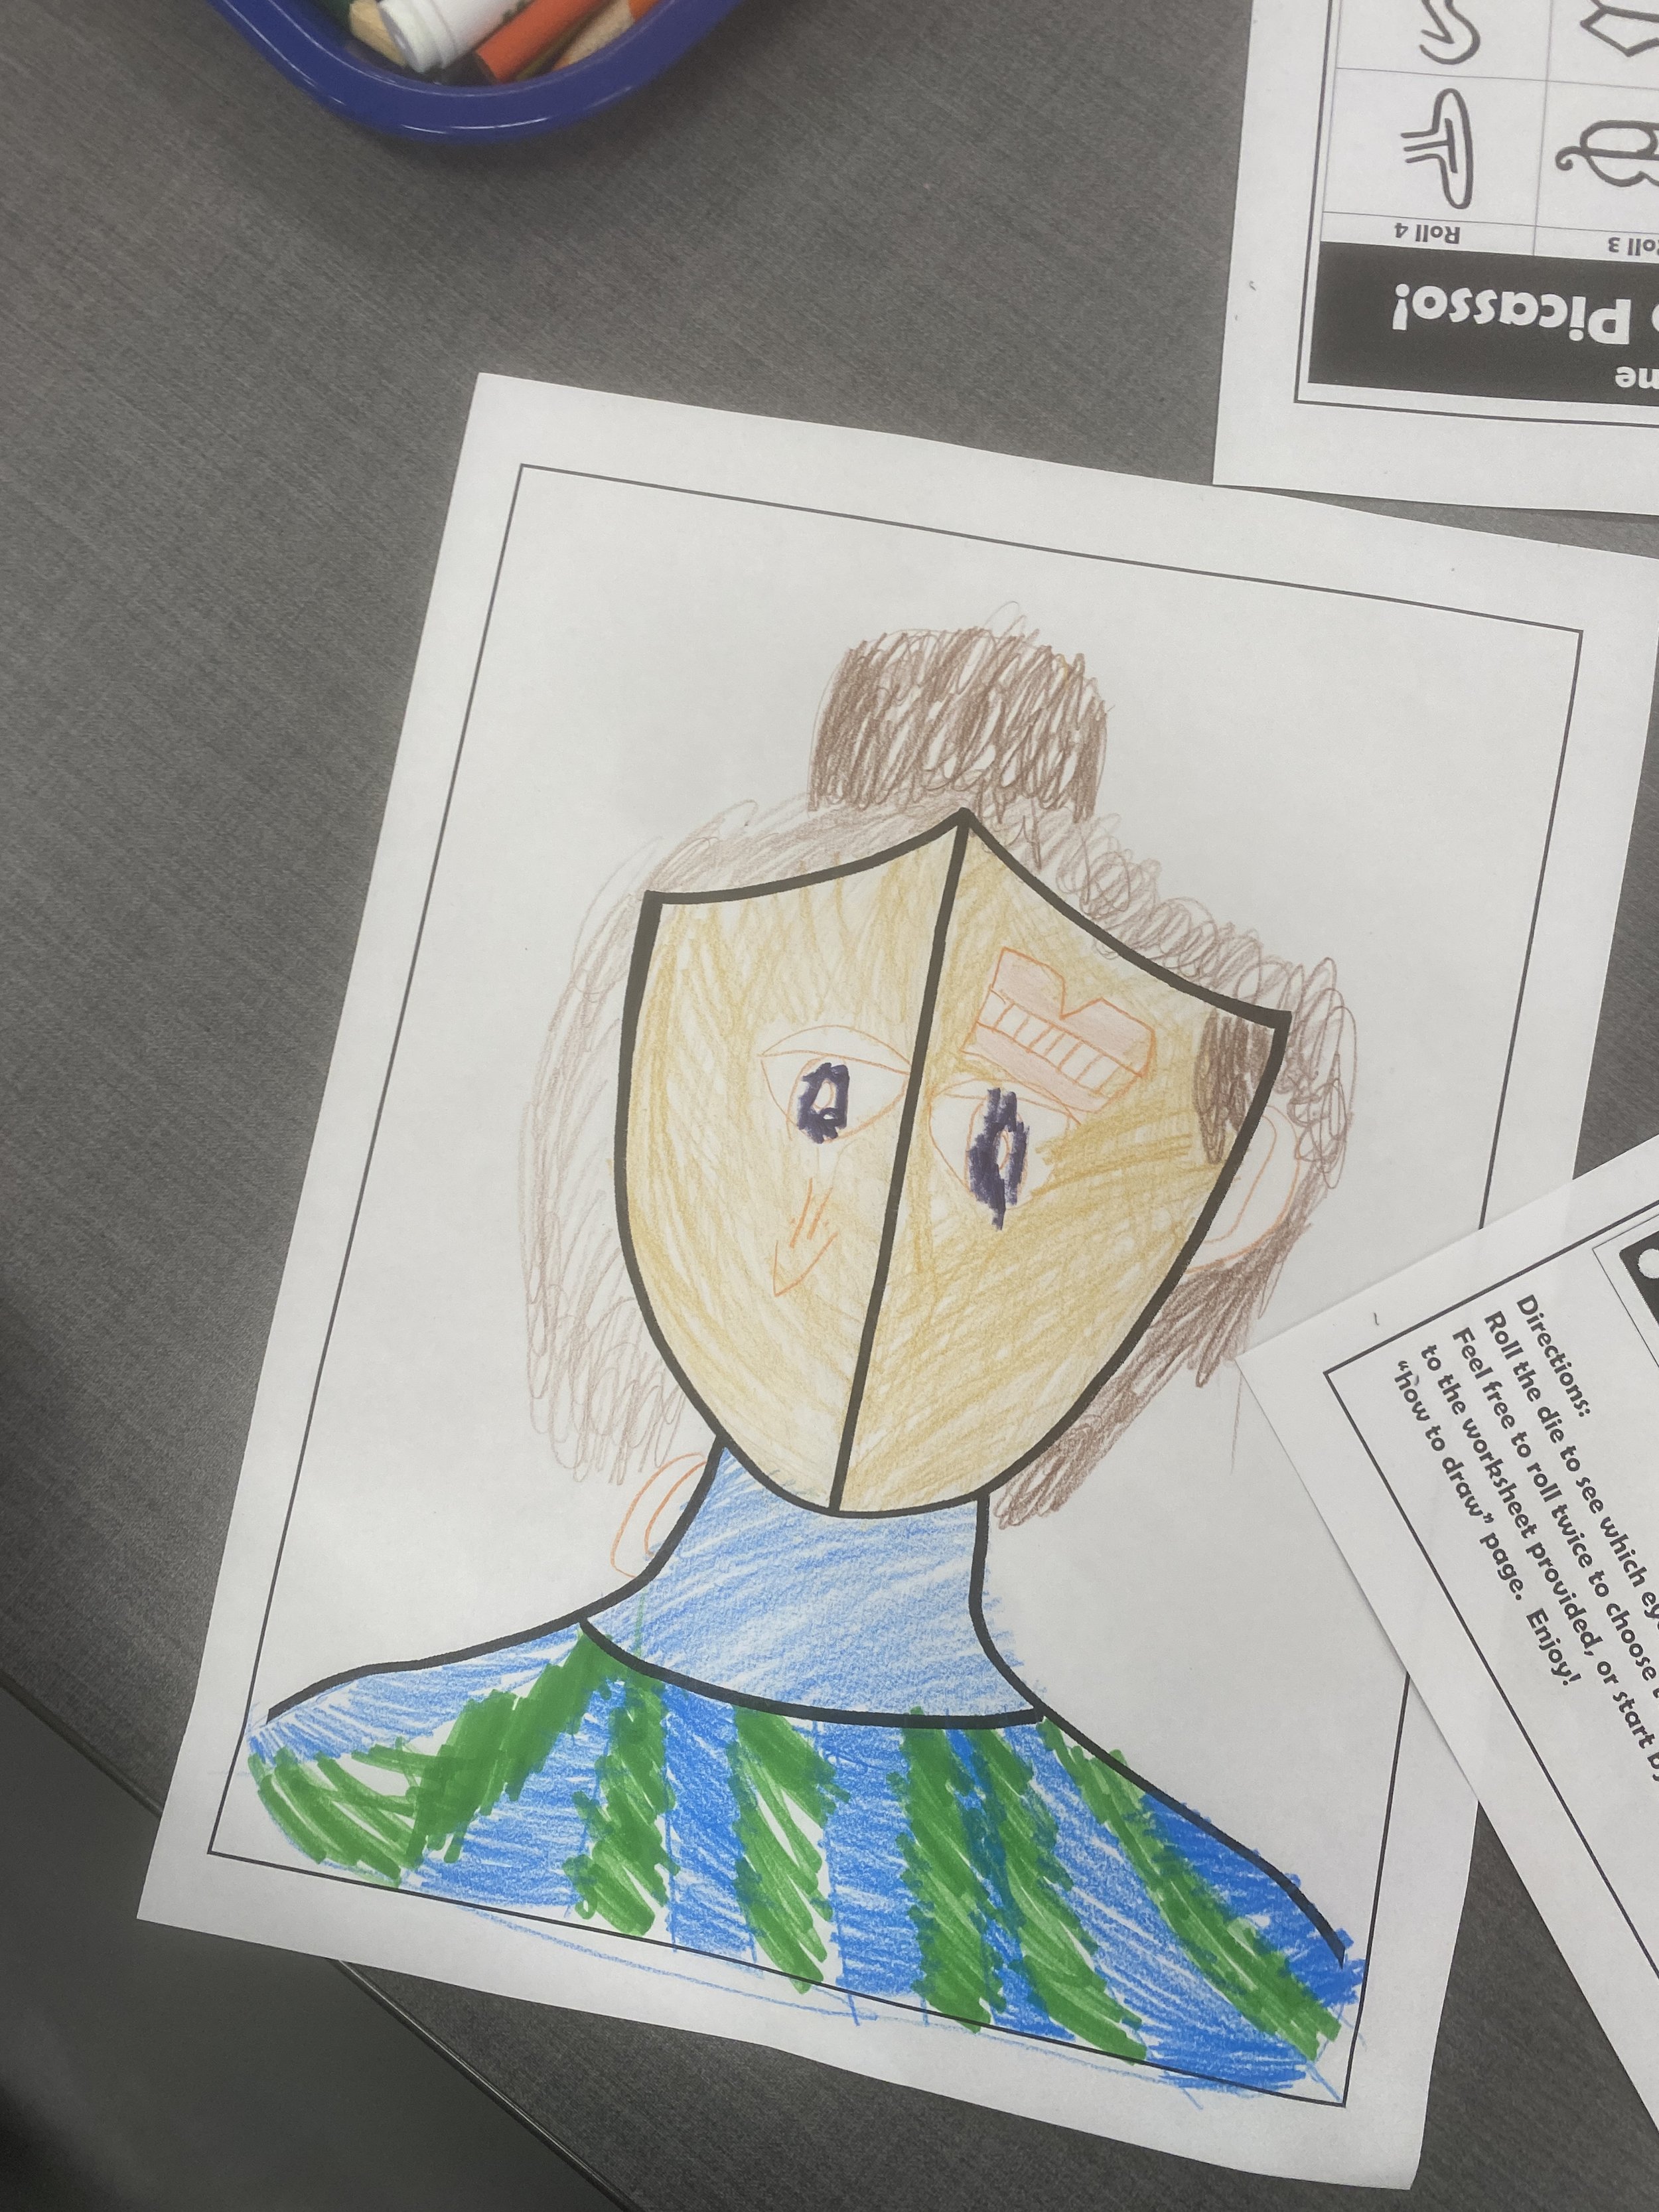
Hands-On Activity (20 minutes): Let’s draw like Pablo Picasso! : Roll-a-dice Game
1. Students roll a dice, incorporating the assigned element into their artwork based on the number rolled.
2. Students begin drawing based on the elements assigned by the dice rolls.
3. Encourage them to experiment with composition, layering, and abstract representations, mirroring Picasso's Cubist techniques.
4. Remind students that the aim is to embrace the unpredictability of the dice rolls and let creativity flow.
Sharing and Appreciation (10 minutes):
1. Encourage sharing within small groups or pairs, discussing the unique interpretations and elements in each artwork.
2. Emphasize the beauty of embracing randomness and experimenting with unconventional artistic approaches.
Assessment:
This Roll-a-Dice Picasso Cubism Drawing Game aims to make the learning experience enjoyable while encouraging participants to explore the essence of Cubism and Picasso's innovative spirit in a playful and interactive way. This lesson aims to not only introduce students to the world of Picasso but also inspire them to experiment with unconventional artistic approaches in their own work. Interestingly, many students tend to avoid asymmetry and create a "pretty" drawing. So, I told the children that despite not being perfect or conventionally pretty, there is beauty in it, and it's important to learn how to see and appreciate that beauty.
*Resources:
Printout: Let’s draw like Pablo Picasso! from Metropolitan Library System
(https://www.metrolibrary.org/sites/default/files/2020-08/PicassoDiceGame.pdf)
Artworks: Art Institute of Chicago
(https://www.artic.edu/artists/36198/pablo-picasso)
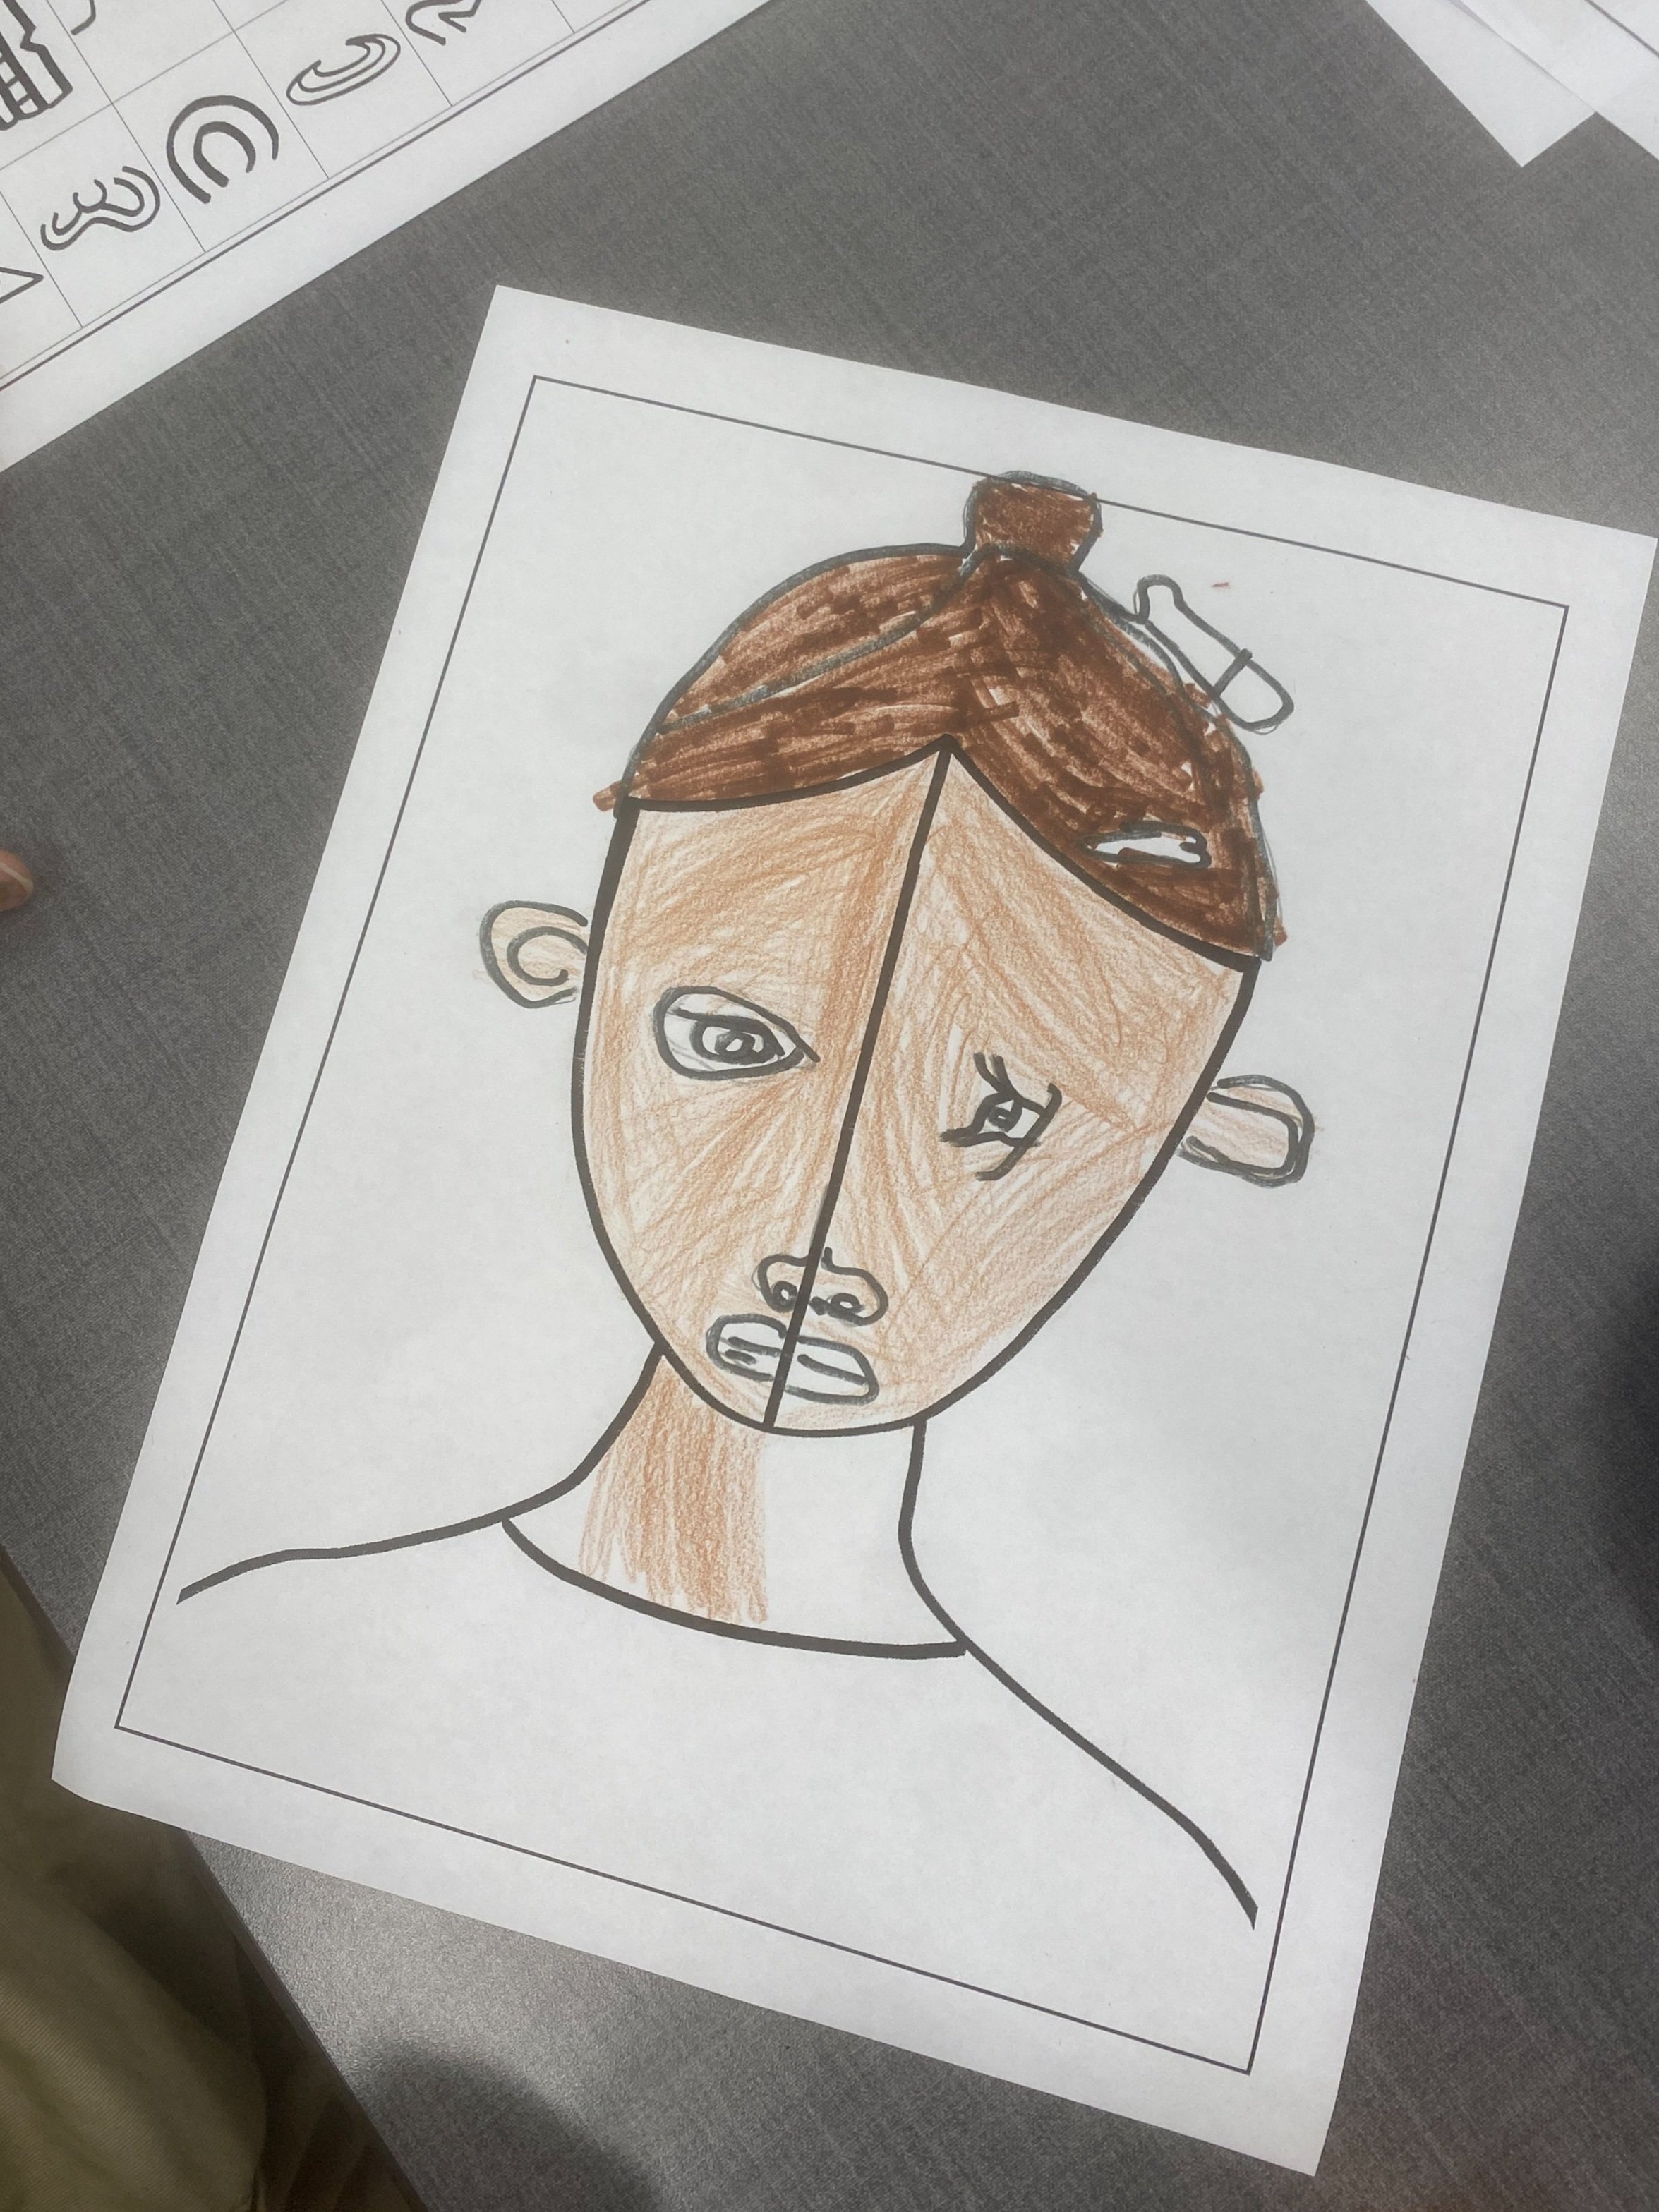
Students’ Work